15 Genius Tips For Using Chalkboard Paint In Your Home
We may receive a commission on purchases made from links.
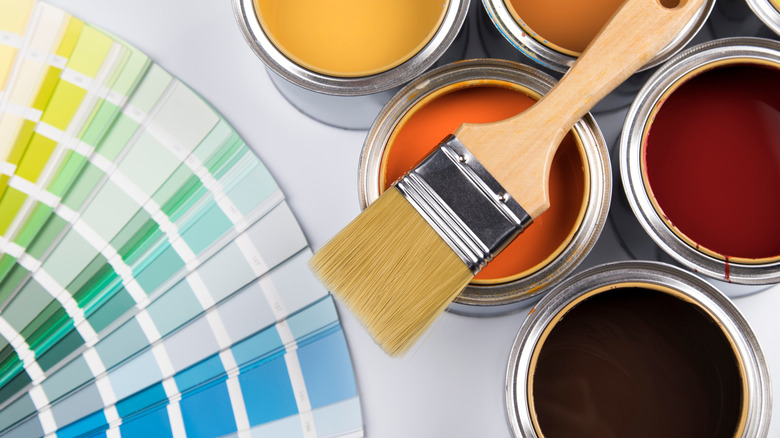
When most people think of interior paint, while they know they can find just about any color they might envision, often they believe their options are limited in terms of finish. As MasterClass reports, folks think their options are limited to flat or matte paints, eggshell finishes, or satin, semi-gloss, or high-gloss finishes, chosen based on their design aesthetic and the area of the home it'll be used in.
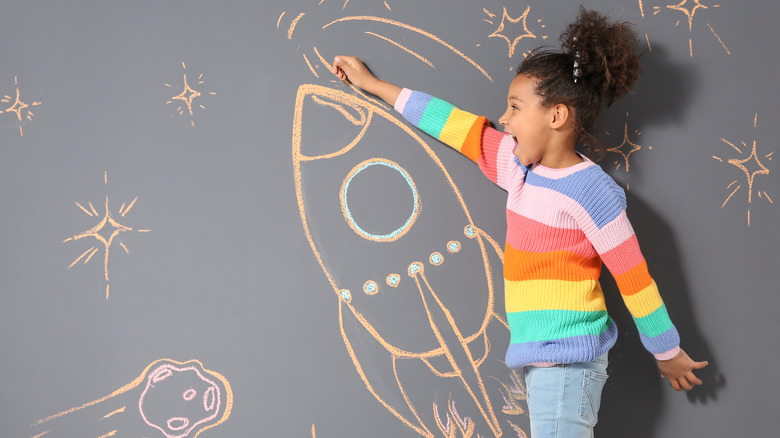
However, that's not quite the case — thanks to technology, there are a ton of different paint options on the market, from paints that will give the appearance of stone or metal to items like whiteboard paint that can transform a wall into a giant writing surface. And, of course, there's chalkboard paint. While buying a large chalkboard for an area of your home may not be feasible, both in terms of budget and in terms of storage, individuals working on home improvement projects can typically pick up a bucket or container of chalkboard paint for just a little more than they'd spend on regular paint. You can use it to transform pieces of furniture, or to create a statement wall in your space that can help inspire you or your family.
Whatever your grand plans, you may want to seriously consider the unique uses of chalkboard paint. So, here are a few tips for incorporating it in your home to ensure you get the best final product (as well as a few innovative ideas to get your creative juices flowing).
1. Check the texture of your surface
Chalkboard paint adheres best to smooth surfaces, so before deciding to paint, you'll want to check the texture of your surface, as House Beautiful advises. For smaller items such as furniture, you could treat the surface to smooth it out, but if you're dealing with a rough textured wall, for example, chalkboard paint might not be the best option for that particular area. You simply won't get the Pinterest-perfect results you're looking for.
2. Sand and prep the surface for paint
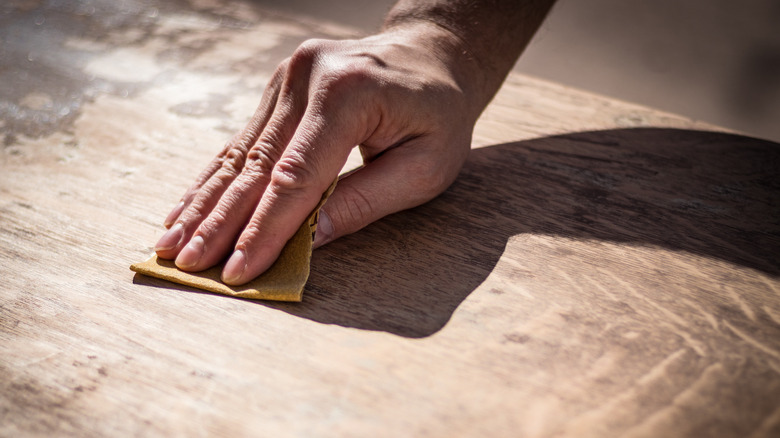
This is always an important step for painting, but it's particularly crucial for chalkboard paint. Since chalkboard paint isn't quite as thick as other types of paint, it won't fill in any imperfections in the surface, as The Spruce explains. So even if you think the surface is smooth, you'll see every little flaw once the paint is on. Make the process easier on yourself and sand or prep the surface you're looking to cover with chalkboard paint, to the best of your abilities.
3. Apply at least two coats
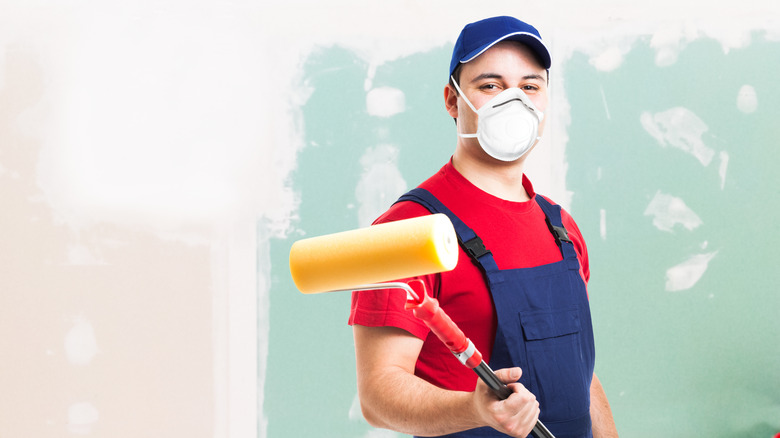
Even though chalkboard paint looks quite opaque due to the dark colors most frequently used, as Martha Stewart states, you still want to apply at least two coats, preferably three. You also want to build in time for each coat to completely dry between applications. So, even if you're painting a small item like a piece of furniture or tiny portion of a wall, add some extra time into your estimate of how long the project will take.
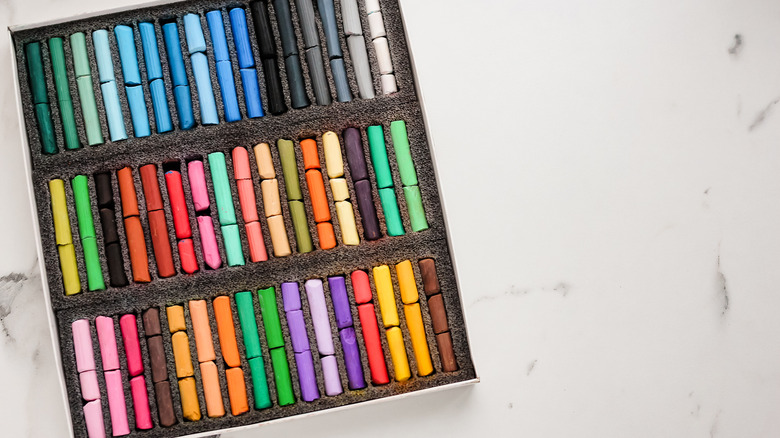
4. Think outside the box with your color choice
Perhaps once upon a time, chalkboard paint may have only been available in black or green, but the options are truly endless nowadays. While many prefer the classic black chalkboard look, you can find paint that matches your home's aesthetic, no matter what that is, as Realtor says. For example, if your home is all about pale neutrals, find a chalkboard paint in a beige or blush pink hue to add the creative detail to your home without disrupting your preferred aesthetic.
5. DIY your own perfectly-colored paint
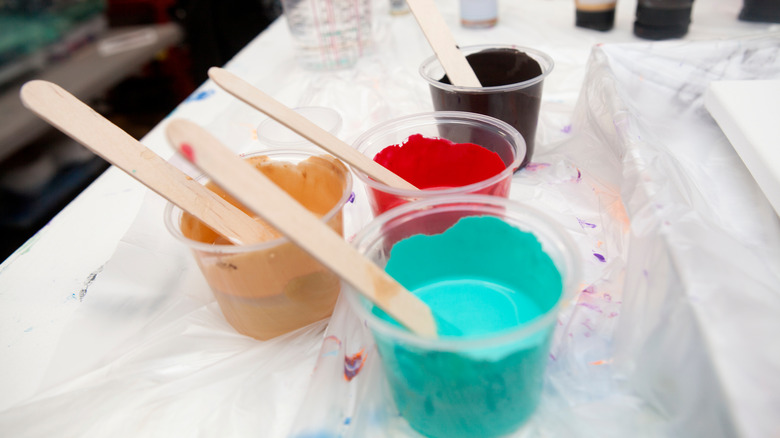
There are plenty of chalkboard paint options on the market, but if you have a very specific color in mind, know that you can also DIY this paint, as A Beautiful Mess explains. All you'll need to make your own batch is a mixing cup, unsanded grout, and acrylic paint in your preferred color. You'll likely want a pre-mixed chalkboard paint for larger surfaces, just to ensure consistency, but a small DIY batch may be just the thing for painting a piece of furniture or creating a small chalkboard, for example.
6. Be gentle when stirring paint
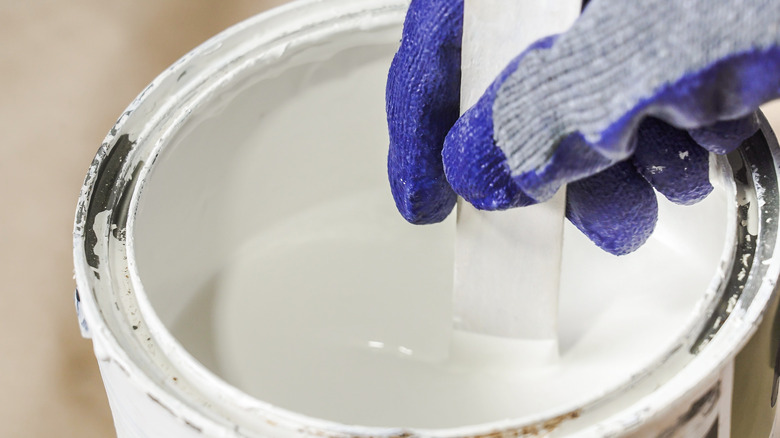
Your inclination may be to really stir the paint vigorously to ensure it's smooth, but as Do It Yourself states, that actually isn't the right move with chalkboard paint — it's susceptible to breaking down, so you definitely don't want to stir or shake the paint too vigorously. A gentle stirring should be enough to make sure everything is properly combined in your paint can or bucket.
7. Take your time when painting

Particularly if you select a chalkboard paint with a very matte appearance, the brush strokes will be quite visible, as Realtor warns. This means you'll want to take your time when painting to ensure it's done right. Chalkboard paint doesn't dry as quickly as regular paint, so you have a bit more leeway when working, but you'll want to make sure you use thin coats and deal with any drips as they arise.
8. Magnetize the paint
For a truly multi-purpose piece of furniture or patch of wall, why not consider adding some Magnetic Primer so that your surface can be written on and is also magnetic, as House Beautiful suggests? You will need multiple coats of a Magnetic Primer to truly get the magnetizing effect, which will add a bit of time to your painting process, but you'll end up with a surface that is just about as versatile as it gets.
9. Don't seal the surface or use topcoat

While you may be nervous about the ultra matte finish and its durability, resist the urge to use any type of wax, sealing agent, or topcoat to finish off your painting job, as Cory Vance of Let's Create Art tells Martha Stewart. You may think it's making your surface more durable, but it'll actually make it more challenging to clean off and wipe properly.
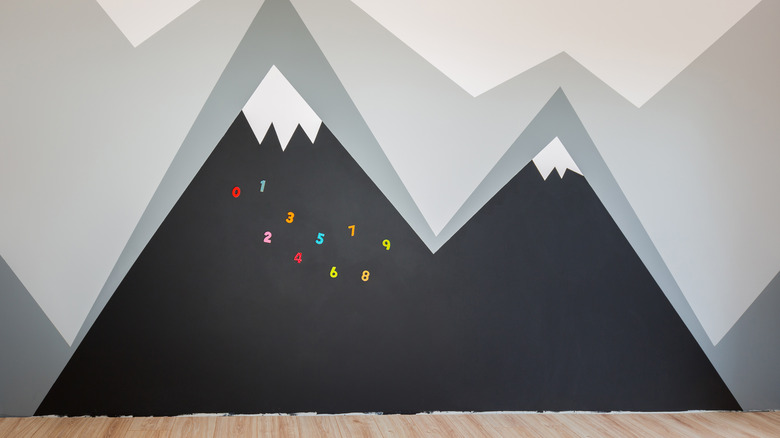
10. DIY a creative gallery wall

Trying to figure out how to incorporate chalkboard paint into your space? HGTV has a great suggestion in which frames are affixed to a chalkboard wall so that new art can be drawn into the frames whenever inspiration strikes. If you want a little something more than just a plain painted wall, that might just be the perfect way for you to bring the creativity of chalkboard paint into your space.
11. Create a custom serving tray

A suggestion from Tip Junkie that may appeal to those who love entertaining is creating a custom serving tray with chalkboard paint. Whether you love to whip up full charcuterie boards, cheese boards, or just want to clearly label your snacks and bites for movie night, simply adding some chalkboard paint to your serving tray of choice can help create a super versatile vessel for all your entertaining needs. Why use little stickers and signs when you could just put all the details right on the board?
12. Make a life-size calendar
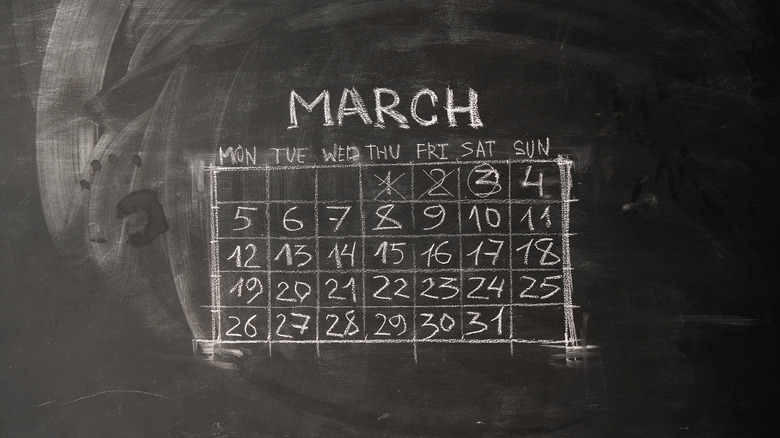
Another great HGTV idea for those who want to add chalkboard paint but aren't quite sure how is to create a massive life-size calendar. Rather than trying to affix a large calendar to your wall, simply paint a segment with chalkboard paint, draw on a calendar template, and then change up the month and dates as needed. You'll be able to add, erase, and visualize your full schedule with ease.
13. Get the right writing tools
As Realtor advises, not all writing tools are created equal, so you'll want to be careful about what you use in order to ensure the longevity of your chalkboard painted piece. Avoid extra hard chalk or chalk markers, as they can leave smears or residue on your paint that will be tough to remove. Instead, keep a supply of soft chalk that can be easily wiped off with no residue.
14. Give it enough time to dry

We know, we know — you've painted your surface and you're itching to cover it with all your creative designs. However, as House Beautiful clarifies, your surface will require about three days of time to fully dry before it's ready to be used. So, hold tight a little bit longer as your surface dries to ensure you don't damage it by using it before it's cured and ready.
15. Season your chalkboard before using

While you can certainly use your chalkboard area without doing this, it's a crucial step if you want to avoid "ghosting," which means previous drawings will still be lingering there even after erasing, as In My Own Style explains. All you need to do to "season" your chalkboard is to take the side of your chalk and essentially cover the entire chalkboard surface with the white residue. This creates a blank slate of sorts, and means you'll be able to erase the board back to its original form without any pesky lingering words or illustrations.