15 Tips To Build Your Own DIY Shed
We may receive a commission on purchases made from links.
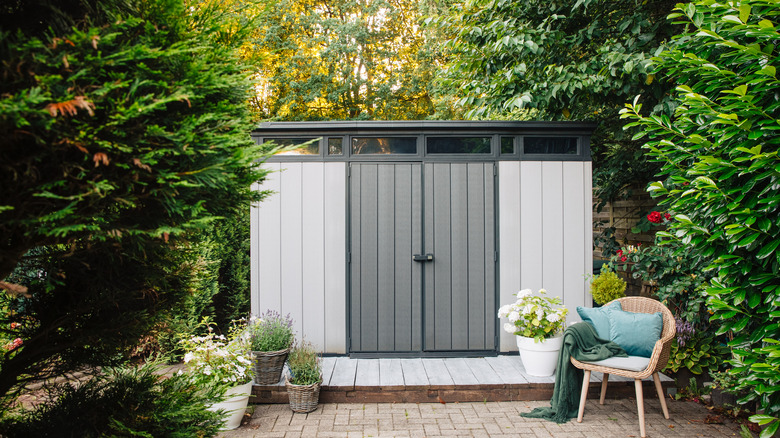
If you ask us, every household that desires an outdoor storage space deserves to know the best tips for building a DIY shed. But since this information is not always readily available, we took it upon ourselves to provide you with all the essential information needed to build your own functional space in your backyard. A shed can be anything you want, such as a garage, storage space, workshop, or a multifunctional storage room designed to meet a variety of needs, via Easy Shed.
And while we admit that it is not entirely effortless to undertake this intensive project (unless you are a skilled artisan), we believe that with the right resources and attitude, it can be a rewarding endeavor or fun activity for the whole family. To build a solid, weather-resistant shed with proper air circulation that will stand for many years to come, consider the tips we have listed below.
1. Research your local building codes

Generally speaking, you do not need a building permit to put up a shed in your backyard, according to LP Building Solutions. But if your shed exceeds the mandated standard size, you may need permission to build. A good place to start before looking up shed designs is to research your local building codes and zoning laws. Depending on your locality, you may face placement restrictions and strict regulations on the width and height of your shed. Failure to comply may result in multiple penalties, including the cost of relocation or removal.
2. Determine the placement site

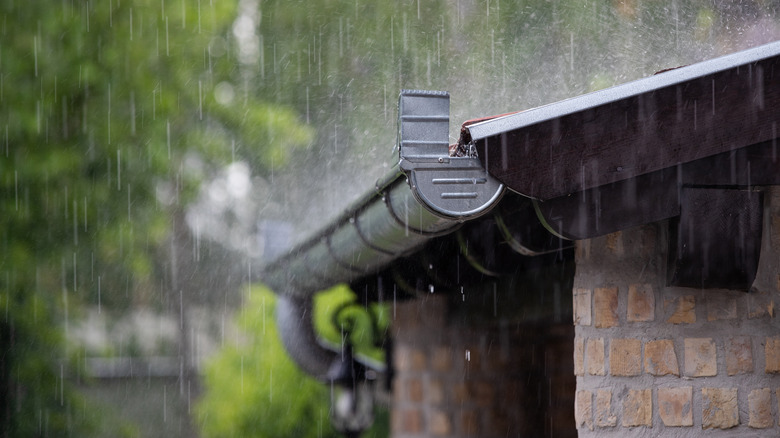
Another one of our best tips for building a DIY shed is to determine the exact spot on your property where it will be installed. While it seems like a simple enough task, selecting the wrong area could result in sitting an unstable, impermanent outbuilding. Popular Mechanics suggests not building your shed in an area where water collects, such as a low-lying area or the bottom of a hill. The excessive moisture will promote the growth of mold and mildew, and cause wood and metal components to rot and rust, respectively. So, ensure that the placement site is dry and ideally, slightly above ground level.
3. Define your shed

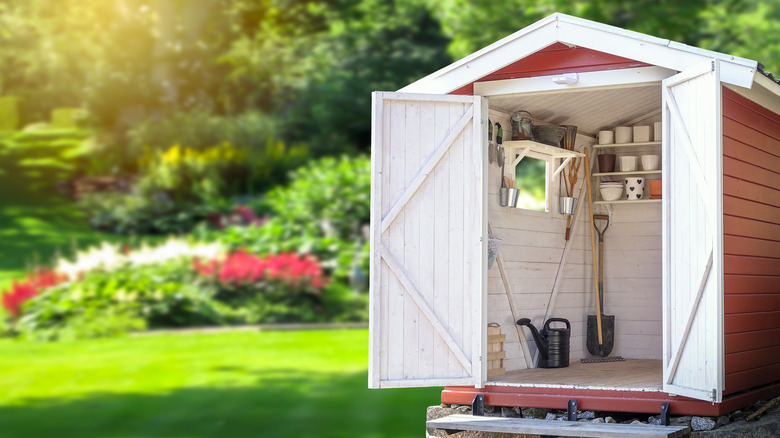
Now that you have a precise location in mind, defining the dimensions, partitions, and appearance of your shed should be effortless. You can sketch a plan or look up shed designs online for inspiration. A detailed plan will help you figure out the proper measurements and material requirements. While there is no standard size for sheds, most homeowners opt for the popular 8 x 6 feet, Powersheds explains. Other common sizes include 6 x 4 feet, 8 x 4 feet, 10 x 4 feet, and 10 x 6 feet. Ultimately, the size of your shed will be determined by your space and storage requirements.
4. Select the right building materials
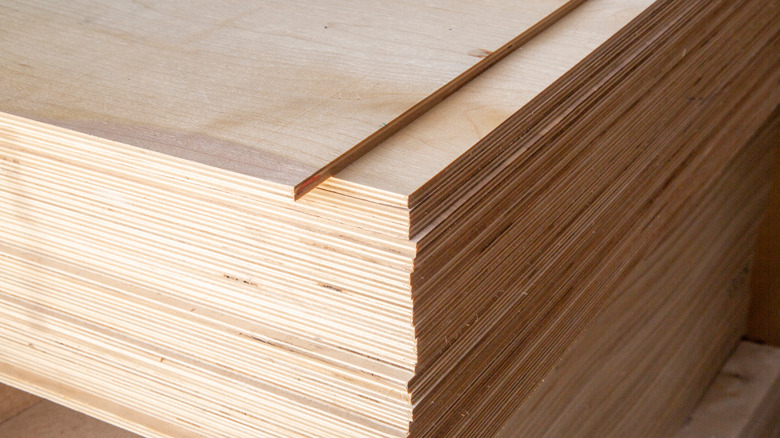
Purchasing the right materials for your shed is one of our essential tips for building a DIY option. Opt for materials that make sense for your shed needs and finances. Ideally, they should be durable, have low maintenance costs, and resist rot, rust, and pest infestation. Secrets of Shed Building says to choose between plastic, timber, or steel for this DIY project. If you intend to build a wooden shed, be sure to use treated wood for a stable structure that will not deteriorate over time. You can purchase your shed building materials at any local home and home improvement center.
5. Assemble your tools ahead of time
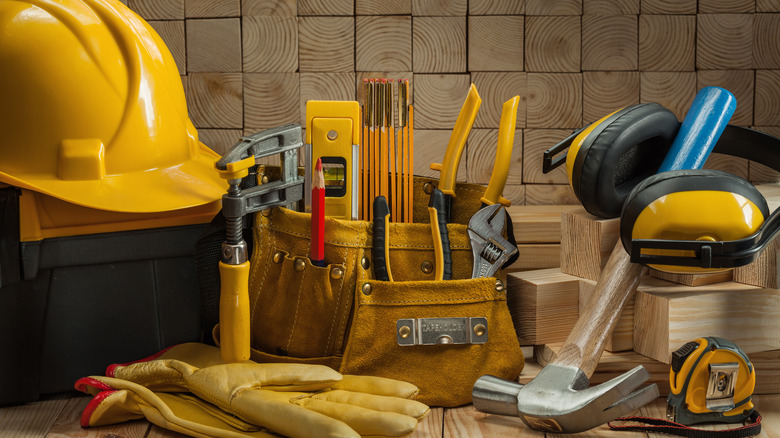
Sitting a shed in your backyard, regardless of its size, requires various carpentry hand tools and power tools. To save time and create a smooth workflow, assemble your tools ahead of time. Per Sheds and Ladders, the essential tools needed to build a shed include:
- Measuring tape
- Chalk, wooden stakes, and twine for marking out the site
- Hammer
- Framing square
- Carpenter's pencil
- Sandpapers
- Hand saw
- Wood chisel
- Screwdrivers
- Nails
- Screws
- Wood glue
- Wood clamps
- A pair of ladders or step ladders
- 4-foot level
- Power tools such as impact driver, cordless drill, miter saw, and electric sander
6. Prep the placement site
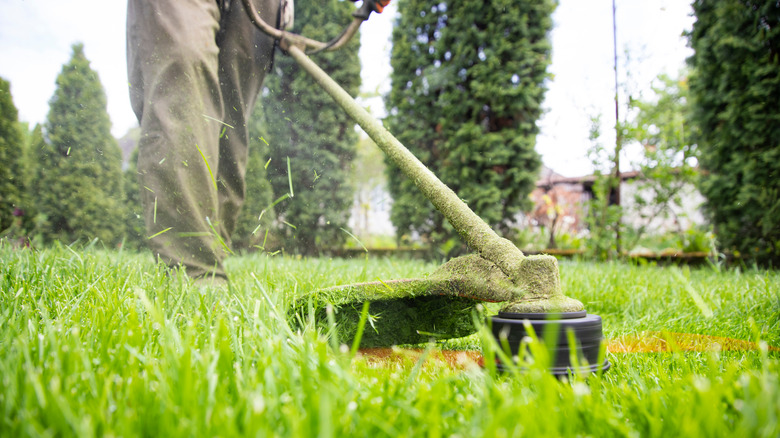
Some pre-construction cleanup might be in order if you intend to build a shed in your backyard. You will want to prep the placement site by trimming branches of trees, clearing undergrowth, and ensuring that weeds will not grow in the vicinity of your shed. You will also want to remove structures and of course, check the surrounding areas for signs of rodent and pest infestations. Taking this step prevents invasive animal and plant species from getting into your shed. Adding to our tips for building a DIY shed, Waste Away Systems says relocate garbage bins to prevent scavenging animals and insects from scrounging for food.
7. Pick a shed building strategy: option one
If you have the time, skillset, and patience, consider building your shed from the ground up. The type of wood you will need for the shed's framework, according to Family Handyman, is framing lumber, preferably pressure-treated fir or spruce wood. For below-ground foundations or parts of the shed that will have contact with soil, use pressure-treated lumber since they have been processed to resist rot. Oriented strand board is inexpensive and perfect for sheathing the walls and roof of the shed. You can use exterior-grade plywood to make shelves, storage boxes, and other wood items for the interior.
8. Pick a shed building strategy: option two
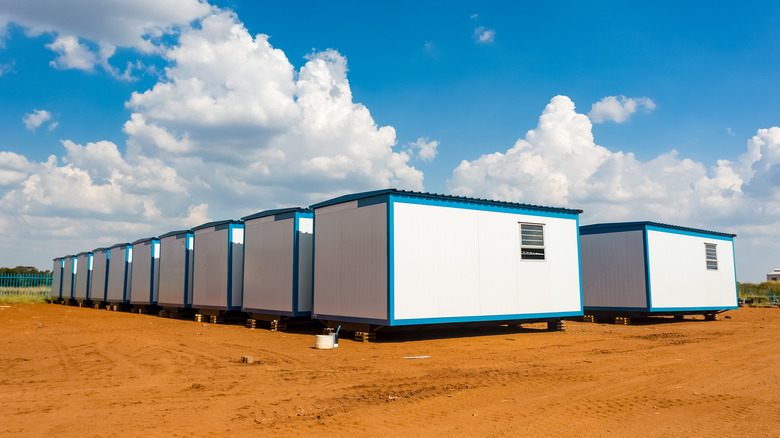
You also have the option to purchase a DIY storage shed kit and assemble it at the placement site. This strategy is not only one of our smart tips for building a DIY shed, but it also guarantees a stable outbuilding when assembled properly. When ordering your package, Apex Shed Company recommends opting for a prefabricated kit with provisions for DIY adjustments. Except for nails, these kits contain everything needed to assemble the shed, including:
- Pre-cut and marked trims
- Pre-built trusses
- Pre-cut and marked floor joists
- Door hardware
- Roofing sheeting and materials
- Ready-to-stand framed and sheeted walls with siding
- Floor frame
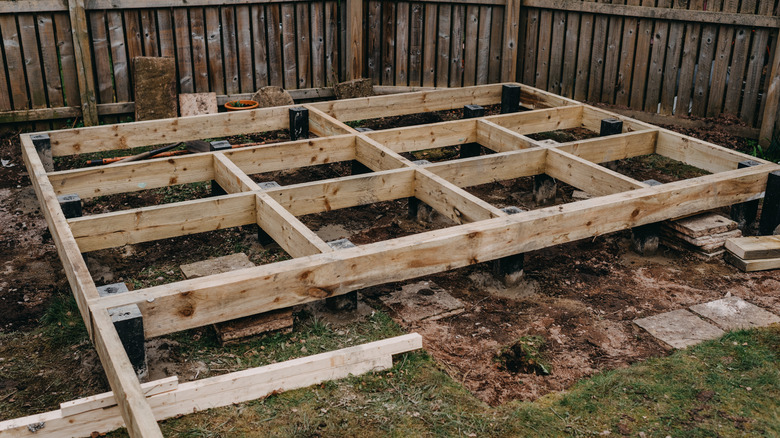
9. Start with a strong foundation

The stability of your shed largely depends on the foundation. Like any structure, it must be solid enough to hold the components that will be erected on top. To avoid sinking your shed, Bob Vila recommends building an on-grade foundation, which consists of concrete blocks or pressure-treated lumber set to the ground. Be sure not to build your foundation in areas prone to erosion and excessive streams of rainwater as it can result in a weak base. Unless you are a skilled artisan, build on leveled surfaces. Note that prefabricated sheds do not come with a foundation, so you must build one before delivery.
10. Building strategy: option one
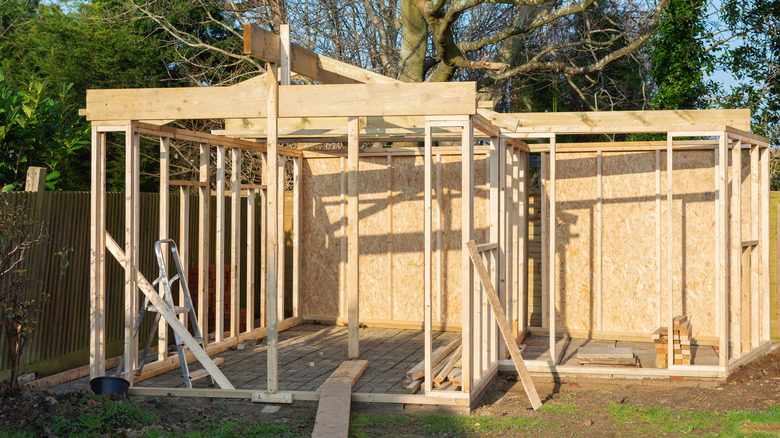
If your building strategy is to build from the ground up, we hope you have the skillset or an excellent resource to guide you. Per a MasterClass on shed building, you should first build your shed floor with wood beams or concrete slab after the foundation has been set. Second, construct your shed walls, add siding, and assemble the roof frame. Third, secure the walls, place the roof, and install a shed door. Finally, adding to our best tips for building a DIY shed, attach the trim, paint or stain the exterior of the shed, and finish the roof.
11. Building strategy: option two
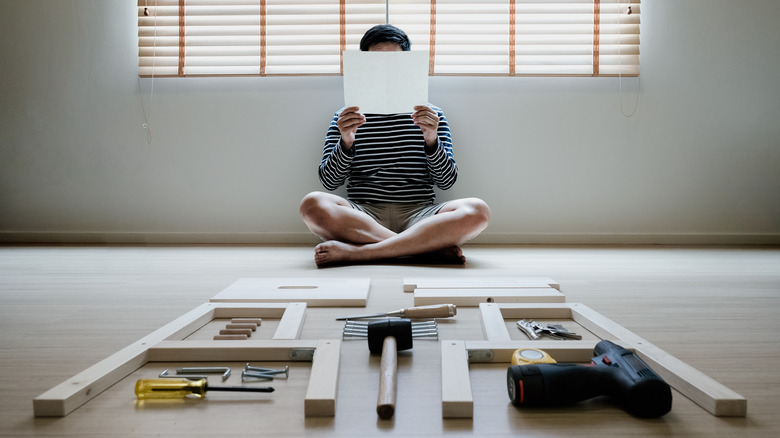
If you chose the DIY prefabricated shed kit route, be sure to read and follow the instruction manual that has been included in the package. It is a straightforward user guide designed to walk you through the assembly process. To minimize confusion and better understand technical jargon, rely on the illustrations, adhere to all instructions, and perform the steps in the proper order. According to Studio Shed, you can visit the manufacturer's website for more resources or call customer support for further assistance. In most cases, a representative can guide you through the assembly process or solve any problems you may have.
12. Build a weather-resistant shed
When constructing any outbuilding, it is imperative to weatherproof the entire structure. Starting with the base, choose sturdy, pressure-treated lumber for the floor frame. They are resistant to wood-boring bugs and rot and can withstand harsh weather conditions such as storms, rains, and floods. The following are two crucial tips for building a DIY shed: First, do not purchase a prefabricated shed kit whose floor frame is made from untreated construction-grade lumber. Second, it is prudent to weatherproof the rest of the shed, including walls, doors, and other components to prevent deterioration, via Easy Shed.
13. Door size and placement
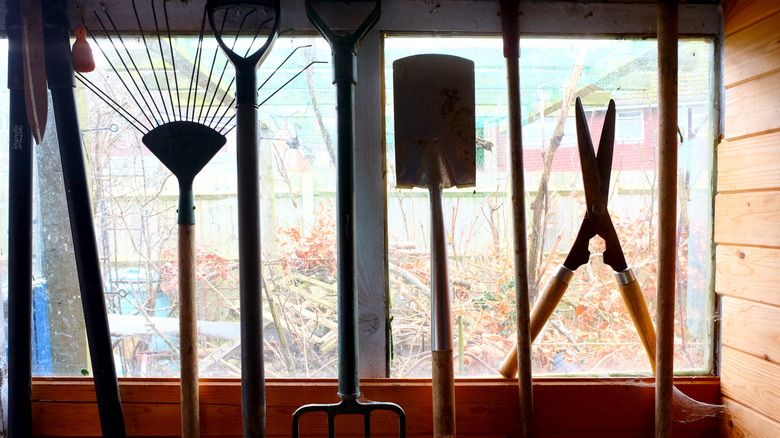
The type of door you choose and its placement can have a significant impact on the aesthetic and functionality of your shed. This is why it is prudent to install a door that makes sense for your shed needs. If you intend to store small items such as garden or carpentry tools, a regular-sized door might work. But you may want to consider double doors if your storage items include wardrobe cabinets and large equipment. As WIN Home Inspection notes, you should install your door at a point that makes accessibility easier. Pro tip: Ensure that it is within proximity to the main house.
14. Inspect the interior of your shed
Another one of our wonderful tips for building a DIY shed is to examine the roof, windows, and corners of the walls for openings. You do not want water and moisture to get into your shed, via Spinifex Sheds. You should also ensure that there is proper air circulation with enough stream of direct sunlight. If you have not already, make provisions for a healthy ventilation system. As you inspect the interior of your shed, check if the layout meets the purpose of the shed. If you are building, say, a storage shed, you want to make provisions for utility cabinets, racks, drawers, and organizational strategies that will help you maximize your space.
15. Schedule a shed inspection

When all is said and done, consider hiring a licensed property inspection professional to make sure everything is in order. According to the City of Austin, a property inspector will run through a framing, foundation, and layout checklist to make sure that the shed is safe and usable. They also identify problems that will become apparent in the future, offer solutions, and ultimately, make sure that the shed will not collapse down the road. Another great reason for scheduling a shed inspection is that you will receive repair tips that can help you save time and money.