Tips On Cleaning Your Essential Oil Diffuser
We know that using essential oils comes with a myriad of health benefits, per the Cleveland Clinic, but the effort can be undermined if we don't take the time to clean the diffuser. Since they come in so many shapes and sizes, it can be difficult to wrap our heads around how to clean them. And, if we can be honest, it's not always on the top of our mind to clean compared to things like the kitchen countertop or toilet bowl which we can see get dirty.
Being that water is used inside of the diffuser, mold and mildew can and most likely will build up if the water is left in there for a period of time after use. In addition, according to Good Housekeeping, different oils will begin to mix over time, reducing their efficiency or intended purpose. So even if it's not as obvious as a dirty toilet, it's important to add your diffuser to your cleaning routine.
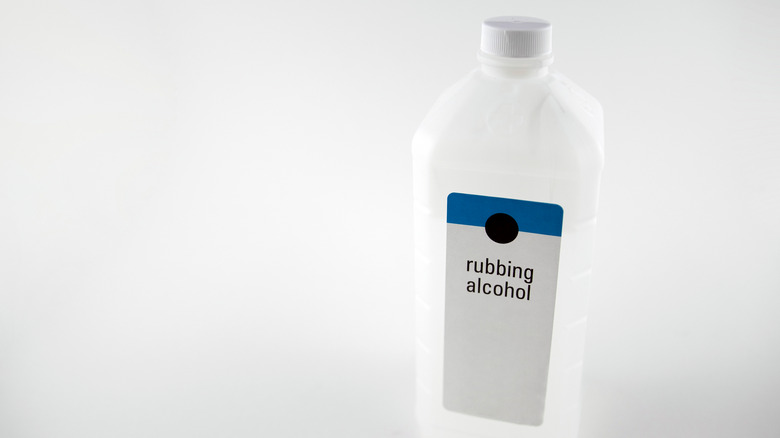
Luckily, there is a simple way to accomplish this using a few items you probably already have hanging around the house: cotton balls and/or a soft cloth, cotton swabs, white vinegar, rubbing alcohol, and mild dishwashing detergent
Unplug and empty diffuser
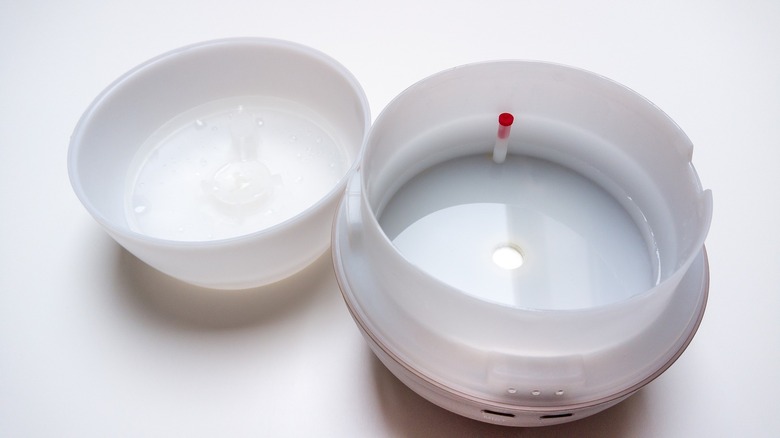
Before cleaning your oil diffuser, you want to make sure that you unplug it and empty it of all water and excess oil. It's a good idea to read the instructions for your specific unit as each is designed differently and you want to ensure that you don't accidentally destroy any of the electronic parts. HGTV suggests locating the drainage outlet to prevent getting water in it and to never actually immerse your diffuser in water.
If you haven't already gotten into the habit of emptying it after each use, start now to avoid residue from lingering going forward. If you regularly diffuse different essential oils, as mentioned, this is an especially critical step as scents will begin to mingle, specifically thicker ones. If you don't use the following steps to clean your diffuser, at the very least, it should be emptied after each diffusing session.
Clean with water and white vinegar
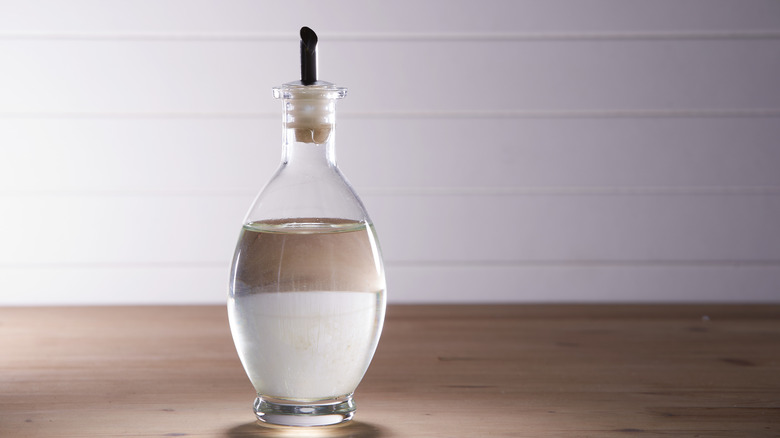
Next, you have two options for cleaning your diffuser depending on your preference. The first method puts trusty white vinegar to good use. Vinegar is an excellent cleaning agent due to its active ingredient, acetic acid. Additionally, white vinegar has the highest acid level of all vinegars, which makes it one of the most powerful natural cleaners out there. Kitchn explains that because of its acidity, it's perfect for cleaning accumulations of liquids such as essential oils.
You will want to start by combining equal parts water and white vinegar in a bowl. Next, dip a soft cloth (a microfiber one should work perfectly) in the mixture and thoroughly wipe down the inside of the reservoir. Focus on getting into the edges where the oil buildup can occur. In order to make sure it's fully dry and to avoid mold, take either a dry cloth or a couple of cotton balls and wipe it down again.
Alternatively, clean with dishwashing liquid
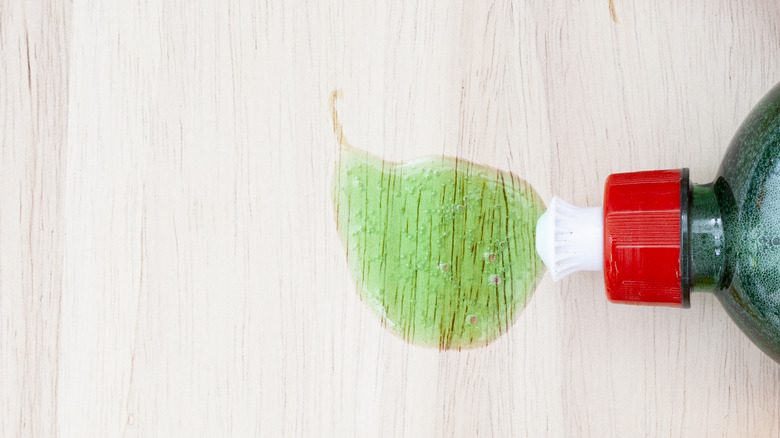
The second method of cleaning your oil diffuser is similar, but uses a different type of cleaning agent. Dishwashing liquid, or dish soap if you prefer, is also effective for cleaning essential oils because of one of its ingredients. According to Martha Stewart, the ingredient found in most dish soaps is surfactants. Not only are surfactants non-irritating and can be used on most surfaces, they also work vigorously to cut down on grease.
With this method, you want to take a damp cloth (again, a microfiber one is a good choice) and add a dab of mild, natural dishwashing liquid to it. The Spruce recommends using an all natural brand. As with the first method mentioned, thoroughly wipe the inside of the reservoir to get it good and clean. Either carefully rinse it out while avoiding the outlet or use a cloth wet with plain water to remove any soap residue. Then, using either a dry cloth or cotton balls, wipe the inside down until dry.
Use alcohol to clean the ultrasonic plate
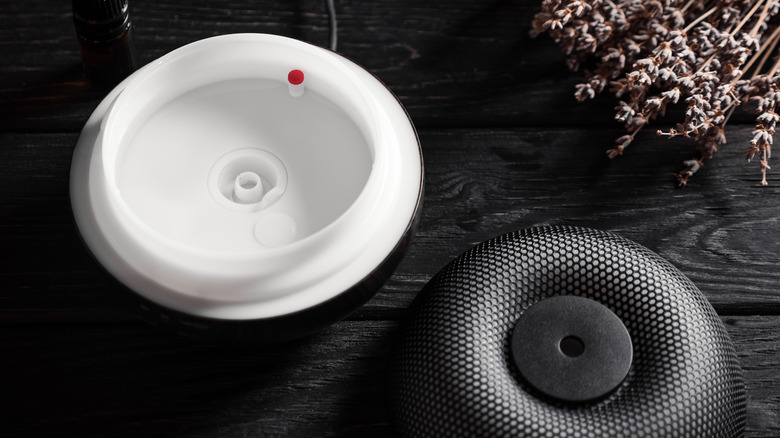
Regardless of whichever method you choose to clean your diffuser, there's one more step before putting it to use again. Inside most diffusers is what's called an ultrasonic plate, or chip, and it's what actually produces the mist you see when running your oil diffuser. It vibrates, which in turn breaks down the oil into molecules, allowing it to diffuse the mist. According to The Spruce, in order for the plate or chip to work properly, it needs to be cleaned on a regular basis.
The process for this will take mere seconds. After wiping down the reservoir using either method, all you need to do is to take a cotton swab and add a dab rubbing alcohol to it. Then take the swab and run it over the ultrasonic plate or chip to ensure you remove any stubborn debris. The alcohol will also kill off potential germs in addition to any dirt.
Deep clean your diffuser with vinegar

It's usually not enough to use either of the methods above if you want to keep your oil diffuser lasting for a long time. Country Living suggests setting a reminder about twice per month to do a deep cleaning. But don't confuse this with a chore because it's almost, if not just as easy as the regular cleaning methods.
Before deep cleaning your oil diffuser, be sure to unplug and empty it as you would with a regular cleaning. You can then thoroughly clean it by filling the diffuser about halfway with plain water and then adding in 10 drops, or 1 tablespoon of white vinegar. If you remember, the vinegar's acidic properties will clean the inside of the reservoir, but it can also remove odor from the air. Bear in mind that it's important to follow the next step to keep everyone in your home safe.
Run the diffuser for a few minutes
For this step, you want to make sure the oil diffuser is in a very well ventilated area. If you have to move it to a less used location or room in the house, do that to avoid anyone directly breathing in the vinegar solution. According to the CDC, inhaling the vapor of acetic acid (which is the main ingredient in white vinegar) even in the short term can aggravate your eyes, nose, throat, or lungs. While it's wonderful when used to clean, you want to protect yourself and anyone else from being exposed to any of the vinegar fumes.
Once it's in a safe place, turn the oil diffuser on and run it for no more than five minutes, per instructions from DoTERRA. The vinegar will vibrate and swirl around inside of the reservoir to help really get rid of any of the essential oil residue.
Unplug the diffuser and empty it
For the last step of your bi-monthly deep cleaning, unplug the diffuser and empty it of the water and vinegar solution. Then, choose your preferred regular cleaning method (either with vinegar again or dishwashing soap) to clean the inside of the reservoir. Don't forget to rub the ultrasonic plate or chip with a cotton swab dipped in rubbing alcohol. This would also be the perfect time to take a soft microfiber cloth and wipe down the outside of the diffuser as it can easily accumulate dust over time.
By including this as part of your regular cleaning routine, you can feel good knowing that the essential oils you diffuse are giving you the maximum benefits and the mist it produces is pure, per HGTV. Once you're doing with integrating this new habit, all that's left is to sit back, relax, and let your essential oil diffuser do its job.