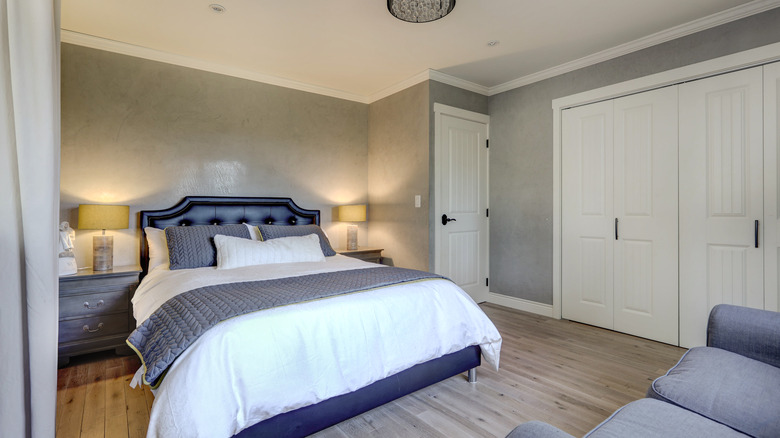
How To Achieve A Venetian Plaster Finish On Your Wall
In the late 2010s, designers like Axel Vervoordt and Vincent Van Duysen brought in the fad for Belgian modernism, which featured linen slipcovers, muted color palettes, and rustic wood surfaces. Yet, even as design trends have returned, one of the era's subtle characteristics, Venetian plaster walls, has proven to have real staying power. Perhaps it's because of all the time spent huddled down at home that the entire world has gone through, but something about the warmth and texture of Venetian plaster has taken hold, suggested Vogue. And it doesn't appear to be going away any time soon.
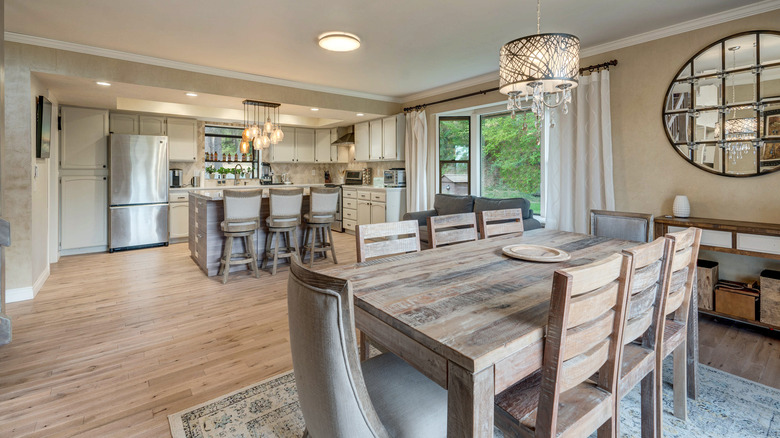
You can find Venetian plaster walls everywhere these days, from New York City to Los Angeles and Europe. The truth is, Venetian plaster is a stunning addition to any room, whether it's modern or classic. It's also surprisingly simple to apply, and the final appearance is entirely up to you. So take advantage of the luxury of artistic license, grab your painting spatula, and prepare to channel your inner Monet.
Prepare the room
The surface must be smooth and leveled before you can apply Venetian plaster paint to most walls and ceilings. You'll need to cover the floor with a drop cloth or paper before you begin and make sure any holes or cracks in the walls are filled, which is easy with the help of Bob Vila. The optimal surface for applying the plaster is something flat and low-sheen.
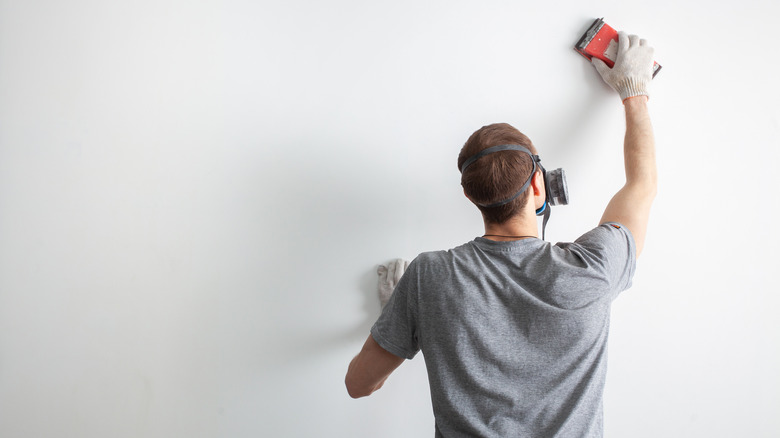
If you have a gloss finish on your walls, you'll need to repaint them with flat or even eggshell paint. Lay drop cloths beneath the area you wish to finish to protect it from paint splatter, whether you're applying handmade Venetian plaster to the walls or the ceiling. Remove all the hangings and fittings from the surface and use a spackling paste to patch any gaps. Allow the paste to cure according to the manufacturer's directions before using 100-grit sandpaper to softly sand the spackled areas.
Next, concoct a basic cleaner by mixing 1 teaspoon of liquid dish soap with four cups of warm water in a large bucket to remove the sanding dust, grime, debris, and oil off the surface. Wipe off the entire area with a clean rag saturated in the soap solution, then remove the suds with a water-dampened rag. Finally, cover the baseboards, as well as the borders of the surface and ceiling, with painter's tape once everything has dried thoroughly.
Apply the first coat
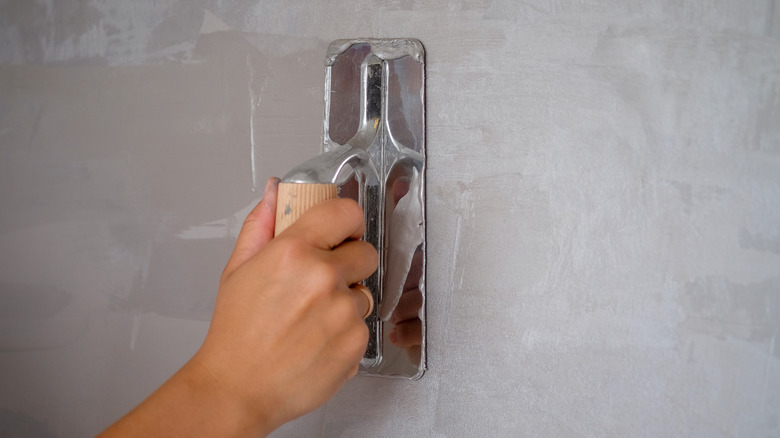
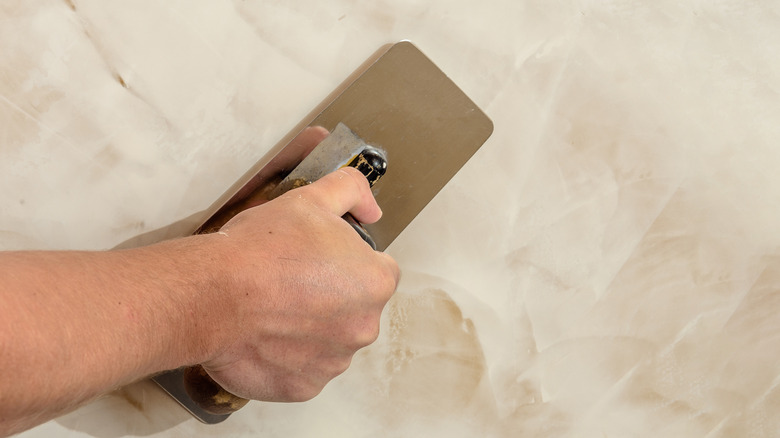
According to American Environics, it's imperative to be safe while plastering, so put on your dust mask, rubber gloves, and safety glasses to avoid unpleasant situations. With a drywall trowel or spatula, scoop a considerable amount of colored joint compound onto a hawk. Then, apply a 1/8 inch thick coat of joint compound over the surface with short, softly curved, x-shaped strokes at varied angles.
Start at the top left corner and work your way down the surface until it's completely covered, wiping down the trowel's edge with a wet rag to remove any dried-up joint compound and prevent the plaster from leaking into your finish. Any flaws in the first coat can be carried over to the finishing coat, so be sure to apply evenly throughout the entire surface. Take a step back from the wall now and then to evaluate your work and take in the bigger image of your masterpiece.
Allow the joint compound to cure as directed by the manufacturer (typically 24 hours), then lightly smooth the surface using 60- to 80-grit sandpaper. To soften the ridges in the texture, use circular motions. After sanding, wipe the wall down with a wet rag to remove sanding dust, then let it dry thoroughly.
Apply the second coat
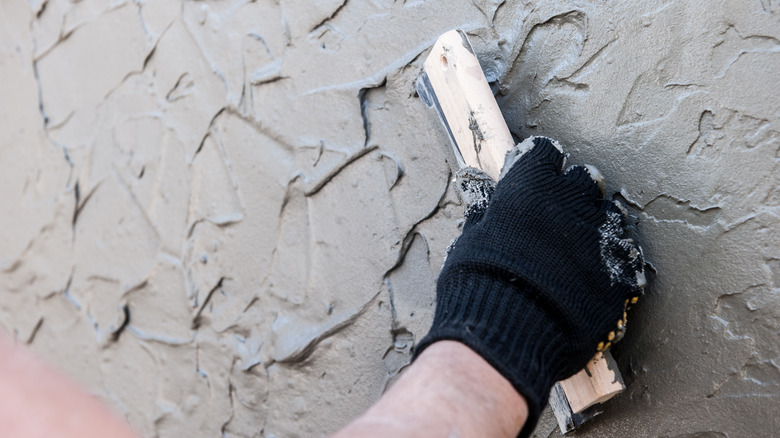
Use the same color Venetian plaster paint for the second layer as the first. Apply a second thin coat of plaster while maintaining a 60 to 90-degree slant with the hawk, using long and short overlapping strokes in an x-shaped pattern. Make sure to cover the entire surface, filling in any gaps and removing any high spots, and allow at least 24 hours for the plaster to air before continuing with the finishing phase.
If possible, allow the surface to dry for more than 24 hours. Then, burnish the surface by sanding it in a circular motion. After you're done with the sanding, wipe down the wall with a moist cloth to eliminate any remaining residue. To give the surface a polished appearance, use the side of your trowel. Now you can add a top coat as the final step to boost the surface's durability and washability; this is a must, especially if you live in a high-moisture area or plastered in a high-traffic room.
Apply a top coat
When it comes to the topcoat, something to keep in mind is to ensure it's made for the particular brand of plaster you used. It's also possible that the topcoat may slightly darken the Venetian plaster texture and color. When the surface is completely dry, use a roller to apply a coat of clear water-based sealer to preserve the texture. Brush pre-tinted glaze over highlights or lighter surfaces with a paintbrush to deepen the color differences in the joint compound. As with the joint compound coat, use an x-shaped stroke pattern.
"With Venetian plaster, there's a method of painting where you get a much more rich finish throughout your whole place," Saoli Chu told Curbed. "You can add more pigments and different sheens to get an overall look."
If you want to replicate a marble look, use a glaze color that is much darker than the joint compound coat, but if you want a low-contrast look like limestone, pick a glaze that is closer in color — but still somewhat darker than — the joint compound coat. When the glaze is entirely dry, you should be able to see the stunning effect of highlights and lowlights in color. Once the sealant is dry, remove the painter's tape.
Maintain the Venetian plaster
To keep your newly-finished masterpiece clean and maintain it, ensure you dust your sealed Venetian plaster once a week. If you'd rather vacuum or sweep the surface, make sure to use a soft brush attachment or a cloth to avoid scratches. If the area turns grimy or gets stained, clean it with a soft cloth or clean rag soaked with a mixture of 1 teaspoon liquid dish soap and 4 cups of warm water. Make a second pass with a clean, wet cloth to remove the soap mixture.
If you follow these steps, your Venetian plaster finish should last for years, if not decades. And as Curbed says, although today's homes' plaster walls aren't as thick as they were in the days of scratch-and-lath, the product's time-tested resilience remains. What was gained in terms of building speed was lost in terms of quality, but that doesn't apply to Venetian plaster.