15 Genius Tips For Installing Marble Floors

There is simply something special about a marble floor. Classic and sophisticated yet bold and individual, each marble floor is a unique creation that only exists in that room. Created by combining a sedimentary stone like limestone with the enormous pressure of Earth's geology, marble in its raw form is tough, unyielding, and stubborn. Yet through centuries and millennia of working with this naturally stunning resource, we've developed ways to turn such a solid piece of rock into the epitome of flooring luxury, seen everywhere from palaces in Ancient Greece and Rome to the most highly-praised buildings in the world — and now to your own home.
Despite its hard initial presentation, marble flooring is surprisingly delicate, requiring a gentle touch and finesse during installation. This can often be a costly learning experience for the DIY homeowner. Not only are marble flooring materials notorious for falling on the higher-end of the price point for natural stone flooring materials — Home Advisor estimates about $10 to $20 per square foot — the labor, when contracted, can add up, as well. To have your marble floors installed by a professional, you should expect to spend an additional $3 to $7 per square foot.
While the price of a marble floor may be breathtaking, it can be reduced by installing your marble floor yourself. Albeit a more difficult DIY project, installing a marble floor is one you can handle with the right tools, tips, and materials.
1. Know your marble
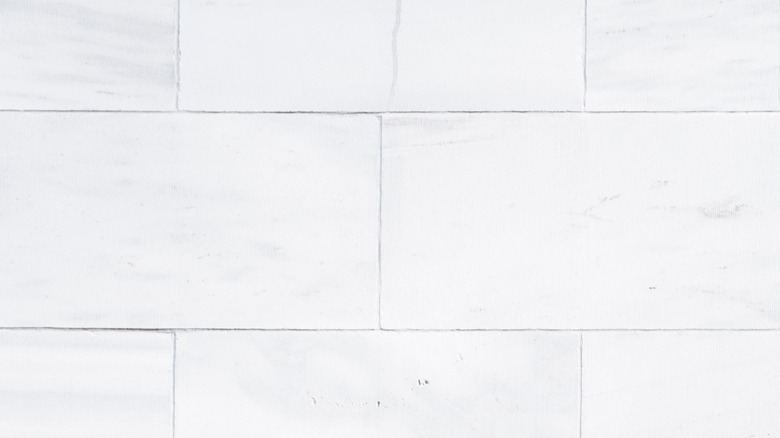
Before using a material to its full potential, you should introduce yourself. Not all marble is created equally, so understanding the types and finishes of marble will give you context for your future installation decisions.
Bob Vila explains every one of the more than 100 types of marble is specific to a region and retains specific properties of that region, making it more or less rare and expensive. While that impacts the aesthetics of your finished floor, the finish will determine how functional it is. Spend the time to choose the right type and finish of marble that will best elevate the room, keeping in mind both function and aesthetics.
2. Test your marble before buying
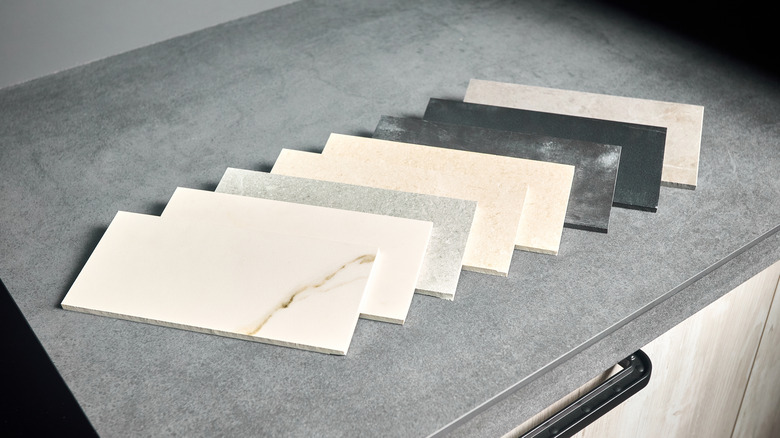
You should test your marble before you buy it. First, check the tile backing. Mesh-backed tiles are often lower-quality and are more prone to breaking and scratching. Also look for filled areas that appear irregular or dull. These are surface holes filled with a compound which can come loose over time.
Pay attention to any fissures, per Houzz. While some may be present, deep ones are concerning as they weaken the tile. If you notice one, check whether the fissure is noticeable on the back of the tile. If it is, keep shopping. Finally, check for artificially-colored slabs by scratching the surface gently. Raw slab will show a scratch fairly easily, while artificially-colored slabs already have layers of sealant protecting their color. These slabs tend to fade quickly.
3. Plan your design on paper first
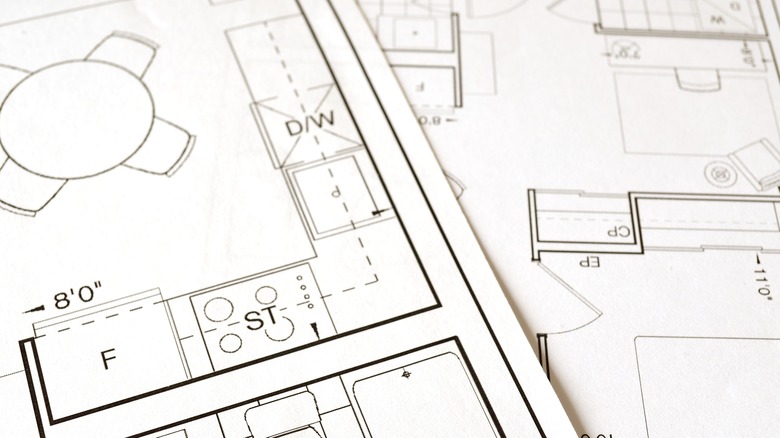
You may have the perfect design for your marble flooring in your head, but before you grab the mortar, plan out your design on paper. Use accurate measurements of the room, keeping dimensions as close to reality as possible.
Doityourself recommends starting the design in the middle and working outwards. This tends to look better and result in a centered and symmetrical room. However, this is your chance to be creative! Give yourself options. This will make choosing your tiles easier, create less breakage from moving tiles around, and put your own touch to your flooring.
4. Invest in your subfloor
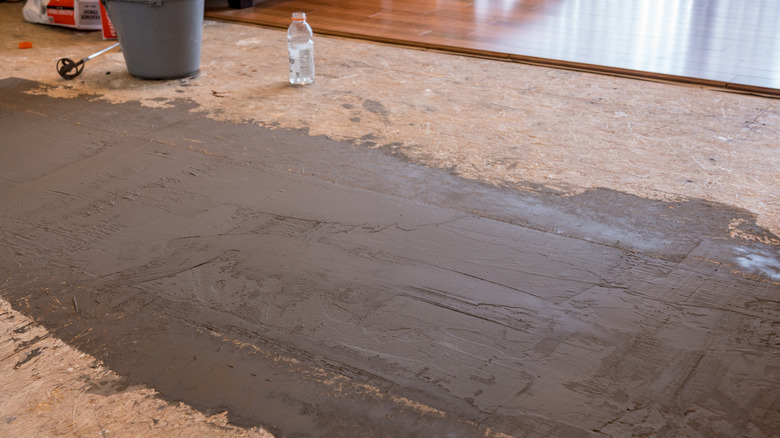
One of the most crucial steps of installing a marble floor is focusing on your subfloor. Marble is a heavy stone. While a concrete subfloor can support the weight and keep the tiles from shifting, wooden subfloors are too pliable and weak to last long-term. It's tempting to simply install it over your existing flooring, but that's a huge mistake that could be costly and dangerous.
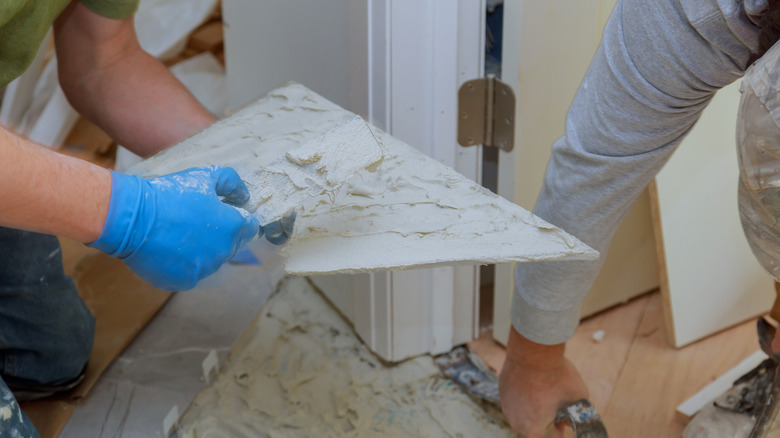
If you have a wooden subfloor, Doityourself recommends installing cement board on top of it. With a concrete subfloor, your biggest issue will likely be an unlevel surface. This can be resolved with self-leveling compound or spot-fixing with mortar if it's only a small area that's off.
5. Always draw reference lines
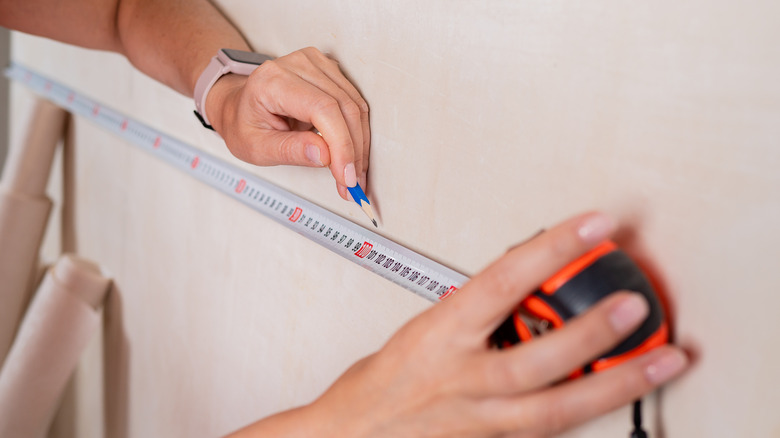
Your best bet for a nicely-laid design will be reference lines. The Spruce recommends using opposing walls to find and mark the center of the room. Then, draw two lines — chalk is a great option — perpendicular to cut the room into quadrants.
Not only does this center your design, it's a way of checking yourself as you install more tiles. Not sure your reference lines are exact? Lay full tiles along the lines from wall to wall. If the last tile row against any of the walls is less wide than the others, adjust your lines accordingly.
6. Double-check the design before installation
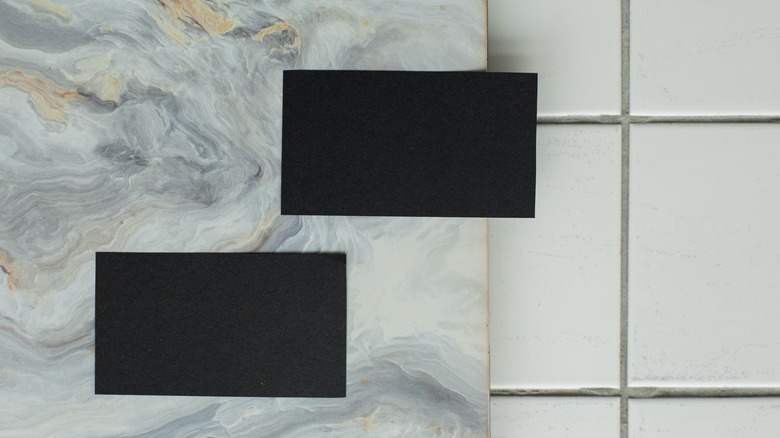
You have your materials and design. You're ready to install a marble floor. But before you start permanently affixing tiles, consider laying out your design using your actual tiles. As beautiful as your design looks on paper, the reality may be different, especially considering the singularity of every marble veining pattern.
Be extremely careful. Marble tiles are brittle and can break or crack easily, warns Atlas Marble & Tile Inc. There's no avoiding some breakage, but more breakage means more money. However, doing this will ensure you have enough tiles and give you a better visualization for the project ahead of you.
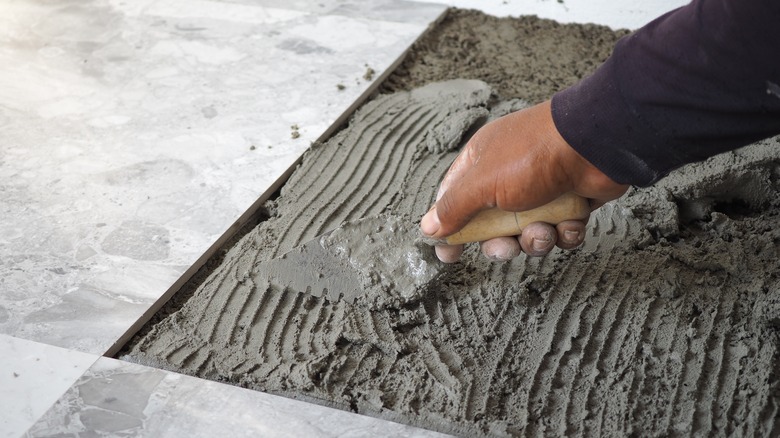
7. Don't go wild with mortar
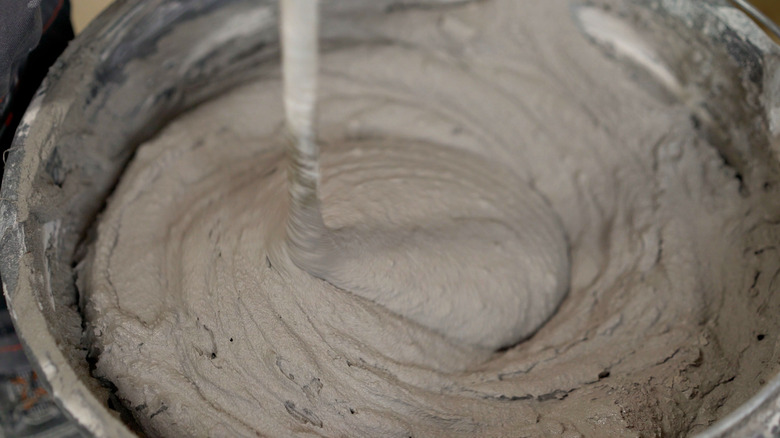
Starting the installation process, it's tempting to try speeding it up. When it comes to working with mortar, you can quickly have a sloppy end product. Thin-set mortar dries to an unworkable state in minutes, according to SFGate. Only spread enough to cover the area of about three to four tiles at a time.
On the back of each tile, spread another thin layer. Use a notched-edged trowel to create texture on both. This increases the strength of the adhesive bond between the tile and the subfloor. Remember, it's better to install four tiles well than 10 tiles in a way that reduces longevity.
8. Tile spacers are a must
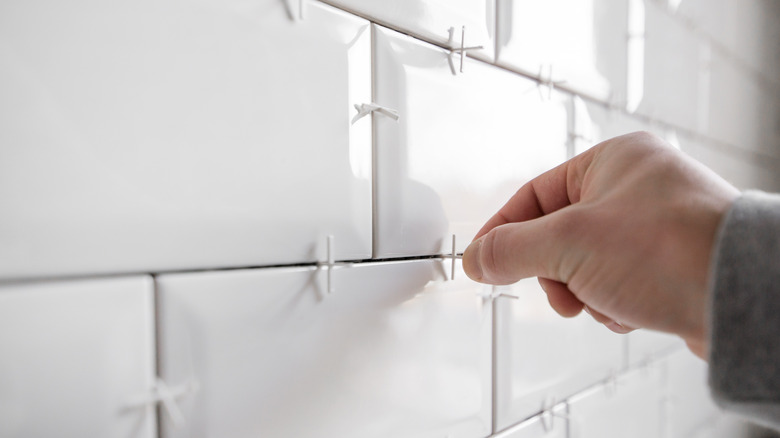
Although they're small, tile spacers are key to laying evenly-spaced tiles. These small plastic pieces ensure consistent spacing between tiles throughout your installation, improving the finished look of your floor.
Hunker recommends you place at least two spacers between each adjacent tile to ensure an even gap. Be sure the tiles are making contact with the spacers without deforming them. After about 20 to 30 minutes you can remove them, easily done by sliding an edge under the horizontal arm.
Timing does matter. If you remove the spacers too soon, you risk tiles shifting. But waiting too long can make removal a chore.
9. Keep an eye on tile height
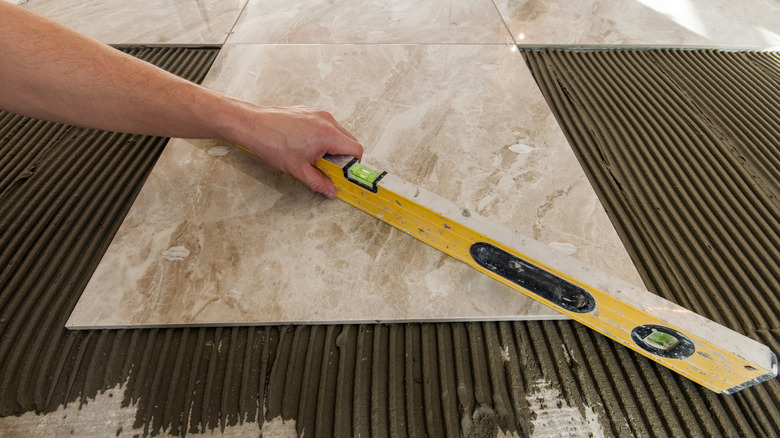
If you don't consistently check the height of the tiles during the installation process, you may be stuck with a hazard. One errant tile higher than the others will be the obstacle in your home you avoid for fear of a stubbed toe or falling.
The Spruce offers an easy way to do this using a simple piece of lumber. Every three to five tiles, place a 2x4 across your work. Consider keeping a thin sheet between the wood and your tile to avoid any damage. Gently tap the 2x4 with a rubber mallet until it's laying flush across every tile. Next time, match the tiles you're checking with the previous ones.
10. Use marble-appropriate tools

Surprisingly heavy and exceptionally strong in its natural form, marble tiles are quite brittle and can crack or break easily. This becomes critical when you start cutting custom tiles.
A tile cutter will not be enough. For marble tiles, you must use a wet saw, which has a diamond-covered blade. A stream of water keeps the blade cool, but The Spruce explains that means you have to use a GFCI-protected outlet. While this is one of the more common types of electrical outlets, many homeowners are unaware of whether they have one. Instead, you can also use a GFCI-protected extension cord. Plan on setting up your wet saw outside or you'll face a huge mess in your work area.
11. Save custom tiles for last
After hours placing tiles, starting from the center of the room and radiating outward, you have what Doityourself calls a "peaceful and balanced" feeling in the room. Now, you have a few inches of space wrapping the outline of the room. To fill this, you'll need to cut your custom tiles — and there's a good argument for leaving it last.
As you install tiles, you'll develop a flow. Interrupting that flow will slow down the installation process. And while you can try to estimate the width of the gap before you start installing, it will likely vary at least slightly after tiles are actually mortared in place with spacers.
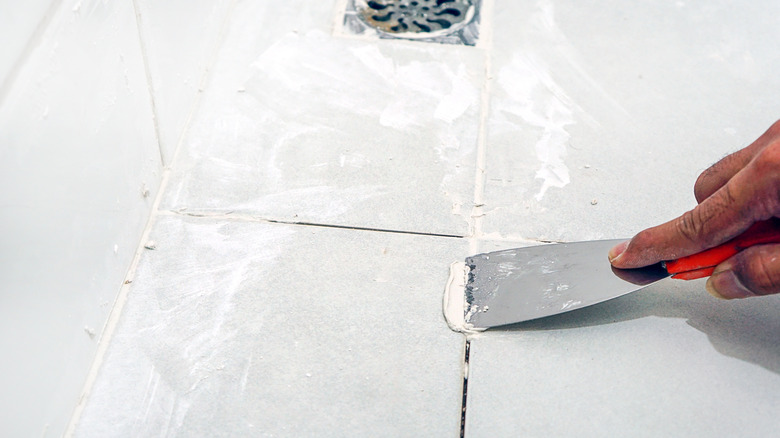
12. Clean up your mortar
Deep into the installation process, with your knees and back screaming and the light at the tunnel dim, it's easy to forget to tidy your mortar as you go. Mortar can ooze up between tiles and travel to the surface of your tiles. Ignoring this is a huge mistake.
Taking a paint stick or knife to the spaces between tiles and removing excess mortar will mean cleaner grout lines in the end. Wipe the edges of the spaces quickly, too. If the run-away mortar dries on your tile's face, Doityourself reminds us it can be impossible to remove.
13. Don't skimp on sealant
The lifetime of your marble floor greatly depends on sealant. Marble is porous, easily penetrable, especially by liquids and dyes or anything acidic. Ensure your marble floor looks luxurious as long as possible by sealing the tiles before you grout, which can easily stain your tiles.
SFGate advises you use a sponge to apply a thin layer of sealant, then let it fully dry. At the very least, you should plan on two applications, though some recommendations are for as many as six. The more layers, the less wear and tear on your tiles and the longer you can go before resealing.
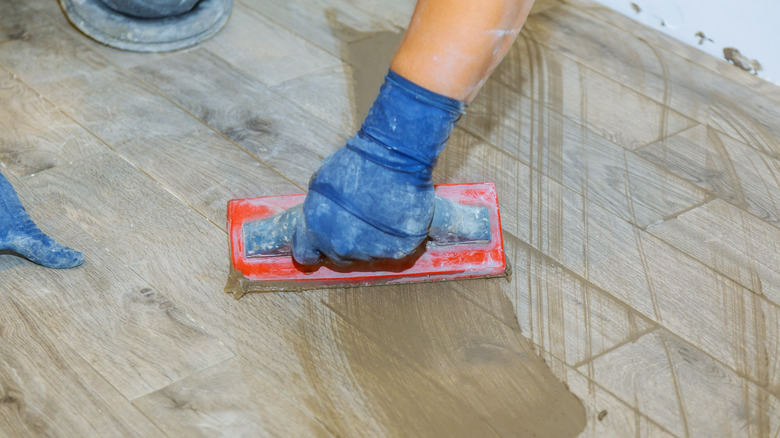
14. Always use grout responsibly
Grout is often brushed off as an easy part of the installation but actually requires knowledge and focus. Because marble can be easily scratched, it's tempting to use unsanded grout versus sanded grout, both of which are beautifully explained by The Spruce. However, sanded grout is better for wider spaces. Family Handyman reminds us to seal marble tiles before this step.
With dry grout, be reserved when adding water; too much will weaken your tile. Once your grout is applied, don't forget to clean it off your tile with a grout sponge before it dries to avoid a hazy film, according to Bob Vila. Finally, seal your grout to add strength and protection against stains, mold, and mildew.
15. Create a maintenance schedule (and stick to it)

You did it! And while installing marble flooring can be a huge project, the finished product is stunning. Now you need to care for it.
Bob Vila recommends you sweep daily to avoid scratches. Regularly damp mop the tiles to keep them clean without risking water pooling on your tiles. Never use an acidic cleaner; marble has a lower pH, meaning it will chemically interact with an acidic product, leaving permanent stains. Any spills should be cleaned as quickly as possible, as well, to avoid staining.
Finally, plan now when you will reseal your floor. To fight wear and tear, plan on resealing at least once annually. However, if your floor is in a high traffic area, two applications annually is better.