DIY Painting Tips That Will Make Life Much Easier
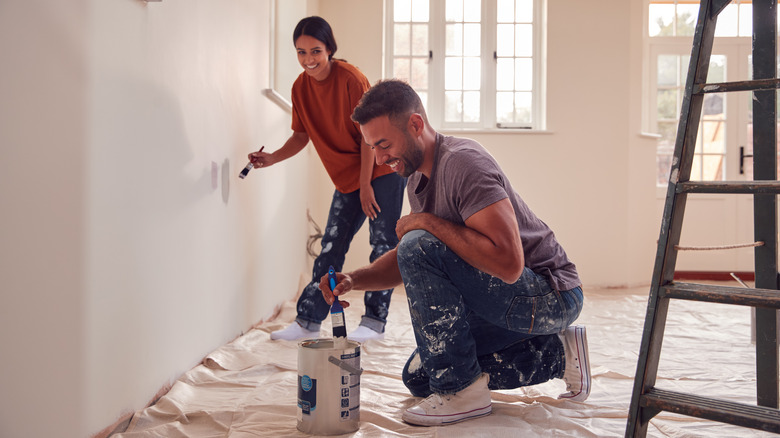
Painting a room can be an easy way to freshen up a room or update the vibe in your home. However, it can also be stressful, time-consuming, and costly if you run into any issues or aren't fully prepared for the job at hand. The best way to avoid costly painting mistakes financially and time-wise is to know what you're getting yourself into before starting your project and what to expect. Being aware of the issues you may run into and having simple solutions up your sleeve should any of them arise is essential and will save you a lot of stress, time, and money down the road.
The truth is, not all paint jobs are considered equal. Everything from the products you choose to your project preparation surface beforehand can play a major role in determining how the job will look. According to House Grail, 88% of people are more likely to want to be at home after painting an interior room. Luckily, you don't need to be a professional painter to get the most out of your living space and maximize the joy and sense of peace your home can give you. Following a few simple DIY tips can ensure your paint job is as easy and as worthwhile as possible.
Do a thorough visual inspection beforehand
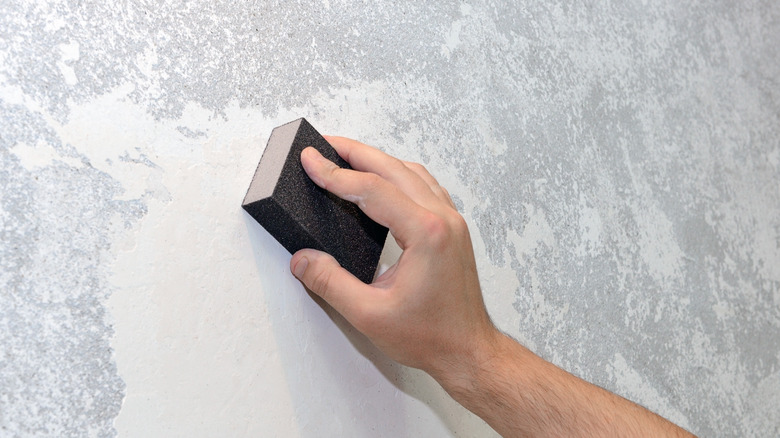
Doing a thorough inspection of the area you intend to color before even opening a can of paint will help assess which sections of your walls need attention before you begin. According to HGTV, any cracked, flaking, or peeling areas of the surface you are painting need to be lightly sanded or scraped and then thoroughly rinsed before applying any primer or paint. The weight of the new tints will pull any old, chipped paint loose, creating visible texture and bumps in your new paint job. Taking care of that texture beforehand will help prevent you from wasting money on additional color to try to cover the composition. It will also save you the stress and headaches that will come when you inevitably realize your wall is still textured even after you go through the trouble of buying additional paint to cover it.
Before painting, dirty, greasy spots must also be washed with soap and rinsed with clean water. According to Popular Mechanics, the paint won't properly bond to greasy, dirty surfaces, such as the areas around light switches that are constantly being touched or the area above a stove. In addition to soap and water, degreasers on the market will also do the trick. Just be sure to wear proper eye protection and gloves, as they contain more powerful and potent chemicals than soap and water.
Invest in high-quality brushes and rollers
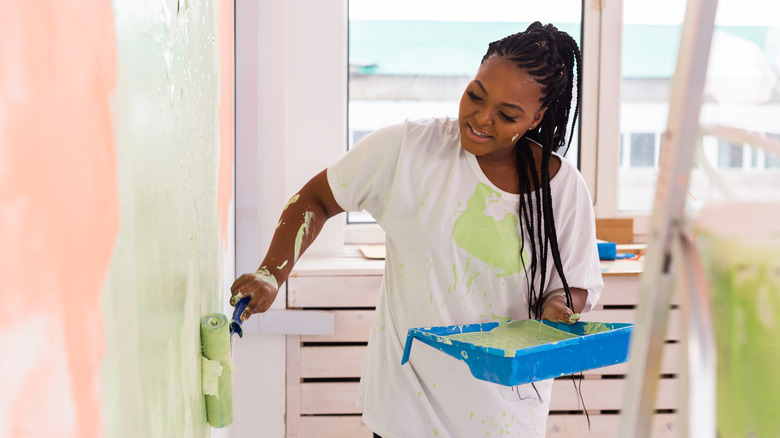
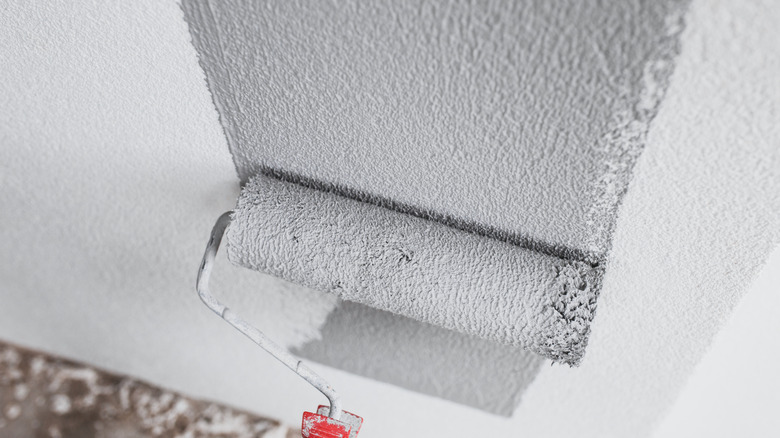
Investing more money upfront in higher quality brushes and rollers will actually help you save more money and time in the long run. According to HGTV, higher quality paint brushes and rollers provide much better, more even coverage, which will save you time on re-application and will help prevent you from using more color than you need to. Popular Mechanics also adds that using cheap brushes can leave behind bristles in the paint, creating a mess of your smooth coat — especially if the paint dries before you are able to remove the bristles. They recommend spending a little extra money on branded brushes, adding that they will not only help your paint go on smoother, but will last a lifetime if properly taken care of.
In addition to investing in high-quality brushes, Popular Mechanics also suggests investing in the highest quality paint you can afford. Higher-end paint offers better coverage and smoother application and will make the surface easier to clean in the future without inadvertently removing any tint, ruining your hard work.
Use a tinted primer
If you had to patch lots of nail holes or fix any wall damage before your paint job, you might want to consider using a tinted primer. According to Popular Mechanics, painting directly over a patch job can lead to an issue known as flashing, making the mended area look flat and dull compared to the rest of the wall. This calls even more attention to the surface blemish you were trying to conceal in the first place. Using a traditional white primer will slightly solve this issue, but not nearly as much as a tinted primer.
According to Sherwin-Williams, tinted primers come in various shades of gray and help create the ideal balance of light absorption and scattering. Basically, this will create a fuller coverage paint job, especially over patched areas you want to conceal. Not only will tinted primer help you pull off a more polished looking paint job, but it will also ensure the paint hue you end up with most closely matches the actual shade of the sample in the store that you picked out.
Opt for true painter's tape instead of masking tape
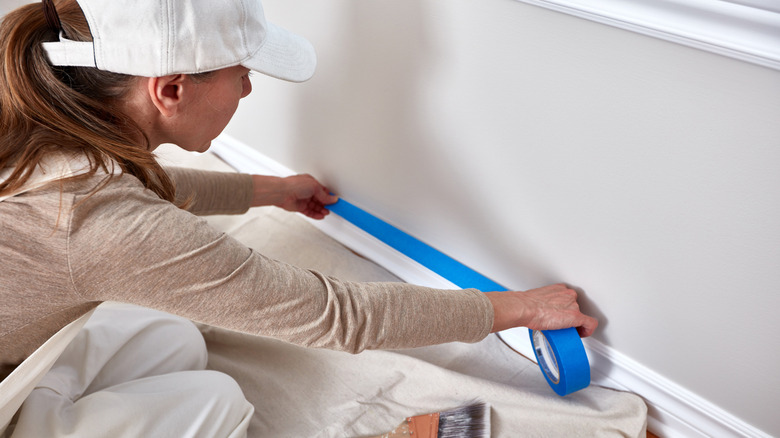
It turns out that not all tape is created equal. This is especially true when it comes to the type you use for your paint job. Yes, masking tape is usually cheaper than painter's tape, but that doesn't mean you should use it to cover off your trim and other areas you want to protect. According to Tape Jungle, masking tape and other similar commercial tapes tend to buckle and wrinkle, making it easier for the paint to seep beneath it. When removed, it also leaves behind a sticky residue, potentially damaging your trim or other wood surfaces. Painter's tape is specifically designed to be left on for long periods without damaging surfaces or leaving behind any remnants.
Popular Mechanics adds that it is best to go over it with a putty knife when you are finished taping. Firmly running a putty knife over the tape after laying it will create a tight seal, preventing any paint from bleeding into areas you don't want to be colored.