15 Genius Tips For The Perfect Miter Cut
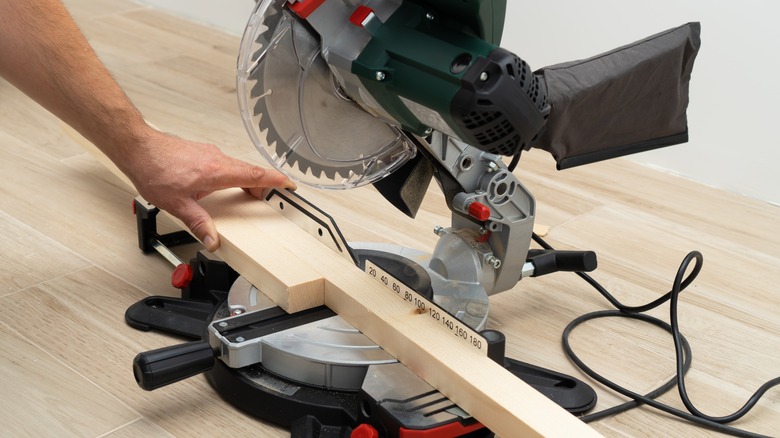
Miter cuts are a prerequisite when constructing everyday items, such as doors frames, wooden boxes, picture frames, seals, and window casings. Fundamentally, a miter cut refers to a cut at any angle other than 90-degrees that is created across the face or width of a piece of wood, Sawinery notes. It is achieved with a miter saw, a specialized tool for angled projects with a blade that pivots on an arm. Sure, table saws also do a fine job, but the former yields the best results.
Before we get into the reason for our gathering, consider the following shop safety tips for cutting perfect miters. First, before cutting, mark your wood piece and position the clamp at least 6 inches away from the blade. Second, tighten the wood piece until secure; it is imperative to double-check to avoid injury. Third, saw from front to back to avert or minimize kickback. Fourth, rid the dust collector of dust and chips after use. Now, let us get started.
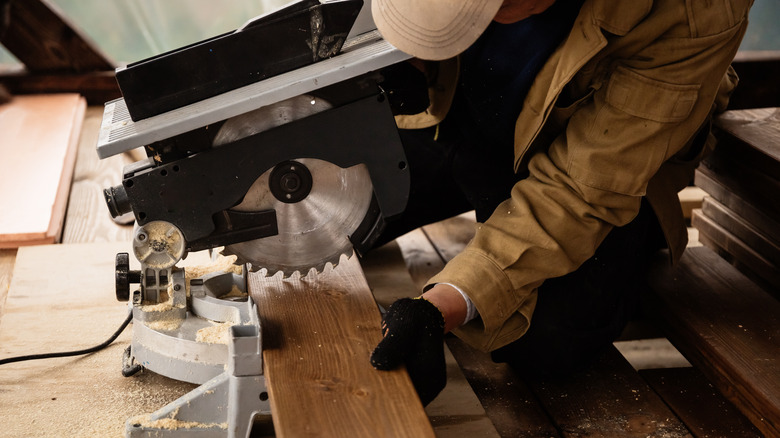
1. Check your blade; know your blade
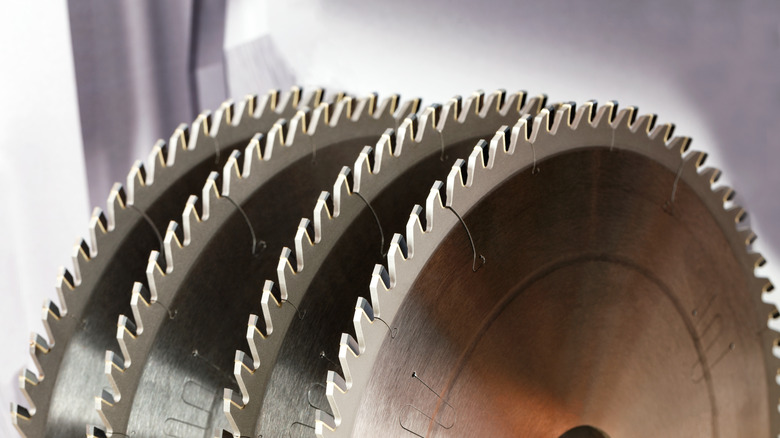
You cannot make perfect miters with a dull blade; it will leave burn marks on the workpiece and create an uneven and unappealing finished look, Sawinery explains. Here is how to choose the right cutter: Blades with fewer teeth cut faster as they remove more material, but those with more teeth offer smoother cuts and finer finishes. To check the sharpness of your blade, cut a 45-degree miter on any hardwood type. If the blade is sharp enough, it should cut smoothly with little pressure and leave a clean laceration with no burn marks.
2. Add a disc sander to your woodworking routine

One of our tips for cutting perfect miters is to use a disc sander to make accurate micro-adjustments. A disc sander is a benchtop machine that shapes wood pieces, makes miter cuts, and sands curves. According to HomeQuestionsAnswered, it consists of a circular sanding disc attached to a circular plate. You can modify the angle by a fraction of a degree, shorten the workpiece with a quick touch of the disc, and even make custom angles for your miter cut with this tool.
3. Steady your workpiece
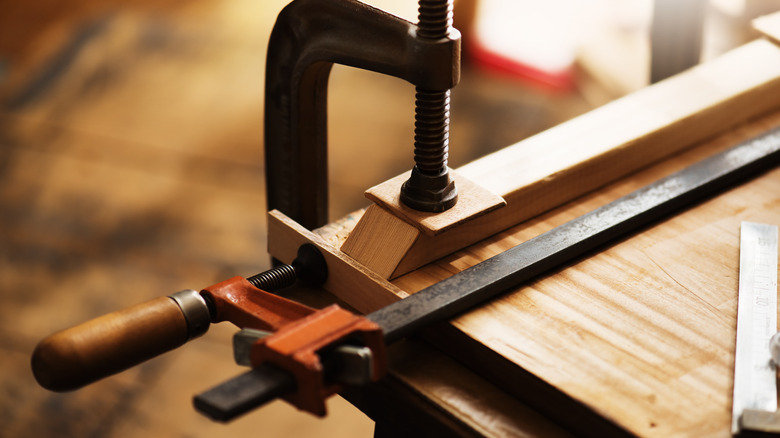
You cannot achieve perfect miters if your wood piece is wobbly. Traditionally, woodworkers use small wood planks or an insulation sheet to support and steady lumber when cutting. Kreg explains that a portable crosscut tool offers better results for the perfect miter cut: It holds the wood piece steady and has a ledge that prevents the saw from tipping, ensuring that the miter edge is straight and flat from pre-cut to post-cut. This means that you do not have to worry about holding your saw steady or at a particular angle as you cut.
4. Double-check the alignment of your blade

You want your blade to be perfectly parallel to the miter gauge slots; it is the only way to prevent uneven edges and burn marks. Checking blade alignment is critical; it must be done regularly, not just before using your miter saw, because, according to Woodsmith, the vibrations created when using the saw can alter the placement of the blade. Note that every saw is different, so it is best to consult your owner's manual for the proper adjustment technique.
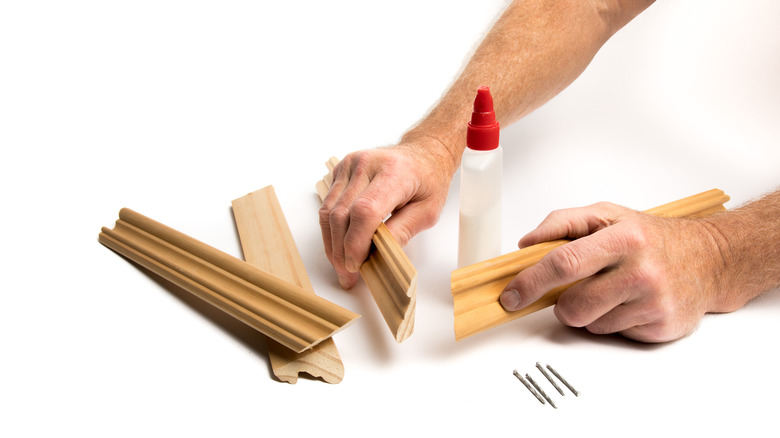
5. Glue and sand miters for a perfect fit
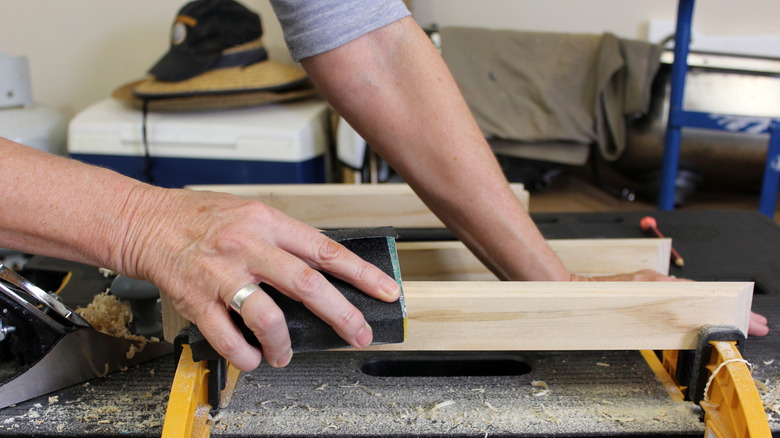
Family Handyman has a tip to improve the quality and appearance of your miter cut: Before assembling your miter, apply a thin layer of wood glue to the end of each wood piece. Then, take a damp cloth and wipe the excess glue from the joint. Using 120-grit sandpaper and moving in the direction of the wood grain, sand over the surface area of the miter, across the joint, and any cross-grain sanding marks. Sanding the miter will even out level differences and make the workpiece look professional.
6. Ensure workpieces are of equal length

It may seem like a no-brainer, but Fix This Build That agrees that it is one of the most critical tips for cutting perfect miters that you will ever receive. To do this, simply make one cut at a time. For the first cut, miter one end of each wood piece, working on all four pieces in this round, so you do not have to switch back and forth between setups. The second cut trims down the workpiece to its final length and establishes the miter on the other end of the workpiece.
7. Always check your hands' position
If you don't know how to position your hand when cutting miters, the chances are that your workpiece will suffer. Kreg offers an excellent rule for this. First, with the miter gauge on the left side of the blade, place your workpiece on the table and use your left hand to hold it steady against the fence. Second, use your right hand to push the miter gauge and gently guide the workpiece through the blade. If you position your hand this way, you will have better control and protect your hands from injuries.
8. Get rid of the gap in the outside corner miter

Sometimes, the outside corner molding miter ends up with a slight gap. One of our best tips for cutting perfect miters is to burnish the area with a small piece of metal. The Family Handyman suggests rolling a nail or shank of a screwdriver along the gap to hide it. The bent fibers will round the corners nicely as you work the area, creating an aesthetically pleasing final piece.
9. Purchase a drafting square and customize it
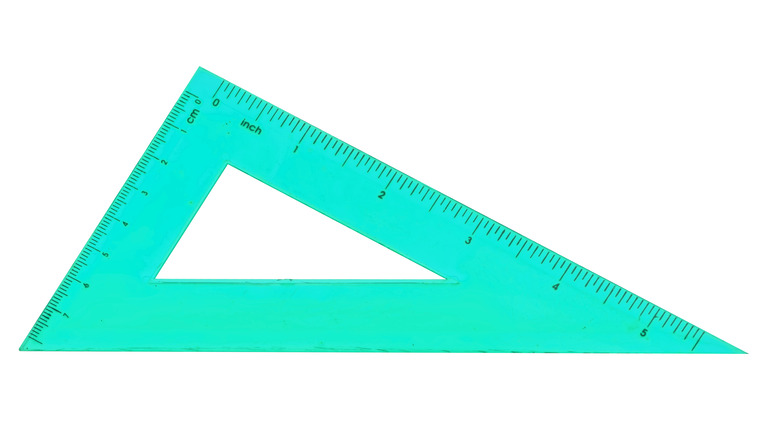
An inexpensive investment that makes flawless straight lines, a drafting T-square can help you accurately mark and cut your wood piece to create the perfect miter. This tool is made of plastic; thus, it can be customized to fit your woodworking needs, Popular Woodworking explains. Note that there are four types of T-squares for drawing horizontal lines at different angles: the English T-square, long fixed head T-square, regular fixed head T-square, and adjustable T-square.
10. Fit one miter at a time
Just as it is crucial to cut one miter at a time, it is equally important to fit one miter at a time when assembling the final piece. Baileylineroad recommends ensuring that the first miter fits perfectly before marking the next one. Cut and fit the adjoining miter prior to nailing either piece. And remember, it is always best to take your time with the assembly process.
11. Check your miter gauge setup
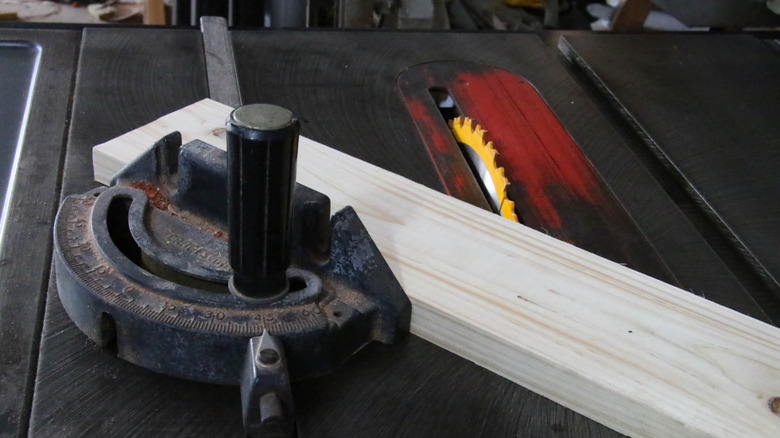
A miter gauge is a long thin metal slot that holds workpieces at a particular angle while a miter saw, stationary disk sander, table saw, or band saw cuts it. It plays an essential role in cutting miters, per NewWoodworker, but sometimes the miter gauge bar can wear down and have excessive play in it. Once recalibrated, your miter gauge should glide effortlessly in the slot with little to no side-to-side movement. Pro tip: to save time, establish a maintenance routine to check for these issues before working.
12. Use a nail gun for the best results
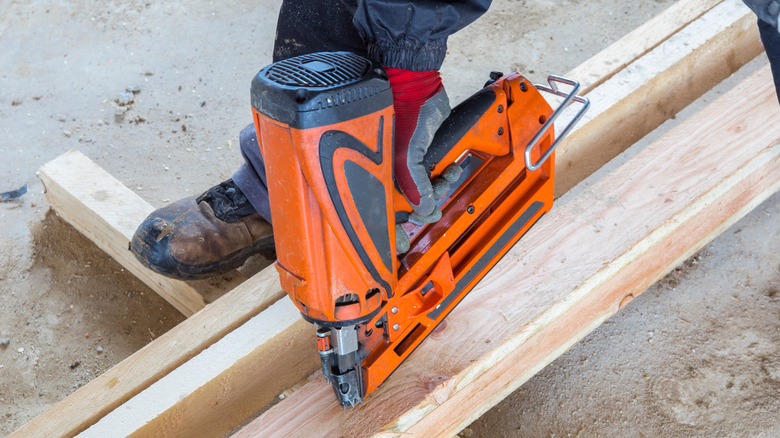
Unfortunately, not everyone can use a hammer expertly; this is where nailers come into play. Trim nail guns allow you to hold the moldings in perfect alignment while instantly pinning them in place. On average, a nailer that shoots slender 18-gauge nails up to 2 inches long is a good place to start. But if your workpiece calls for more strength, a 15-gauge or 16-gauge nail gun can save the day, Mr. Handyman notes.
13. Use this trick for your auxiliary fence
If you are working on a large workpiece, the chances are that you have an auxiliary fence attached to your setup. This is a useful safety tool that prevents tear-out and extends the height of your fence, allowing you to make any cut while shielding your fingers from the blade, per Instructables. But sometimes, this tool moves along the fence during a cut, which can thwart your goal of cutting perfect miters. To solve this issue, use a strip of self-adhesive sandpaper to hold the fence in place after setup.
14. How you fix the miter matters
Nailing the trim flat to the wall rarely makes the miter look great: No matter how little, there can be variations in the level between the wall and the jamb. The experts over at Carpentry Tips and Tricks offer an excellent solution to this issue: pinning the miter before nailing the outside. Holding the miter joint firmly together and pin the inner edges of the trim. Once the miter is in place, nail it to the wall. Finally, take your nailer and shoot two nails at each end of the outside corners.
15. Try the 60-second squeeze
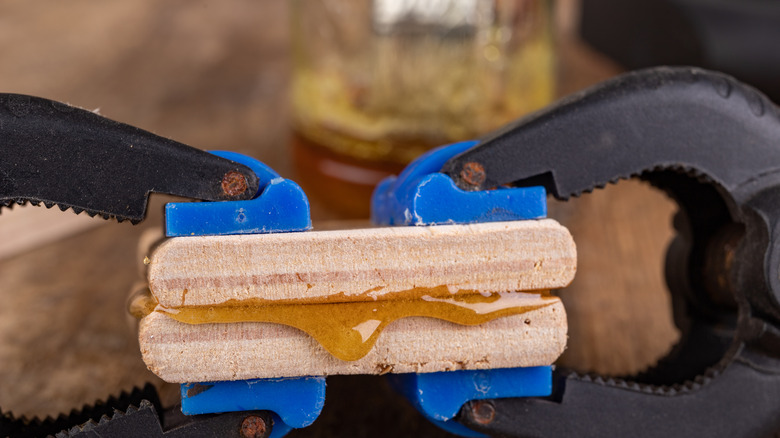
If you are working with small miter joints or hard-to-clamp parts, it may be challenging to fit them together. Popular Woodworking recommends applying glue to the respective ends of the joints and rubbing them together to distribute the adhesive evenly. Next, attach the joints and hold them firmly on a flat surface for 30 to 60 seconds. If you feel any wobbliness, press and hold firmly for a few more seconds. Leave the joints undisturbed for about 30 minutes before handling again.