How To Repurpose A Closet Into DIY Extra Bookshelves
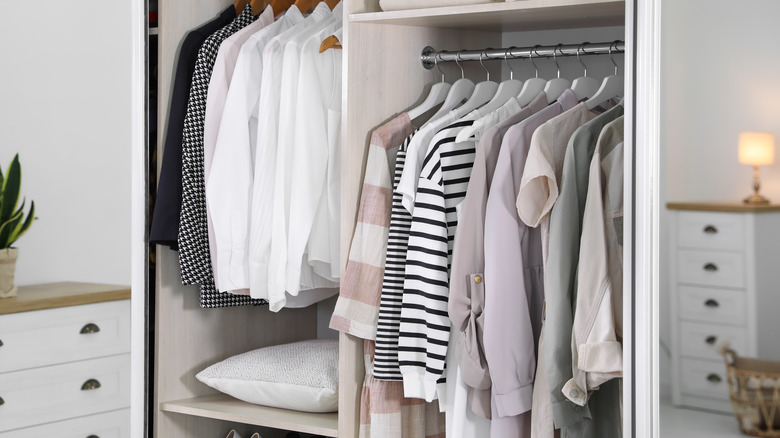
While bookcases can be a nice addition to your home and give you a space to showcase your ever-growing book collection, your trinkets, and more, not everyone has space for one. But what if you transformed one of the many closets in your home into a built-in bookcase? Tiffany, the writer of A Nod To Navy, did this in her own home and turned a boring hall closet into a lively bookshelf in just five steps. And who knows, this DIY just might give you some motivation to clean out your closets too.
As for what tools she used and the overall price of the project, she doesn't include much information but does state that when she was looking for inspiration, she found that others such as Beard + Bloom and Bless'er House have attempted the project before, so if you want a definitive list, make sure to do some research first. She also recommends double-checking your measurements throughout the project as each and every closet has different dimensions and will require specific materials and a little bit of math.
Building a base and a frame
Once you've cleaned out your closet, checked your measurements, and gotten all of the materials you may need, it's time to begin. Start by building the base of your bookcase. In her tutorial, Tiffany used cut-down 2x6's to create her base, with the intention that her shelves would be 12 inches deep and flush with each side of the closet's opening, as states in A Nod To Navy. Her base measurements additionally accommodated for the thickness of her framing boards which would serve as the support for the back of the bookcase. You should also consider the measurements and depth of your backing material when building your base.
After building your base, the next step is to add framing. This will likely be the trickiest part of the DIY as you have to figure out how to fill the gaps between the closet's dimensions and the back and sides of your base. Despite the headache, this step will also allow your bookcase to have a truly built-in look. Starting on the back wall in her own closet, Tiffany again used 2 x 6's that were cut to a specific depth to fit the space and attached them vertically to the wall. From there, she added horizontal boards, which served as a place to attach the backing material and the shelves in later steps. She then repeated the framing process on the sides of her closet.
Backing and shelving
From there, you'll start attaching your back material. For her own bookcase, Tiffany used fabricated shiplap attached vertically as her backing material, but there are plenty of other options that you can pick from, including beadboard and drywall. You can also start to add your own touches to the DIY project with the addition of paint, decals, and peel and stick wallpaper, which has been trending for a few years now, says HGTV. As for attaching the backing material, the writer nailed each piece of shiplap at the top and bottom to make sure that it was secure.
After you've added your backing material, you can start the process of building and adding in your shelves. By adding shelves, your bookcase will no longer look like a framed out hole in the wall. A Nod To Navy suggests starting with a top and bottom shelf board, which will enclose your bookcase and creates a base from which you can build out your shelves. Cut your shelves lengthwise according to your measurements for how wide each shelf needs to be. Next, you'll want to add 1 x 2-inch furring strip boards that will be screwed into the horizontal supports from step two. Along with the furring strips, the writer added extra support to her bookcase by installing middle supports that were centered on each shelf.
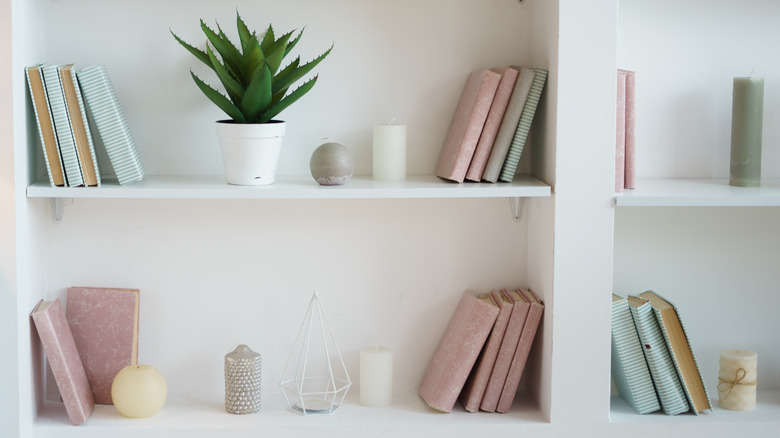
Finishing touches

Once you've built your base, done your framing, and added your backing and your shelves, you're in the final stretch of the project. At this point, you're mostly just adding personalizations and touches up to your new built-in bookcase. A good place to start with this step is adding trim and a baseboard. A Nod To Navy does this with her own bookcase, and while she added a trim that runs consistently throughout her house, you are welcome to pick any type of trim you want.
After nailing the trim in place, you can start caulking the seams and shelves to give them that built-in look. While your excitement may get the better of you towards the end of DIY projects, make sure you give the caulk time to dry before adding any touch-up paint to the shelves. And while you may want to display your books on your new bookcase as soon as possible, also make sure that you allow your paint time to cure as well. Last but certainly not least, add your books or whatever you want to your new bookshelves and display them proudly.