How To Install A Kitchen Sink Drain
When you finally get to renovate your kitchen, your sink is rusted and your pipes are worn out and need to be replaced. To that end, calling a plumber might be your next move by default — but why not be the plumber for the day for a change? And to be frank, we at House Digest think that the sink draining system isn't that hard to understand. SFGate says the same thing: Installing a sink drain is a beginner's DIY project that you can take up in a breeze.
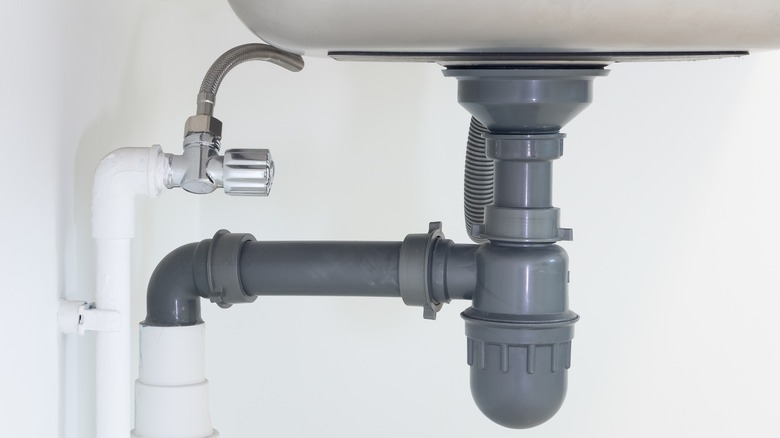
From tools to plumbing, here's what to do for a new kitchen sink installation. But before we get into it, what's the science behind a sink drain system? When you wash your vegetables before cooking, the dirty water goes through the basket strainer, through the tailpiece pipe, into the p-trap, and finally out through the drainpipe leading to the wall cleanout. At the wall or the back of the cabinet, an escutcheon (AKA a trim piece) hides the connection between the wall cleanout and trap. Waste water exits through the trap and down the vented drainpipe to the main stack (via Home Tips).
Tools needed for installing a drain
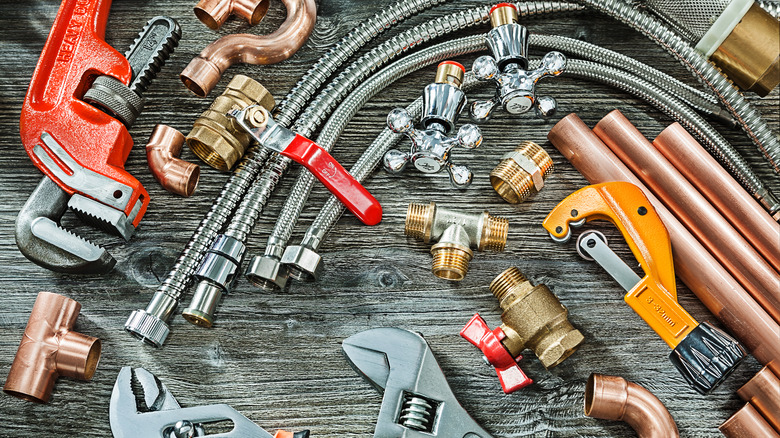
According to The Spruce, to install a kitchen sink drain, you will need a pair of gloves to keep your hands clean and safe, stain-free plumber's putty or silicone, a basket strainer, a kitchen drain trap kit containing all the four necessary pipes, slip joint nuts, a sink drain wrench or channel-type pliers for tightening slip nuts, a PVC pipe cutter or hacksaw, a marker, a level, and a tape measure. Before purchasing your kitchen drain kit, note that they are usually 1 1/2-inches in diameter and not 1 1/4-inches –– the latter is for bathroom sinks.
If you're replacing your sink drain because it isn't working well, check the depth of your sink before you think about reinstalling a new drain. According to the International Building Code, in every linear foot of pipe, you need a 1/4 inch drop so that water can drain properly. So in the context of a kitchen sink, the distance between the bottom of the sink and the wall cleanout should be a 1/4 inch.
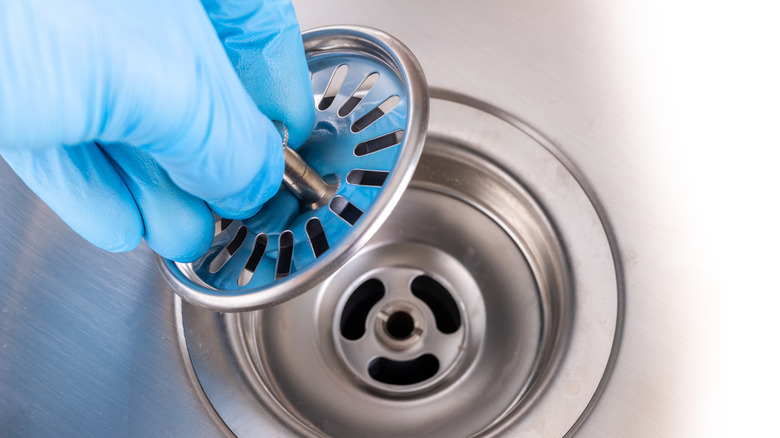
Install the basket strainer
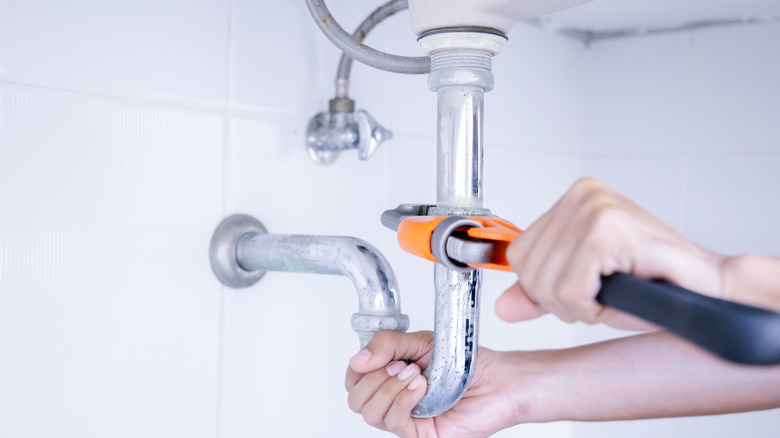
Next, you want to go ahead to remove your old sink drain. Use a screwdriver and hammer to hit against the bottom of the basket strainer to make it loose and then screw it off with a sink drain wrench (via Jeffostroff). Now let's start assembling the new sink drain.
Start with lining the rim of your basket strainer with plumber's putty. The basket strain looks like a metal basket and is the first drain you see in your sink. Just like after-school recess playdough, roll the putty into a cylinder and lay it around your basket strainer. Place this into the sink and press down until it is tightly secured. The Spruce advises to not wipe off excess putty until the whole basket is secured in place. When that's done, go under the sink to put in the gaskets snugly at the bottom of your basket strainer (they look like large plastic rings). Screw on a slip joint nut to secure it in place and go in with your drain wrench for extra assurance.
Install the sink drain pipe system
The sink pipe system has four pipes, accordingly: the tailpiece, the waist arm, the p-trap (a U-shaped pipe that utilizes gravity), and the drainpipe to the wall cleanout. If you're installing a double bowl sink, then a t-trap will be needed to join the tailpieces from the two bowls, per Keeney. To set this up, start by placing the washer (a small, usually transparent, plastic ring) through the tailpiece and push it up into your basket strainer. Secure this connection with a slip joint nut.
The next step is to connect your waist arm. Most times you will have to pre-cut this to fit into your pipe system, as noted by The Spruce. Before you throw out your old pipes, you can use the old waist arm as a guide to measuring the required length of your new waist arm. If the new waist arm is longer, use a PVC pipe cutter to cut off the extra length. Connect the waste arm to the tailpiece with a washer and slip joint nut and do the same for the p-trap to the drainpipe leading to the wall cleanout. Always remember that the p-trap must be connected to the last drain pipe (via This Old House).
When you're done, ensure all nuts are tightly screwed on with the sink wrench and allow water to drain through the pipes for one minute. If there is no leakage, then your newly installed sink drain is good to go!