Use This Ikea Hack To DIY A Media Cabinet
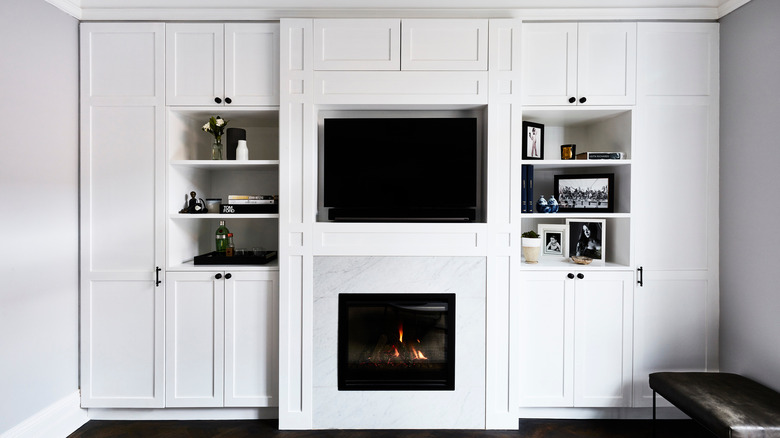
Built-in entertainment centers or media cabinets are growing in popularity, providing a chic way to display your television with lots of discreet storage and shelving. Not only are they attractive and convenient, but they add a lot of value to your home, with Southern Living noting that built-in units are a great way to attract buyers to your home, as it shows a little bit of extra luxury and comfort.
An average media center installation is not cheap, though. Fixr estimates the project to cost $9,000 on average and as much as $20,000 on the high end. Even on the low end, it's projected to cost at least $1,500. It's not an easy project to DIY, either, and will likely require hiring professionals, lots of construction and mess in your home, and an overall hassle. This is why IKEA Hackers found a way to make your own media cabinet for just $950, starting with two IKEA storage units.
1. Gather materials
Before jumping into this project, note that it was made specifically to fit a wall nook in IKEA Hackers' home that measured 114 inches wide, but this project can be tailored to fit any area in your home. You may just need to adjust the measurements on certain materials. To start, you'll need two of the BESTÅ storage cabinets with legs from IKEA.
You'll also need:
- Two 1.5 inch thick panels (each measuring 30 inches by 6 feet)
- 120 inches of baseboard (about 5 inches tall)
- 16 feet of molding (about 1.5 inches tall)
- 12 feet of quarter round molding trim
- A 5 foot by 5-foot piece sheet of wainscotting
- 6 feet worth of 1-inch by 2-inch boards.
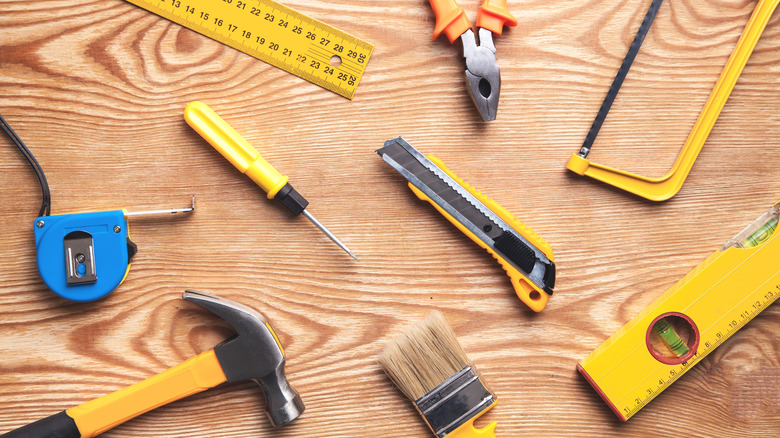
These are all reference points for materials and measurements. You may need more or less (or even none) of any of the listed supplies. As for tools and other supplies, you'll need primer and paint, brushes, a miter kit, a brad nailer, a fine blade jigsaw, a fine-grit sanding sponge, white and paintable caulk, and cabinet handles. You will also need wall mounts (which should be provided with the IKEA cabinets) and something to lay down for priming/painting.
2. Assemble the frame and cabinets
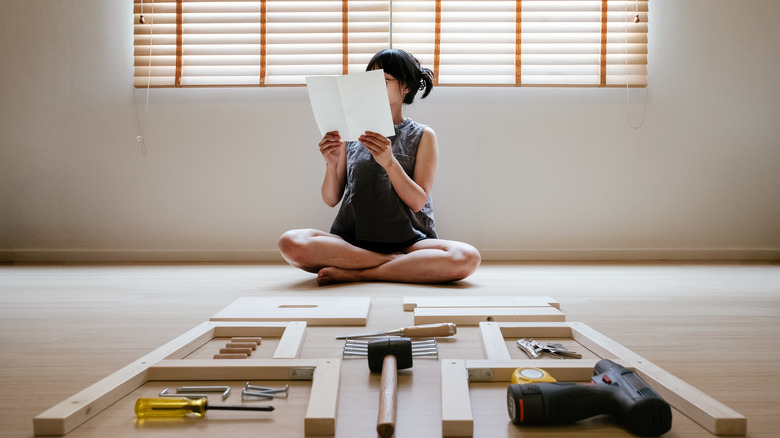
IKEA Hackers says to start by assembling the IKEA cabinets and then use the provided brackets to attach the units to one another. Cut a hole in the back of one of the units in front of an outlet to run plugs through. If you want the cabinets to be a different color, prime them at this point. Measure the width of your nook, and cut your panels/slabs to be long enough to cover it. Then, attach the countertops to the cabinets. If there's a seam, don't worry, you can sand over that and caulk it to fix it.
Make sure you're comfortable with the overhang from your countertops and then mount your cabinets to the wall for security. Using your jigsaw with a fine blade, cut your wainscotting to fill the gaps on either side of the unit. Install a frame and then nail the wainscotting into it with the brad nailer.
3. Paint and add finishing details
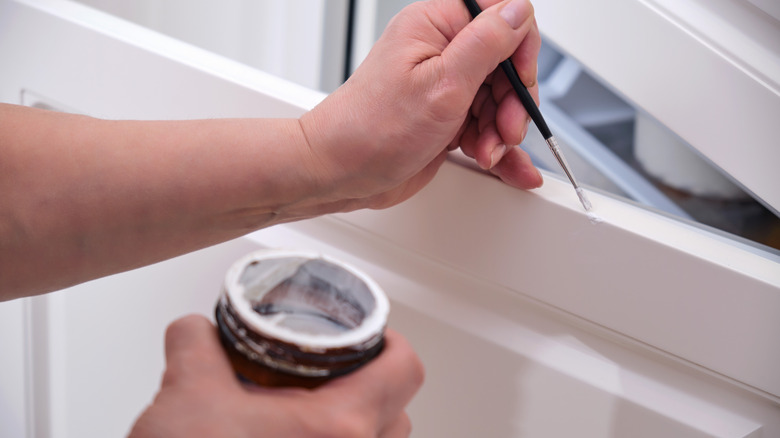
Next on IKEA Hackers' order of operations is to install the baseboards. Make sure they're thick enough to cover the rough edges of the wainscotting, but thin enough to allow the doors to open. Nail them down using the brad nailer, then add the trim, using your miter kit for corners.
When your trim is done to your liking, it's time to caulk all the gaps. Apply painter's tape along the edge of the cabinet so stray caulk doesn't get on your wall. Caulk in any gaps, visible seams, etc. Try to apply it smoothly, but if you don't, make sure you sand it down before painting. If you want, you can apply overlays on the doors while the caulk dries. Add doorknobs on at this time, too.
Once dry, paint over the cabinets to make sure all the colors match. You can reinstall all the doors, or just a few, like IKEA Hackers did. The latter option will create a bookshelf effect. Once the paint is dry, and the doors are installed, you're all done! All in all, expect roughly 25 hours of labor total for this project.