How To DIY A Sump Pump Repair
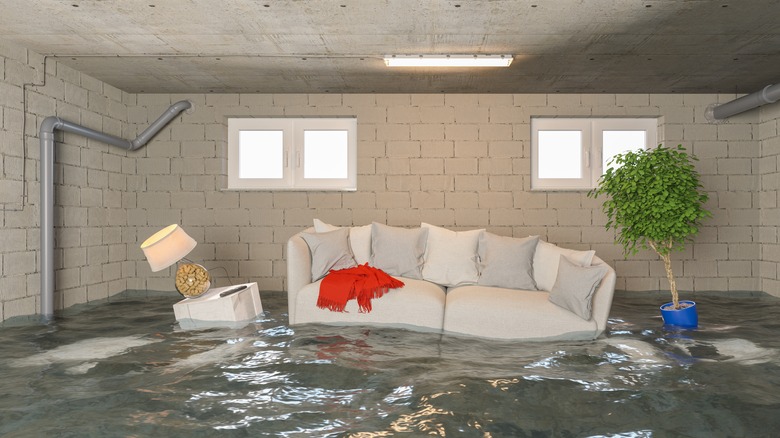
A flooded basement is one of the last things a homeowner wishes to experience; never mind the laundry list of problems that can result from it. Foundation damage, ruined appliances, destroyed keepsakes, and a possible need for asbestos abatement are just a few of the unwanted aftereffects. Health issues can arise as well from a waterlogged basement.
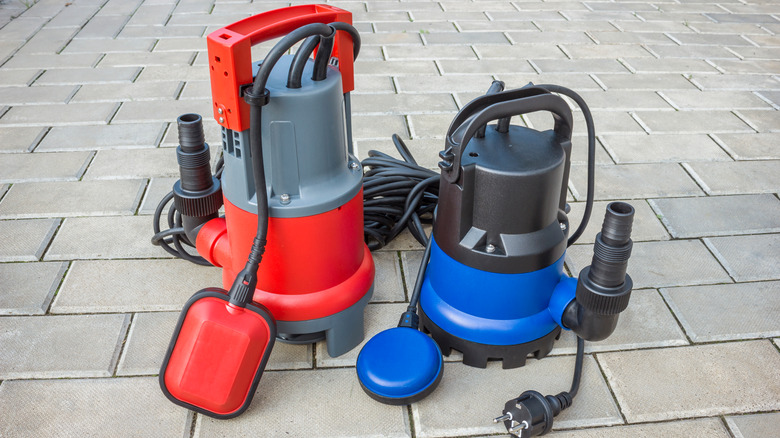
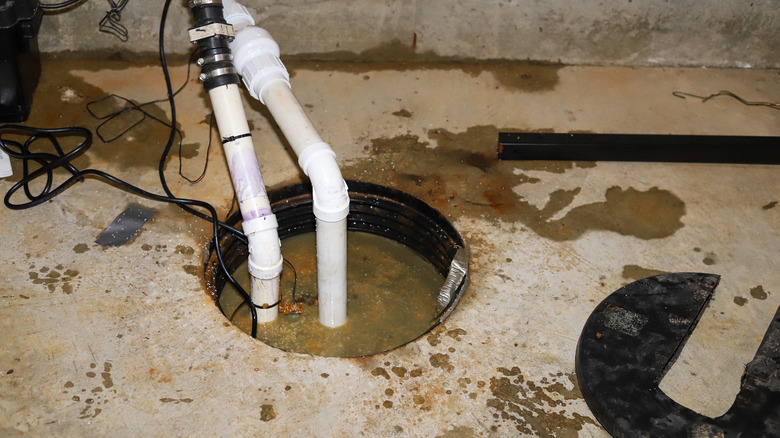
A sump pump is your primary safeguard against costly and destructive water damage. As explained by ARS Rescue Rooter, it is designed to remove the excess water from inside your house and propel it into an exterior drainage area. The pump system sits inside a pit or basin that is below the basement surface. There is a motorized pump with an impeller to push water out of the pit, a ball-shaped check float and switch, and a discharge line or effluent. You can also add an alarm or hose extension for the line. Per Fresh Water Systems, there are also submersible and pedestal types, along with battery- or water-powered backups.
The device can last up to 10 years before being replaced, and you can expect to pay an average of $1,250 for a new one, according to Bob Vila. Proactive maintenance and testing can boost efficiency and prolong its lifespan. A handy do-it-yourselfer can even make some of the repairs needed to keep this home necessity up and running. A note of caution: Minor repairs are one thing, installing a sump pump is another. Then the consensus is to call a pro.
Signs a repair is needed
A healthy sump pump will make noise, however, abnormal sounds may indicate a problem. Grinding, clanging, extra-loud humming, or banging should be checked, per Snell Heating & Repair. A faulty impeller can produce grinding. Cleaning out the vent or resetting the check valve might solve unusual humming, which could also be caused by frozen pipes. In the worst-case scenario, a too-noisy motor may be kaput. Plumbertip advises a simple fix may be all it takes if the pump motor is working but the basin is dry. Disconnect the pump and reinstall. The pump could have been incorrectly connected to it, or the drainage system might need to be unclogged. If the float fails to rise with the water level, check for debris and clear it away.
Installing the wrong size pump for your needs may cause it to run continuously and eventually burn out. If the float valve is set too low the pump will be activated too frequently. Also check that the float switch is not stuck. Fresh Water Systems says to examine the discharge line to make sure it is not letting water back into your house. If the pump conks out for no apparent reason, it may simply be a problem with the electrical connections. Check circuit breakers and look for blown fuses. And make sure it's plugged in! Another basic approach is to take apart and reassemble components to see if problems are caused by debris or loose parts.
More DIY repairs and prevention
Your float switch might get knocked out by extraneous things placed in the sump pit, warns Olshan Foundation Solutions. A dehumidifier hose may be one such culprit. Remove these in the event of malfunction. Wiring a backup battery into your sump pump can ensure it operates in a power outage. You can also wire your pump directly into a generator. If a pump fails due to excess sediment or leaf debris, you may consider a screen, lid, or grate to protect the impeller and prevent it from jamming. Newer models may already be so equipped.
The Spruce suggests several proactive steps for the DIY'er to take. Test the system on a regular basis and wipe off the essential parts. Clean out the pit frequently. Make sure the float works by pouring water into the basin. A working float will rise with the water, activate the pump, and then shut off when the water recedes. If the water stays in the pit, you'll know the valve is not functioning properly and may need to be replaced. Occasionally pouring water into the basin to activate this cycle will help keep your sump pump running smoothly.