How To Repurpose A Closet Into A DIY Craft Room

Any avid crafter knows that supplies and tools can take up a ton of space, and you may start buying bins and boxes to try and keep everything organized. But after months spent scouring through these storage items and misplacing a tool too many times, you'll probably think to yourself how much easier it would be if you had a craft room.
An entire space dedicated to your craft sounds like a dream, and you can organize it to make your process more straightforward. And having a functional workspace will make finishing your projects a breeze. Unfortunately, not all homes have an extra room to convert into a crafting studio, but there may be a closet to spare. According to Simple Made Pretty, you might have a closet with miscellaneous items or one in a guest room that you can repurpose into a DIY crafting room. The fantastic news is that you don't need a huge walk-in closet to make this happen!
Start with a closet cleanout and measurements
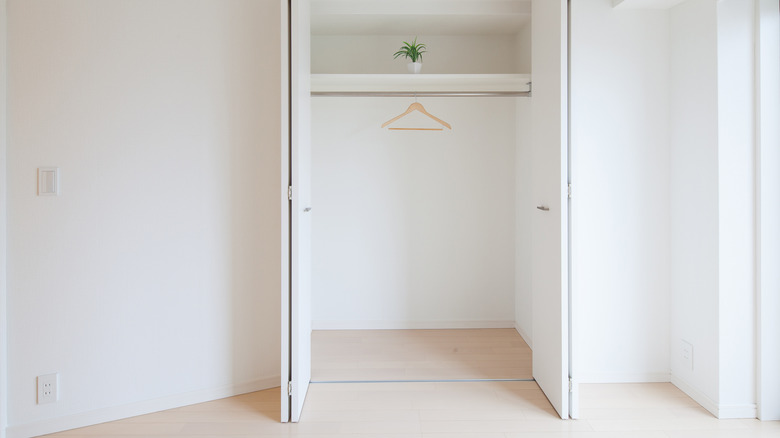
You'll want to start by cleaning out the closet space. Per Pretty Real, Tiffany, a DIY and home décor expert, advocates for taking a brutal approach when getting rid of clutter, as we tend to hold on to pieces for various reasons. She offers a rule of thumb: If you haven't used an item in six months, get rid of it because you probably never will.
Cleaning your closet gives you a chance to see the kind of space you'll be working with, and once the closet is empty, you can take measurements of the area and start drafting a plan to create the layout of your workspace.
Assess what you already have
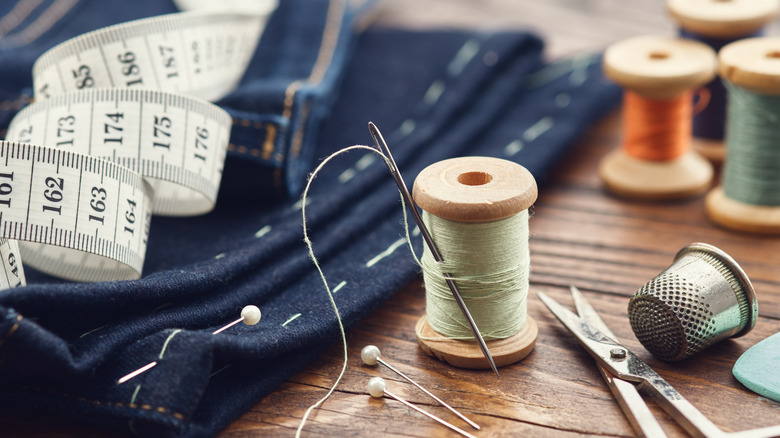
Before you buy anything else for your craft space, assess your inventory. Go through your current stock of crafting supplies and see if there is anything you can get rid of, for example, dried glue, an empty tape dispenser, or dull scissors.
According to IHeart Organizing, professional organizer Jen says to group all of your crafting items into categories and then into subcategories to make everything manageable. This will help you to keep all your supplies within reach. She also recommends keeping a list of all the items you want in your new space before starting the process. Knowing what kind of tools and supplies you have to put away will help inform you on the type of storage you may need.
Choose smart and creative storage solutions
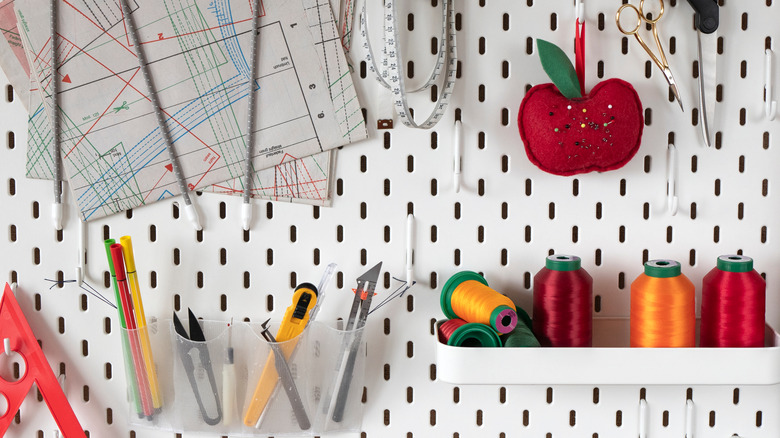
A smaller workspace means being smart and creative with your storage options. In a closet where you might not have a lot of floor space, putting your wall to good use is vital. Install wall shelving to hold containers, baskets, boxes, jars, or more oversized items to keep your workspace clear.
A pegboard on the wall or behind a closet door can keep frequently used items, such as scissors, rulers, or tapes, within reach, says SFGate. Storage carts or drawers on wheels can easily roll under your work counter or shelves to add more room or create easy access.
Create a worktop
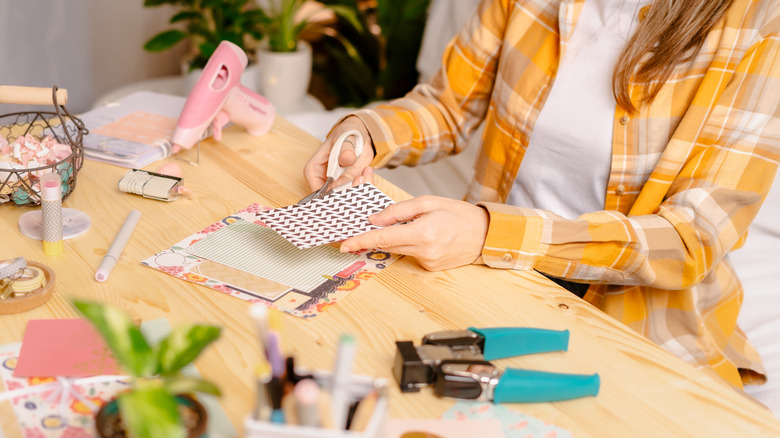
Finding furniture that won't take up an entire closet can be tricky. Instead, build a worktop or desk, so it's customized to your craft space. Remodelaholic suggests cutting a piece of wood to fit the length of the closet — this is a service you can have done at most hardware stores if you don't have the tools at home.
Then install the shelf supports to the wall like a bracket or wood framing to mount the desk at your preferred height. With this, you'll have a solid workspace to create all of your crafting projects.