How To Really Install Cabinets Yourself
Installing kitchen cabinets is a time-consuming task. But it's one that can be done without the help of a professional for those with some DIY experience or a desire to be self-sufficient.
Installing cabinets takes patience and precision (via Real Homes), but the task itself is straightforward and often simple for those who are able to work slowly through the installation process. Adding cabinets to your home without the help of a professional is a great way to save on expenses, and it can leave some money in your budget to purchase better cabinets, custom drawer options, or even create savings that can be used elsewhere in the renovation.
It's important to bring in a little know-how to the process, though, and reading through some key installation guides or watching videos can give you the background knowledge you need to excel in your own cabinet installation. Family Handyman estimates that installation without professional assistance can save you at least $500, with the average saved on DIY installation often spiking to a much greater figure. Taking it step by step and maintaining confidence in your vision throughout will see your cabinets completed and your budget successfully minimized.
Installation begins with your order
Installing cabinets can't begin until you actually possess the cabinets. Selecting cabinets is a significant task in its own rite, and care and thought should be placed into this decision before you can begin any type of installation.
In addition to purchasing the cabinets, you will also need additional installation materials. Family Handyman reports that self-directed installation requires a few basic tools, and many homeowners already possess the primary components: A drill (including screw driving bits and a drill bit to produce guide holes in the wooden frame and elsewhere) and some basic clamps to hold cabinet boxes in place for installation. It's also a good idea to purchase a combination drill bit that creates pilot holes and a countersink for the screw heads to sit flush if you don't already have one.
Ordering the cabinets and any additional materials you require is the first step, and once everything arrives, you can get started on the meat of the project.
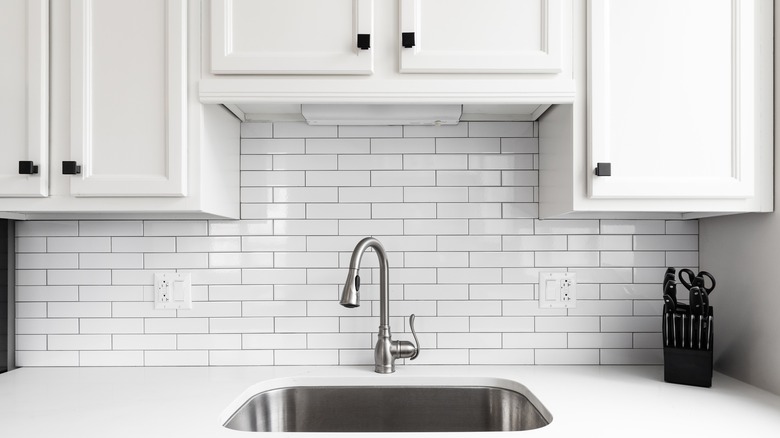
Preparing the space sets you up for success
Preparing the space is a crucial step in the success of your installation. This means removing old hardware and cabinetry and cleaning up the workspace to remove any debris or other elements that can complicate the work.
Real Homes notes that fixing damage to walls or flooring is a good place to start when preparing for a new installation. Fixing these issues while your new cabinets sit outside their eventual destination gives you space to work without having to stay cautious around your new kitchen components.
It's also a good idea to give the room a fresh coat of paint (or repaint the space if needed) while your walls are bare. It's rare to have so much wall space exposed in a kitchen and painting around existing appliances and cabinets can make for drips and mistakes that have to be cleaned up. Painting the whole room in unison is always preferred and this provides the perfect opportunity to amend the color and style of the kitchen without having to work around existing fixtures.
Mark your workspace and measure out the placement of each section

Once you've cleaned up the workspace and added any new paint that might be a part of the renovation work, it's time to get serious about the installation component of the task. Real Homes suggests marking out the entire space with painters' tape to visualize where countertops and cabinets will eventually be positioned. This helps you gain a better sense of where the new additions will be placed and how each segment will fit in the room.
Taping out the expanse of your new cabinet installations is a great way to ensure that you've planned the project correctly and will help you install each feature in the right place. Marking up a workspace is common practice among carpenters and other construction professionals, and it should be a staple feature of your DIY workspace as well.
Family Handyman reports that many older kitchens may not be entirely flat (although this problem is rarely seen in homes less than 40 years old). Measuring and taping the space will help you adjust for high points before bringing the frames in to be fixed.
Measure gaps and test fit as many pieces as you can
Test fitting cabinet pieces is a crucial step in the process of a successful installation (via Family Handyman). All of your lower cabinets can be test fit, and because of this, you should place each one into its proper space to double-check the fit.
You might have some gaps built into the overall layout and are planning to account for this with some additional paneling or small custom drawers. The only way to really ensure that your extras fit snugly into place is to test fit the pieces that you can. Starting with corner pieces is the best practice here, and it will help you initiate the process of securing each cabinet with confidence. Test fitting also helps you see where doors and drawers will slide into place. The upper cabinets, of course, can't be test fit, but any sections that can be placed in their intended destinations should be tested at this stage in the installation.
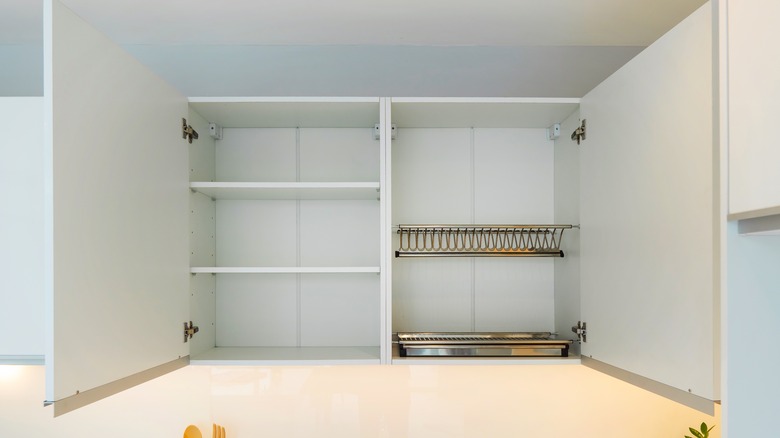
Fit hanging cabinets first for an easier workflow

Hanging the upper section of cabinetry is the best way to proceed for DIY installers. Your hanging cabinets can be difficult to install once the floor units are screwed into place, making for a tricky process that can easily lead to dropped cabinet boxes and the potential for damage.
Real Homes notes that it may be essential to have a friend or family member hold up the cabinets while you attach them to the studs in the walls. Alternatively, you can use the ledger method outlined by Family Handyman to attach a simple ledge to the wall that will support the weight of the cabinets as you secure them. Adding a ledger simplifies the process and makes it possible to fasten these heavy cabinet boxes to the wall without a second pair of hands guiding the installation. However, you'll need to remove the strip of spare wood from underneath the cabinet once it's positioned and secured, followed by repairs to the wall to hide holes made from the addition of this piece.
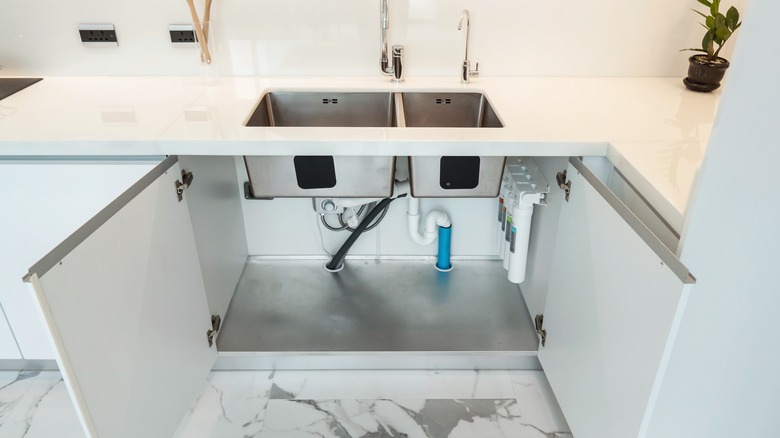
Cut out electrical and plumbing openings as needed in lower cabinets
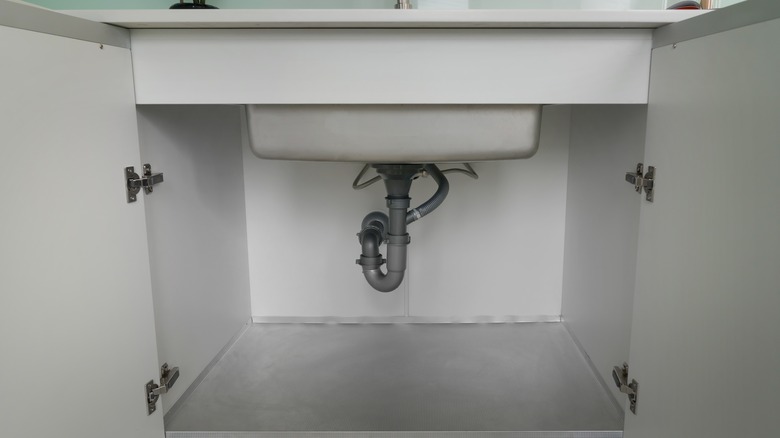
It's a good idea to measure and cut out holes in the base cabinets before starting to attach them to the walls. Family Handyman suggests laying the cabinet in its intended orientation near the space it will eventually be installed to reduce the potential for confusion or miscuts. You can only cut a piece of wood once, so measuring twice and making sure you have the right size and spacing is essential.
Using a drill, make a small hole (or a few right next to each other), and then use your jigsaw to widen the initial cut into a section that can support the drainage and electrical needs of your kitchen. It's a good idea to finish widening the cut to your required dimensions from the inside because it will reduce the potential for fraying or splintering of the wood.
Start attaching floor cabinets to the walls, beginning in a corner
Installing the floor cabinets is a much easier task than the hanging ones. This is because you've already completed a significant portion of the overall job (and therefore know exactly what to do with the rest of the cabinet boxes), and because these cabinets won't need to be held up against the wall to secure them in their appropriate position.
Real Homes reports that it's best to begin with a corner cabinet when fastening both the hanging and floor sections. Here, you'll want to make use of shims and clamps to ensure that each successive cabinet box is snug and flush with the previous section. Take your time when installing each new cabinet piece and position the newest addition appropriately to create a level, flush fitting that will support the drawers, doors, and countertop without any issues.
Once you've finished the wall-affixed cabinets, move onto any island sections and use the same shim and clamp technique to secure all of your pieces to one another and the floor as one cohesive unit.
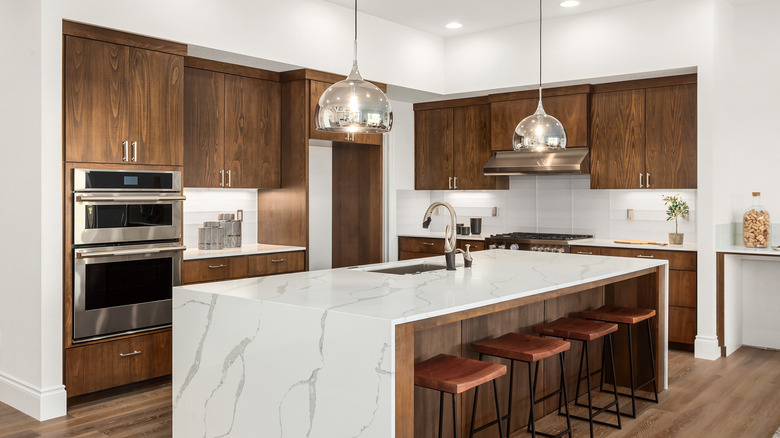
Install all the doors and hardware to complete the project
The final task in installing your new cabinets comes in the form of trim, hardware, and doors. Putting the finishing touches on the cabinets is an exercise in precision and requires little in the way of muscling pieces into place like the box installation typically takes. Attaching trim to the edges will give your cabinets a finished look and feel, and Real Homes reports that you'll want to add a toe kick as well to complete the installation. This is the wooden baseboard section that fits underneath the lowest part of the base cabinets. Some homeowners opt for toe kick drawers that can extend the storage capacity of the kitchen by this small margin, perhaps even using the space to secure valuables in a place that someone might easily fail to search. Yahoo! notes that this space is great for plates and other flat or small kitchen essentials.
Doors and hardware will complete the installation and allow you to get right back to life as usual, with the addition of some fantastic new cabinetry in the kitchen!