Use This Ikea Hack To DIY A Tiled Side Table
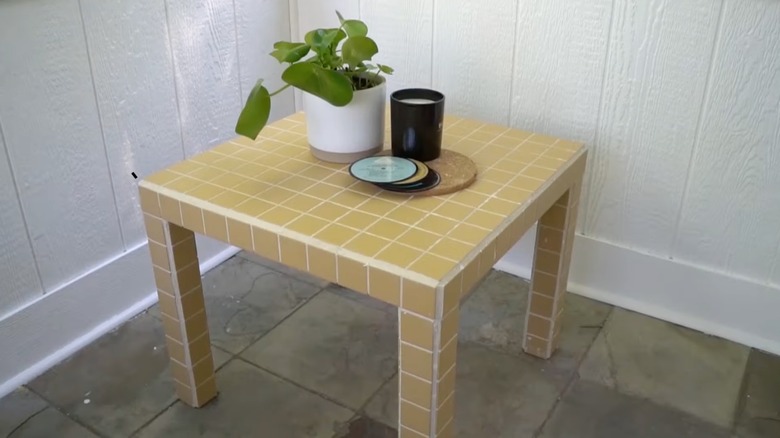
Whether you've been scrolling through Pinterest, TikTok, or Instagram, you've probably noticed that tiled side tables have been all the rage recently. The perfect mix between functional, easily DIY-able, and stylish, it's no wonder that tiled tables are the latest trend. While buying a tiled table new will run up a big bill, it's easier than you might think to create your own with a $15 Lack table, available on IKEA. Best of all? The possibilities are endless! TikTok is full of DIYers painting their tiles hot pink, creating black and white grids reminiscent of the iconic 2014 grunge aesthetic, or customizing their tables in other unique ways.
With that being said, tiling is one of those skills that requires a bit of practice — or at least some research — for best results. While it's definitely possible to create an incredible-looking tiled table on your first go, some DIYers have been kind enough to share their mistakes, the lessons they learned, and how you can get things right the first time.
Creating the table
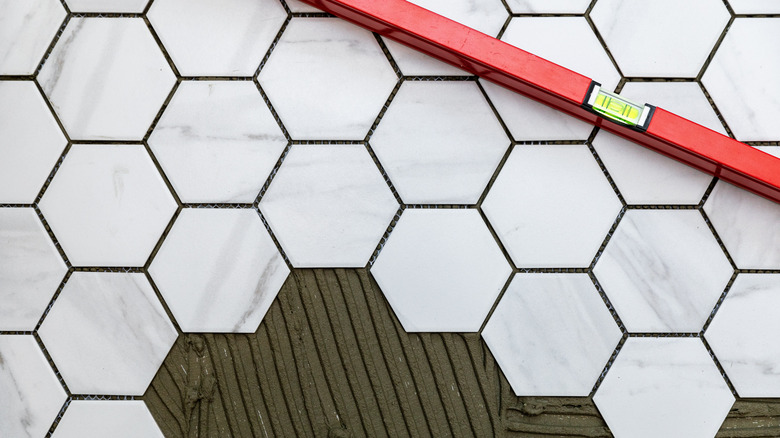
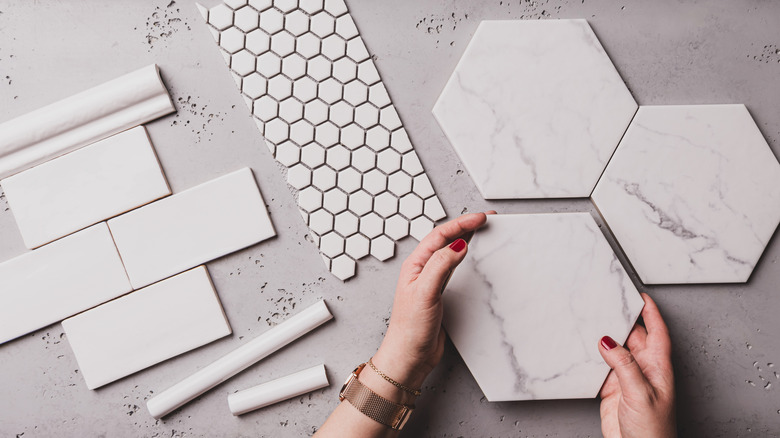
Fortunately, the process of creating a tiled table is relatively straightforward. In terms of supplies, you'll need a table (most people online seem to be using IKEA's Lack table since it's extremely affordable and has measurements that conveniently align with tile sizes), tiles, tile adhesive, grout, an old cloth, and a sponge. You might also want to check your tiles' instructions before checking out at the hardware store — some require additional materials during the application process.
Although there were numerous tutorials on how to make the table, we found TikTok user Amy Marietta's (@amymarietta) video to be the most straightforward. First, Amy painted her tiles and let them dry for a couple of days. While this step is optional, it's a great way to customize the final result! She then applied her tiles with a 2-in-1 adhesive and grout combo and let the table dry for another day.
Mastering the art of DIY tiled table making
While TikTok is full of helpful videos, short tutorials can't always provide enough information. Fortunately, YouTuber IfOnlyApril made a longer YouTube video detailing her journey making the viral DIY tile table, along with many things that she wished she had known beforehand.
If you're still looking through inspiration photos or picking your materials, April recommends choosing glossy tiles rather than matte tiles. The glossy finish makes it much easier to wipe off dried adhesive or grout, saving you time and manual labor. On that note, April also recommends wiping the adhesive right away if it comes through the tiles during application — wet adhesive is much easier to remove than its dried counterpart.
As the DIY process goes on, you might experience more challenges. April's first big obstacle came while tiling her table's legs since the tiles kept unwrapping. Fortunately, masking tape was an easy solution. A few days later, it was easy to remove, and everything looked great! That is, except for the dried grout and adhesive on top of the tiles that she had missed while cleaning. Ultimately though, rubbing alcohol quickly cleaned the mess up.
One final tip? Read all of the instructions carefully. April didn't realize that she had to seal her tiles before adding grout, so she had to practically take the table apart and redo it. By checking your instructions, you can avoid headaches down the road.