How To DIY A Basement Wall Repair
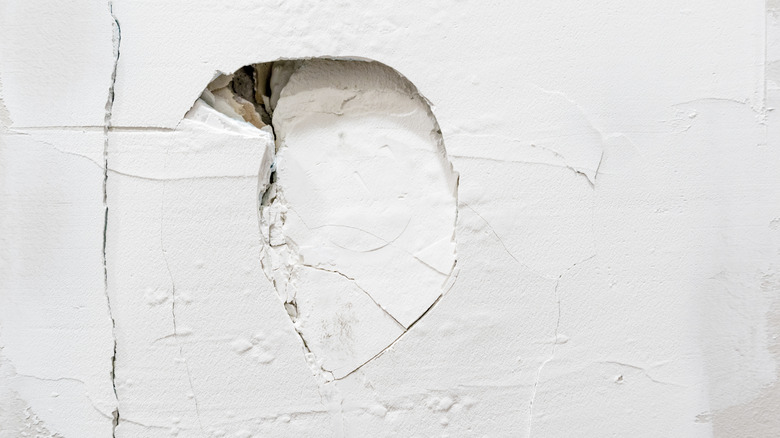
You go into your basement one day and notice something slightly odd: there are cracks in the walls that appear to have curved inwardly. As a homeowner, this can be pretty upsetting and problematic. Unfortunately, it is not a rare occurrence as it happens often, and the problem can go undetected for a long time since most people only visit their basement periodically.
The basement is the lowest space in the house, and its walls are closer to the soil than any room. Sometimes the soil close to your basement walls becomes oversaturated due to leaks, and the concrete used in your walls is affected. This is a major reason for basement wall damage, per Edens Structural Solutions. Frozen soil can also cause your walls to bow due to the expansion of the soil, which puts pressure on the walls. You can prevent severe damage to your basement walls by following the steps below, via Popular Mechanics. Let's dive in.
Collecting the materials you'll need
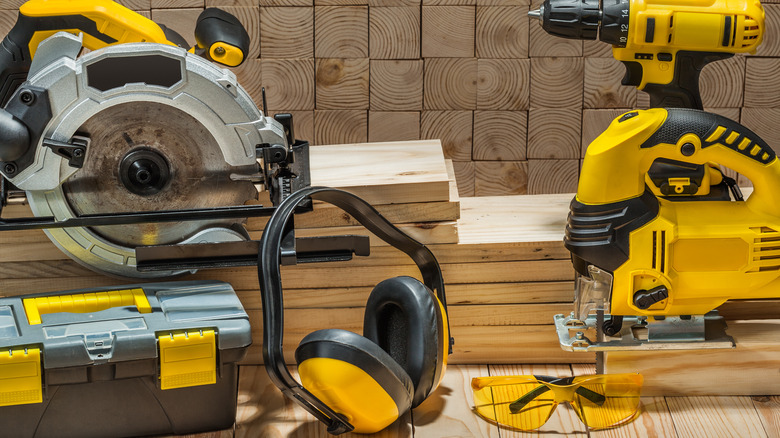
The first step is to determine the materials required to repair your wall. These elements will depend on your wall's condition, but one constant tool is the putty knife. Bob Vila thinks it's imperative for every DIY enthusiast to own one of these bad boys.
You'll need to prepare an elastomeric sealant, which is a flexible, resilient, and durable caulk that holds building materials together — it's like strong glue but a lot more effective, via HomeSteady. If the damage isn't too severe, grout, which is a mixture of sand, cement, and water, can be used on the wall.
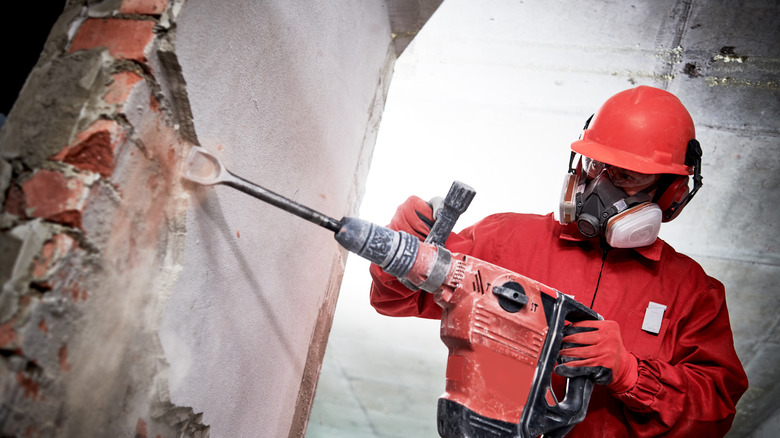
Remove all debris and loose concrete
Before you add the caulk to the wall, you'll need to ensure that there are no pieces of loose concrete left in the crack. This step prevents gaps from forming after you've fixed the wall, per HGTV.
In order to remove the debris, you can make use of a nail or a shop vacuum, just to be thorough, and these tools can also help to create more space for the paste you'll be using to repair the wall. You'll also need to make sure the wall is clean and dry when you're done scraping, and you can wait or use a dryer to ensure that the surface isn't moist.
Apply sealant to the crack
Next, you can start applying the elastomeric sealant and filling the crack with a caulk gun, or you can make use of a plastic spoon dipped in the solvent for the same effect, as suggested by This Old House. You should apply the caulk to the edges and the surrounding areas for more effective results.
Sometimes, you'll need to use another layer of sealant on the wall to make it stronger and give a long-lasting effect. You should smoothen the crack and wait for the first layer of the adhesive to dry before applying the second layer, according to HGTV.
Final touches
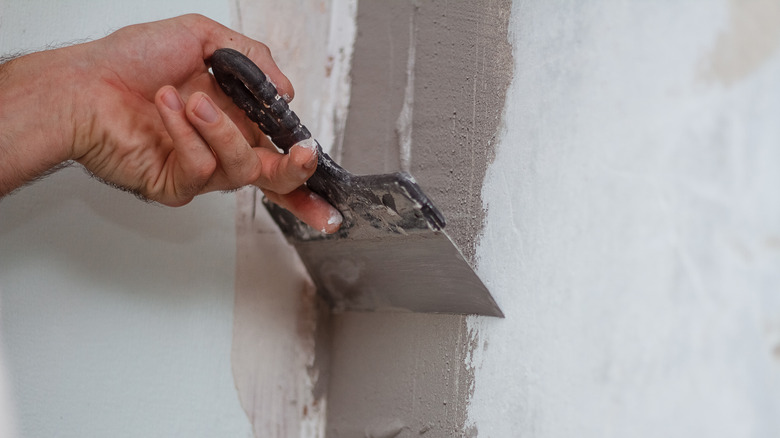
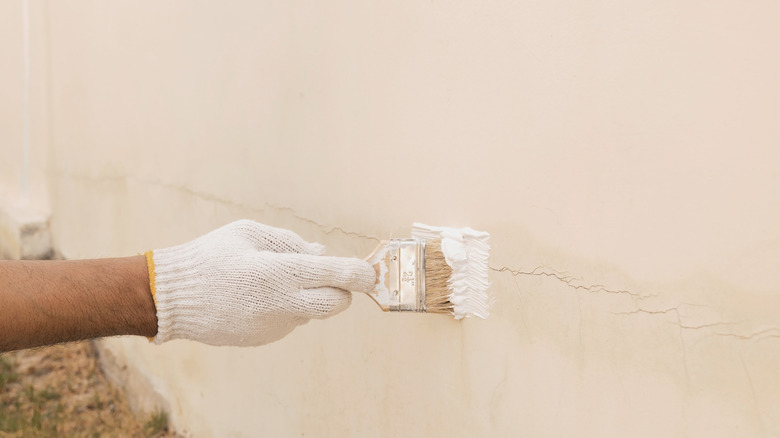
After applying the sealant to the crack in your basement wall, apply pressure to it using a putty knife to push the caulk into the gap, via The Spruce. Use the putty knife to clean the surrounding area of the wall to keep it neat.
Remove any excess caulk from the surface with a cloth, and wait for the wall to dry for several days when you're done with your repairs. Afterward, you can take a few steps back and admire your hard work as your wall heals. You can paint over your work when it's fully dry.