How To Paint Behind A Toilet
One of the easiest ways to transform any space is by painting the walls. Changing the wall color or adding a fresh coat of paint can make a room feel brand new. It's quick and easy to do, and the materials needed are inexpensive. One room you may want to consider painting is your bathroom. Paint Positive says that bathrooms can be especially fun to paint because they allow for more risk taking in paint colors. If you've had your eye on a bold tint that would be too much in a large area, you may want to incorporate it into a smaller space like your bathroom.
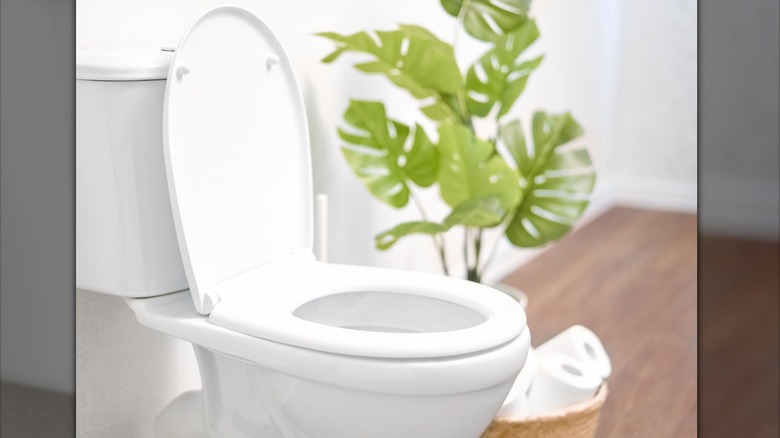
However, painting a bathroom is not the easiest task. This is because bathrooms have lots of small spaces and hard to reach areas, like around cabinets, the shower, and the sink. The hardest place to paint in the bathroom is most likely behind the toilet, but it doesn't have to be a dreaded task. With just a little prep work and a few tools, you can easily get the job done.
Prepping to paint
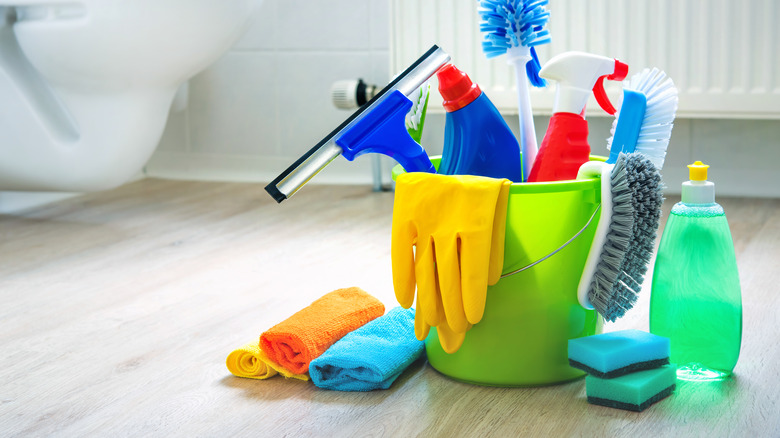
Before you begin painting, you'll need to prepare the space around your toilet. The first step is deep cleaning. Den Garden says to wash soap residue and water streaks off the drywall with dish soap or a pre-paint cleaner such as TSP. You'll also want to watch out for mold and mildew, which can be cleaned off with vinegar. When cleaning behind your toilet, use a strong disinfectant, like bleach. Make sure the wall is completely dry before painting. You can speed up the drying process by leaving the overhead fan on overnight. It's important that your baseboards be clean as well. This is because painter's tape won't stick to a dirty baseboard. HGTV recommends using a used dryer sheet to remove dust and hair from your baseboards. Then you can clean with soap and water and allow to dry.
Once the deep cleaning is completed, you'll want to cover your floors and toilet with plastic sheets. Tape the sheets to the top of the baseboards. Den Garden suggests removing the water tank lid before covering the toilet in plastic since the lid usually sits closer to the wall than the tank itself. Taking it off should allow you to paint the wall behind it without needing to remove the entire tank. You can also place a trash bag over the water tank (instead of a plastic sheet) and secure it with tape.
Painting behind the toilet
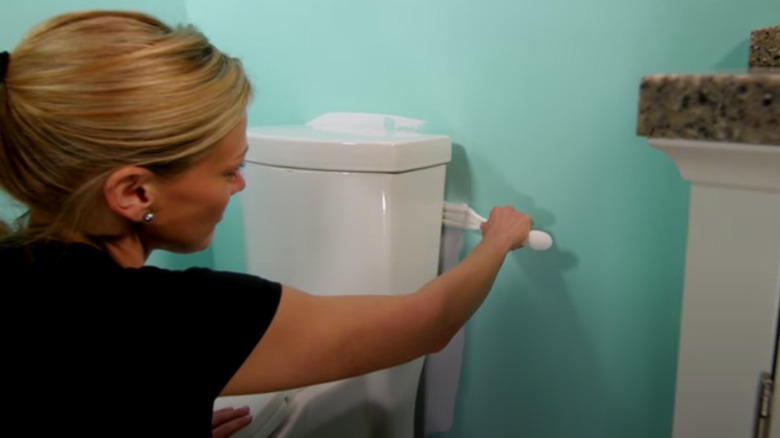
Now that the floor and toilet are clean and covered in plastic, it's time to paint behind the toilet. The task itself is actually quite simple. According to Den Garden, the best method is to use a clean 4-inch roller and a brush. You can brush around the edges of the wall, the baseboards, and behind the water tank if necessary. Then roll the rest of the wall with the small roller.
If the water tank is still too close to the wall for the roller or a brush to fit, you could try the stick and rag method. DIY Painting Tips says that lightly dipping a rag on a stir stick into the paint and spreading it behind the toilet should work. Just know that this method may leave some texture on the wall and it may require multiple coats. If the water tank actually rests against the wall, you can remove it completely. To do this, turn off the water and remove the tank with a wrench. However, this may be more of a hassle than it's worth. If nothing will fit behind the tank, chances are your guests won't notice the space behind your toilet isn't painted. Brad the Painter recommends simply painting around the toilet tank.