How To Build The Perfect Toy Storage Bin
We may receive a commission on purchases made from links.
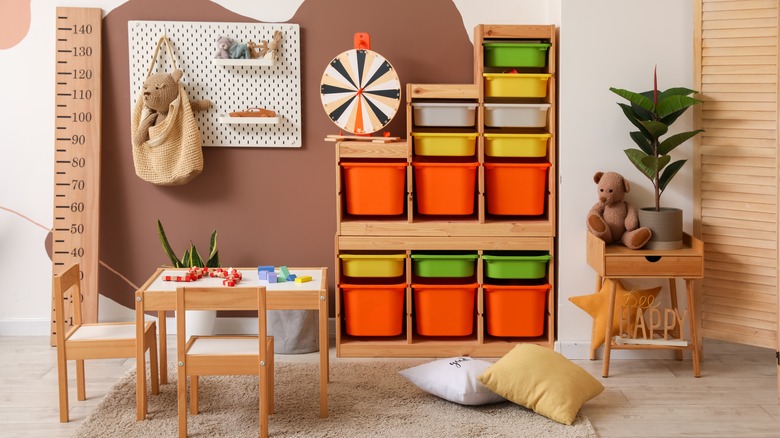
The struggle is real when it comes to toy storage. With LEGO kits, Hot Wheels, Polly Pockets (oh those mini pieces!), arts and crafts, an endless amount of stuffed animals, and random birthday party gifts and favors that haven't made it to the donation pile yet, it's a lot to handle. While it may seem overwhelming to figure out how to control the clutter in the kid's room, once it spills out to the rest of the house it's enough to throw in the towel.
We get it and we've got a great DIY project that'll take that mess off your hands in no time. For those that love to DIY, this solution will be a dream come true as you get to build something cute and reduce the toy clutter. Read on for this nifty project from Bitterroot DIY on building the perfect toy storage bin so you won't actually have to throw in the towel (at least not today).
Tools and steps
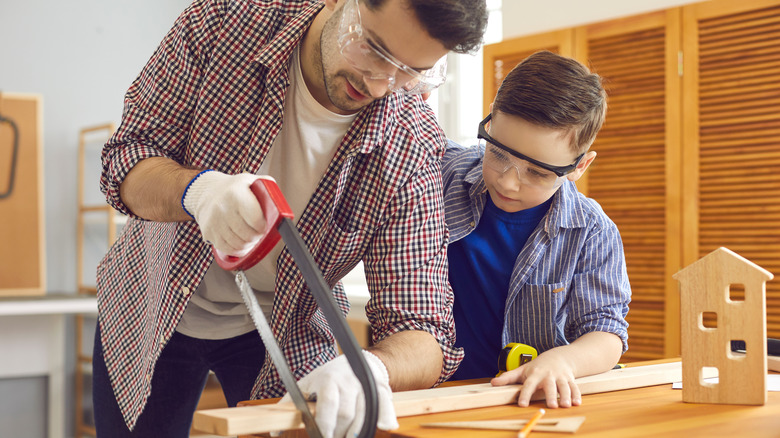
This DIY storage bin is very similar to this one. It takes just a couple of steps and can be customized to the size that you want. Since it's a DIY project, there are some handy tools you're going to need in order to cut, glue, and measure. A saw, wood glue, drill, drill bit, sander, and tape measure are a good start. Then you need your wood and dowels to make the legs and rails.
Make the legs
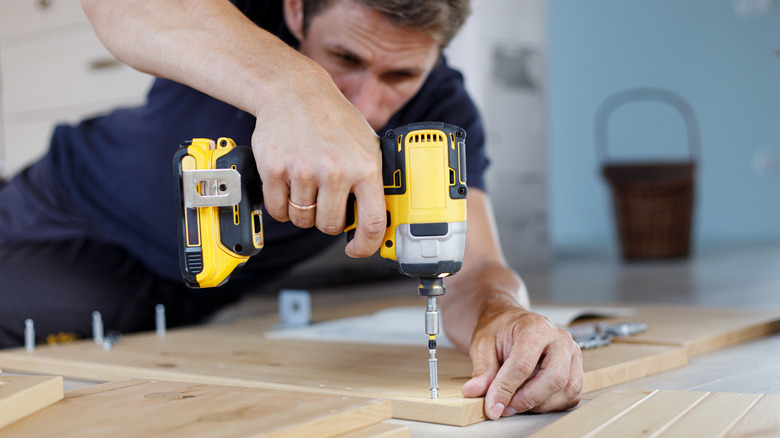
The first step is to make the shelf legs to hold the storage boxes in place. Once you mark the center hole, drill two other holes on each side in order to secure the dowels with screws. You should have six holes on each leg board. Next just repeat the same thing on the other shelf leg so you have two in total for each side of the storage bin. Make sure the holes are in the same place so the dowels can connect.
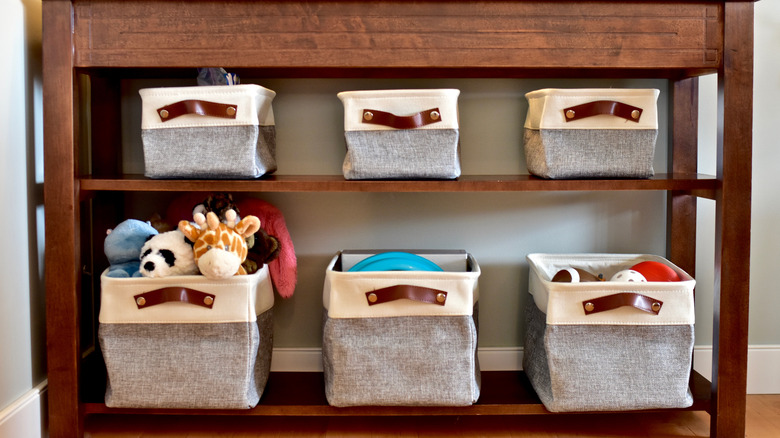
Make the shelves
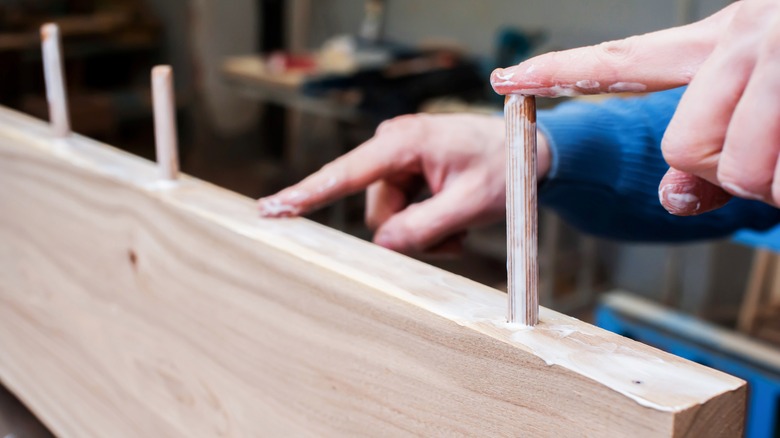
Once you have the two leg boards, it's time to connect them with dowels to make shelves. Apply some wood glue to each end of the dowel and squeeze them in the holes you drilled earlier. Per Bitterroot DIY, these need to fit snugly so there is little wiggle room. After they are all installed, give it some time to dry before sanding and painting. You're almost there! Take a break, grab some lemonade, and don't rush the drying process.
Sand and paint
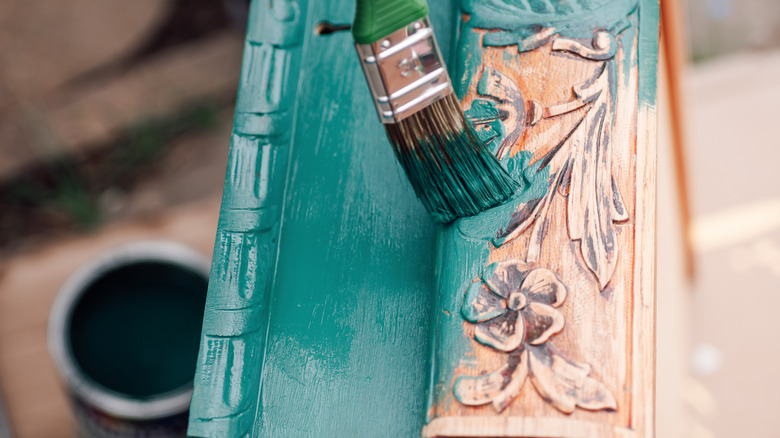
Once the glue is completely dry, you can sand and smooth everything down. For those that love painting, you can find a color that matches the décor of the room. A small can of paint or a semi-gloss spray will work. If you like a natural look, you could also leave it bare! A fun option is to get the kids involved with painting and decorating. This might also help to get them invested in putting toys away in their very own toy organizer.
Other options
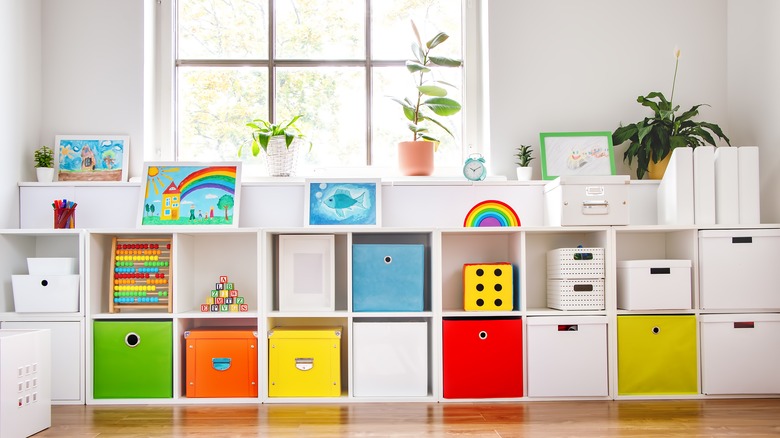
While this project is relatively easy, useful, and straightforward, there are many other ways to make a DIY toy storage bin organizer. Houseful of Handmade has a few ideas that are either completely DIY or semi-DIY depending on your skill level and time frame. These include a stuffed animal box with a net to keep everything in sight but off the ground, one with wheels for mobile toy storage, and a furniture piece that will blend right into the living room.
Why DIY
DIY projects can be a fun, affordable, and easy way to customize what you need and like. Whether you enjoy building, painting, or cutting, the end result is a piece that can be used to store all those toys. We hope these DIY tips and project ideas inspire you to build your own organizer. You might even be able to say goodbye to stepping on LEGOS. Happy building!