DIY This Painted Tile Look To Transform Your Bathroom
Painting tiles is an innovative way to renovate a room without spending much money or time replacing all the tiles. It's not limited to just tiles; you can even paint over vinyl flooring to give a new life to a dated room. Painting tiles also gives you the freedom to use whatever design you choose, from just changing the color to painting an entirely new tile shape.
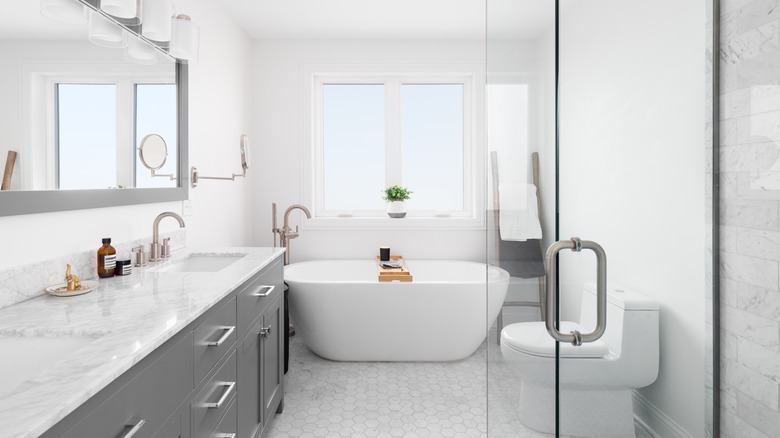
Where the tiles are located will affect the type of paint you use. TaskRabbit suggests using latex or epoxy paint that is either pre-mixed or ready-to-mix. However, if you are painting tiles in a bathroom exposed to water, it is recommended to use epoxy paint. Ceramic tiles are the most common tile used in homes, but you can also paint natural stone and unglazed quarry tiles. If done correctly, painted tiles can last a long time, and you will be able to clean your floors as you normally would.
Preparing and painting tiles
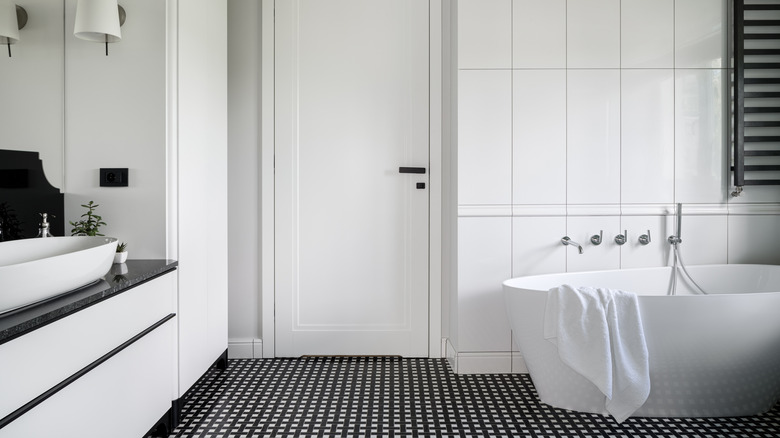
Angie, the DIY expert of the Instagram account How We Do, demonstrates this project on her page. She says the first step is deep cleaning the tiles. In her case, it was her bathroom floor tiles. She then sands the tiles or vinyl to remove the glossy layer, allowing the paint to adhere better. After, she applies two coats of primer to ensure that the paint will last as long as possible. If you are painting a large area, it's best to use a roller for the middle and a brush along the edges.
Once the primer is dried, it's time to paint a base color. This layer will be the grout color of your final project. You should paint two coats of your base color to ensure that it is opaque. If you are painting a tile pattern, a stencil and stencil spray adhesive will save you a lot of time. Otherwise, you can freehand your design.
Using a stencil

If you're using a stencil to achieve a look similar to Angie's hexagon tile pattern, you should first practice using it on a piece of cardboard. After you get the hang of using it, spray adhesive on the stencil to keep it in place while you are painting. She recommends using as little paint as possible, so it doesn't bleed through the stencil. Although, there will likely be some bleeding that can be touched up with a small paintbrush and your base paint color.
Once you have moved the stencil over the entire space you are painting, it is time to let the paint dry completely. Add as many layers of color as you wish, ensuring they dry completely between coats. The last step is essential to keep the design you spent so much time painting safe. Using your choice of clear matte polyacrylic, seal the area with at least three coats.