How To Properly Install Crown Molding
We may receive a commission on purchases made from links.
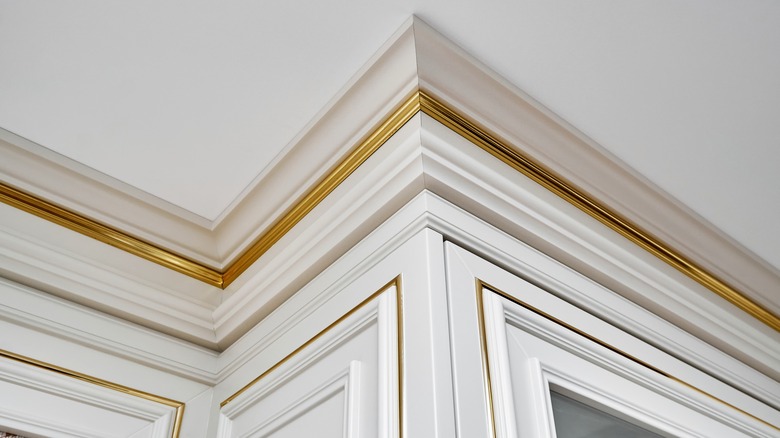
Installing crown molding can be a daunting task. However, with a little bit of patience and the proper tools, it can be a relatively easy task. If you're looking to add a touch of elegance to your home, look no further than crown molding.
According to Remodelista, the original purpose of crown molding was to serve as a neat, tidy transition between wall and ceiling. Now, it's mostly seen as an ornamental element, but it still serves the same basic purpose: to add detail and refinement to a room.
There are many factors to consider when installing crown moldings, such as the materials you'll use, the tools you'll need, and the method of installation. Per Focal Point, crown molding comes in a variety of materials, ranging from wood, plaster, rubber, styrofoam, peel and stick, and polyurethane. Polyurethane, in particular, is easier to work with and just as aesthetically pleasing as wood.
In this article, we will walk you through the process of how to install crown molding yourself.
1. Gather your equipment
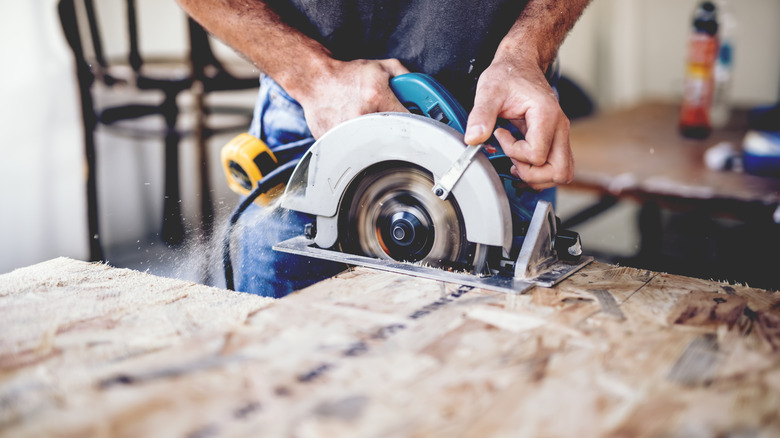
Before selecting your crown molding choice, you'll need to gather the right tools for the job. According to Young House Love, These include a miter saw and a nail gun. Lowes suggests using a compound miter saw for projects involving picture frames and crown molding. If you're looking to paint the crown molds you purchase, the color you select will depend on personal preference. Per Uooz, acrylic paint is the best choice. Don't forget about primer and paintbrushes!
2. Establish your plan

Set a clear plan before you begin your crown molding project. Home Depot recommends ensuring the molding pieces fit seamlessly around the room. The first view of your room should look its best, so start your planning with the wall opposite the door in each room you plan to install crown molding. Then select the style and texture of mold pieces you want to install based on your personal preference. Also, be sure to purchase a few extra feet of crown molding to prevent multiple trips to the hardware store.
3. Take measurements

Since crown molding may need to be custom fit depending on the size of your room, it is important to take accurate measurements. Per Popular Mechanics, you can use a stud finder to locate the center of each wall stud. From there, you can secure the crown molding to the wall using nails. It is also important to take into account the ceiling height when measuring for crown molding. You'll want to make sure you start on the wall opposite the door.
4. Prepare for cutting
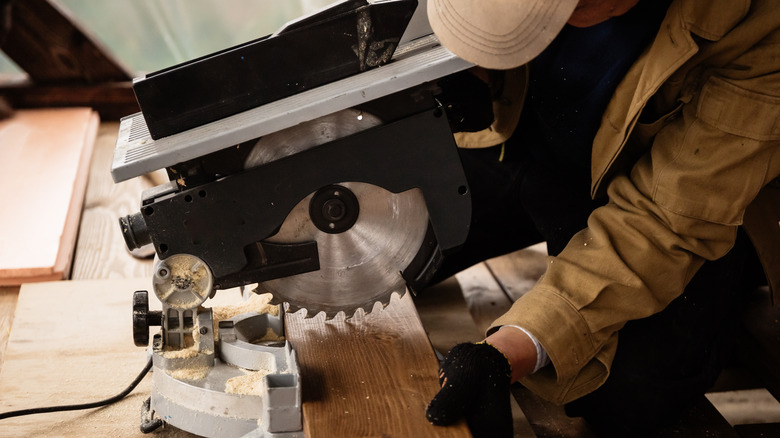
Now you can prepare to cut your crown molding. Wood Shop Diaries recommends using a miter saw set at 45 degrees. Again, refer to the manufacturer's guidelines for proper operation, maintenance, and safety, such as protective eyewear. When cutting your crown molding, ensure the ceiling edge is flat against the bottom of the miter box. If you have issues with the alignment, you can always turn the molding upside down and try again. Make sure you're cutting close to the end of the crown molding piece.
5. Cut crown molding

You can make several types of cuts when installing crown molding. According to Popular Mechanics, the most common are outside corner cuts, inside corner cuts, and straight runs. Home Depot also recommends considering joints as well. Mitered joints are cut at a 90-degree angle, while coped joints work best when not forced into a square or a 90-degree angle. Since most corners have their own unique angles, coped joints are often the best way to go. Always overestimate the initial length and flex when putting the finished molding into place. You can always trim off excess later.
6. Test and install
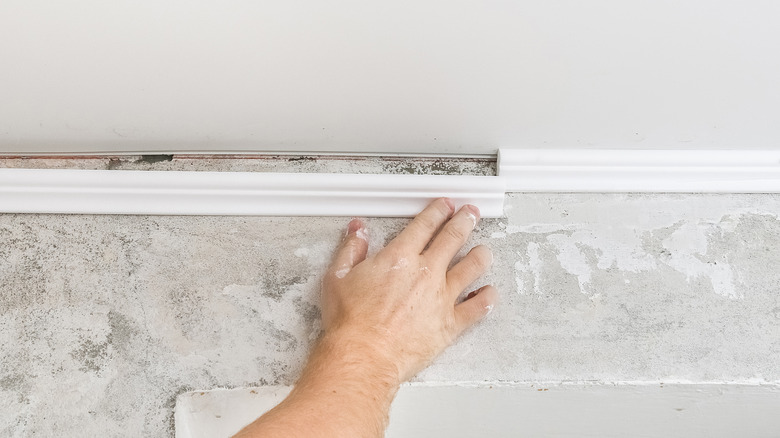
Now you're finally ready to test your crown molding installation. Lowes recommends touching up any raw edges with a light coat of finish. If you notice nail holes, you can always use wood putty or caulk to fill them in. For gaps, don't hesitate to apply caulk where the molding meets. Adhesive also works as an alternative to most molding, and it doesn't require using a hammer or nails. However, be sure to read the manufacturer's instructions carefully to ensure optimal results.