Everything You Need To Know To Hang Drywall Like A Pro

One of the most popular wall choices among the average American homeowner is drywall. At least, that's what the experts at Mr. Handyman say. And why shouldn't drywall be beloved by many? It costs less than other wall options, it's flexible, and the best choice for people who love to do home remodeling every now and then. And it's super-easy to DIY. Don't think it is? By the end of this article, you may just change your mind.
Not familiar with drywall? Gotcha! Drywall, also known as sheetrock, is a kind of wallboard made out of gypsum, which is masked in sheet paper. This makes smooth walls so much easier. And the best part is hanging one up could be done by a DIY expert with the appropriate guidance. When we say "appropriate guidance," that includes our previous piece on what to know before purchasing drywall screws. You should learn how to hang your drywall yourself because it saves you an awful lot of money on home remodeling, and it's fun. By the end of this piece, you should know how to hang drywall — like a pro!
Get your materials
All right, the first step is to gather all your materials and place them within proximity. Preferably, spread them out on a working table close by. According to the experts at DIY Painting Tips, you'll need — in addition to the drywall, of course — some fasteners, shims, wood glue, and the appropriate drywall screws (coarse, fine, self-drilling, trim, etc., depending on the project). Please bear in mind that the screws should be longer than the panels.
In addition, a hammer, ladder, utility knife, file, and tape measure are needed as well. And, finally, you need a helper or two (per iCastle).
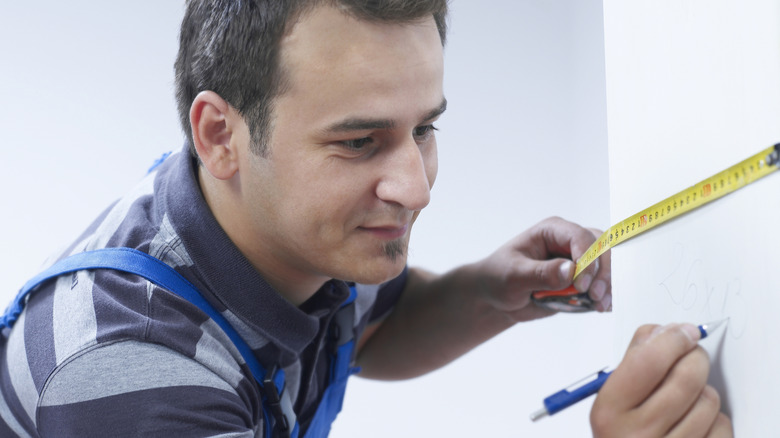
Measure your wall
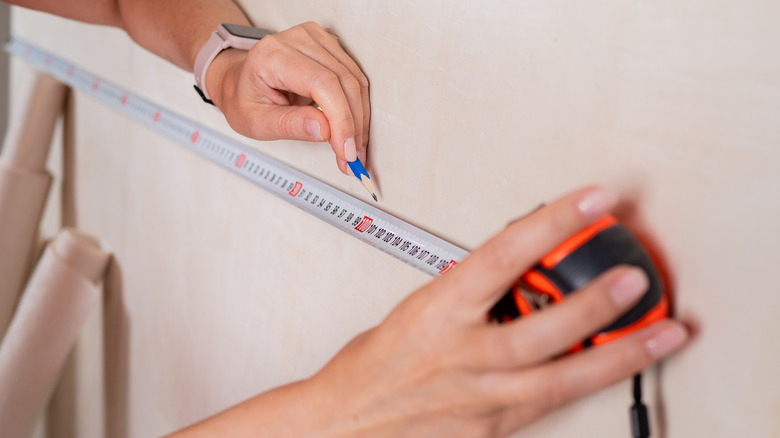
Remember the idiom, cut your coat according to your cloth, or size, or whatever they are saying? The point is that you get the measurements correctly. According to RCA Contractors, using measurement tape, measure the walls and leave about 1.4 inches on each side and 0.5 inches for the bottom measurement.
Also make sure to measure out the doors, windows, socket allowances, etc., and mark them out with a marker, dot, or even pins. Finally, Making Manzanita says you should not forget to measure 16 inches for every stud. Got that? Great, on to the next.
Cut your drywall

After that, the next thing to do is to cut out the drywall into the appropriate measurement. DIY Painting Tips says to mark the top with the utility knife and give it a little grind. For this purpose, you could always use the drywall square, too.
Once you've got that to a considerate spot, you can go ahead to snap it into two and then cut out the attachments with your utility knife. Not to worry, if you didn't get a smooth finish. As Popular Mechanics explains, you can always use a file to fix that up real nicely.
Inspect the pieces and studs
The final preparatory step before we get into the big guns is to inspect all your drywall pieces to see if they fit correctly, or not. This is important, especially if you would like to get a pro-level final result from this DIY project. This means leaving no stone unturned.
The basics: Measure out your pieces and corresponding studs with your measuring tape, and file or trim any anomaly to get smooth edges. Where your studs do not seem to fit properly, Loctite Products says you can always use glue to attach pieces.
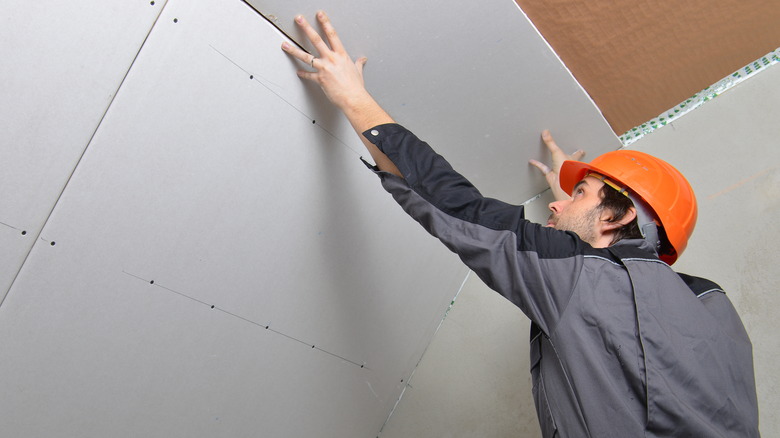
Take it from the top
By that header above, we didn't mean starting over again. We simply meant that you'll start arranging the drywall from the ceiling. Interiors Place notes that this is important because it helps you keep out enough space at the wall edges. Spread out the drywall glue against the surface, press the drywall against it and hold for up to 90 seconds and then screw it in. Repeat the process till every part is covered.
If you're worried about measurements, the experts at DIY Painting Tips say that you should stay about seven to eight inches away from the edges.
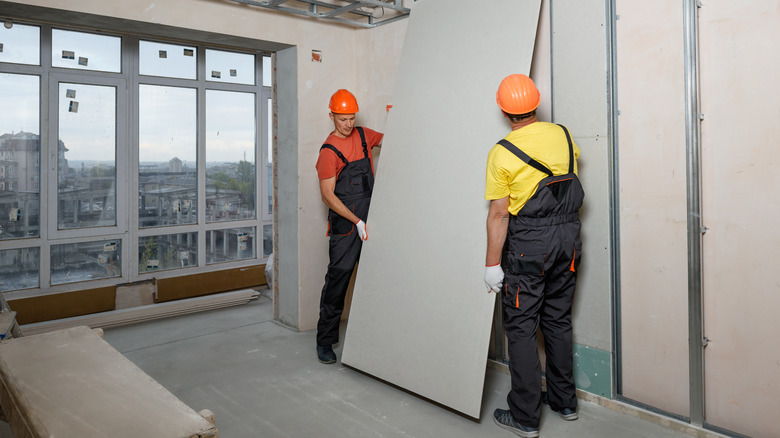
Hang the wall panels
Once you're done with the ceiling, you can then go ahead to work on the walls. You may want to stay on your step ladder because you're working from the top. The experts at Home Efficiency Guide say that you should hang your drywall horizontally from top to bottom, for residential buildings. However, for commercial buildings, vertical placement is best.
Furthermore, according to CertainTeed, hanging the boards horizontally helps hide uneven studs and prevents further problems. Finally, drive in your 16 inches and screw at the edges till all the boards are put in place.
Final touches
You must be exhausted after hanging up all of the drywall but the job isn't done yet. Next, is the finishing. To do this, MasterClass explains to tape the seams of the joints and then file until the edges of the drywall are even and neat.
Finally, the experts at Perfection Drywall say you should apply a skim coat, prime the boards, and then finally paint the wall. If you're not painting the drywall, we'll bet that you are using wallpaper instead. Well, the finishing procedure is just the same. Finally, project Drywall DIY is ready to be put on display!