How To Make A Countertop Herb Garden

We may receive a commission on purchases made from links.
While summer comes to its broiling peak and cooking anything on a hot stovetop might be the last thing you want to do, you're probably looking for ways to add a lot of flavor with minimal effort. Many herbs also peak in the summer months and can be used to highlight the flavors in almost any dish. From fish and meat courses to salads, and even desserts, you have a myriad of options when you have fresh herbs on hand. But if you're tired of picking up those tiny containers of cut herbs at sky-high prices, then why not consider growing your own herbs right at home?
Even if you don't have the time or the space to grow a full garden, herb gardens are manageable and budget-friendly, and you can grow them right on your countertops, notes ChefWorks. With this guide to making a countertop herb garden, anyone can enjoy having their own personal fresh herbs on hand, without having to run to the store.
Plan for your plants
Before you get started, it's time to get the measuring tape out. Measure the section of countertop you'd like to keep your herb garden on, then divide that by how many plants you'd like to grow. We suggest starting small, say three or four plants, and then adding new plants later on so you can give them proper care and attention. Consider the space you're building your countertop herb garden on, as well. If you're working with a narrow window seal, you'll benefit from tapered planting pots. And as most herbs thrive in abundant sunshine, make sure you have plenty of natural light for your herbs to bask in.
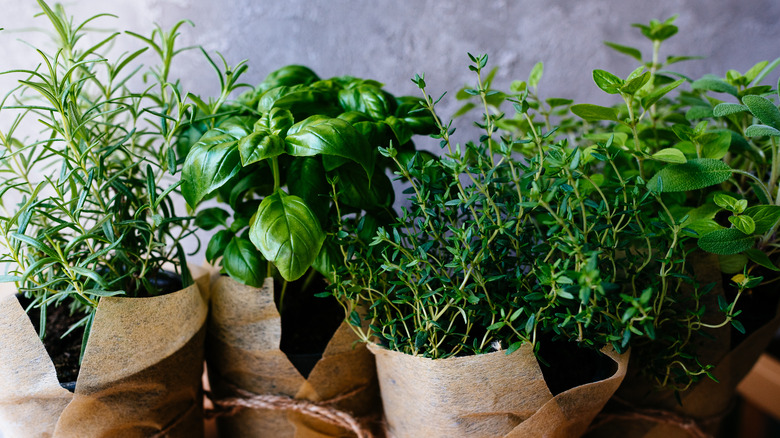
There are many contenders when it comes to the best herbs to grow indoors. Some popular choices include parsley, basil, thyme, chives, and oregano, but you can grow nearly any herb inside, even lemongrass, says Gardening Know How. We also recommend starting with herb starts rather than seeds, as many herb seeds require cold stratification, per Herbal Academy.
Pick your planters
When choosing your planting vessels, keep in mind that absolutely all herbs need drainage. You can buy pots with drainage holes, drill your own into your pot or jar of choice, or use stones for drainage. Homestead Brooklyn walks you through the proper way to create drainage with stones and charcoal to create happy plants in any pot. Essentially, if you're opting for a planter with no holes, just add approximately 1 inch of stones and 1/2 inch of charcoal to the bottom of the vessel. Per Plant Care Today, horticultural charcoal helps to ward off bacterial growth, balances the soil's pH levels, and assists with drainage.
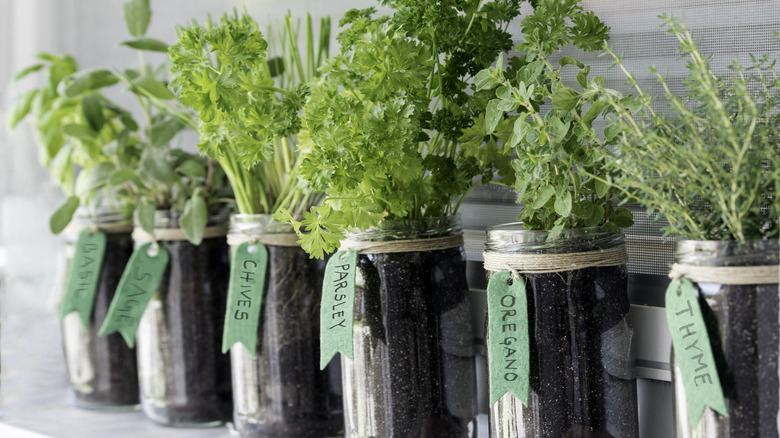
This can be the best solution if you plan to have a hanging herb garden or if you don't have saucers to collect excess water from your planters. If you're truly determined to skip traditional planting pots and are keen on mason jars, follow Little Emerald Thumb's tutorial for drilling a hole into a glass jar.
Add your plants
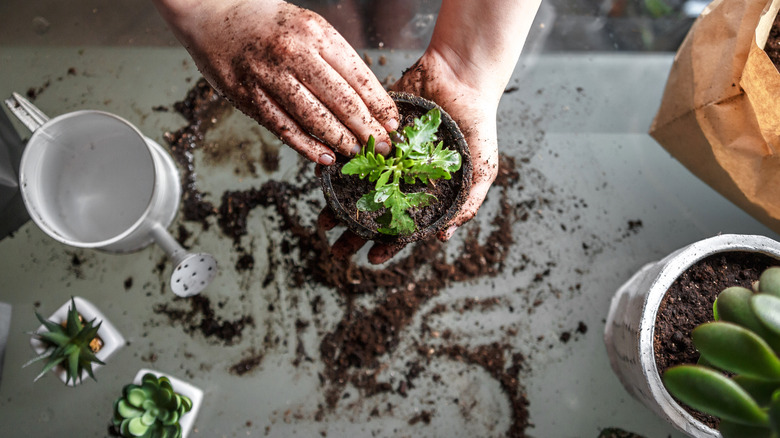
It's time to get your hands dirty and actually transfer your herbs into their new happy homes. You'll want to plant them in light potting soil like Miracle-Gro's Moisture Control potting mix, or a potting soil specifically blended for herbs. Whatever you do, you don't want to use gardening soil, says Heeman's. Gardening soils like topsoil and black earth don't drain or dry quickly, which can lead to rot and bacterial growth.
Because herbs are fast-growing plants that turn over new leaves quickly, you also want to make sure their soil is changed out as needed, which can happen anytime between one and two years. Martha Stewart advises changing soil out anytime water runs straight through the pot, a plant looks dried or yellowing, the soil becomes too firm, or roots extend through the bottom of the pot. New soil will help your herbs to continue thriving, and with the right care, you can have fresh herbs year-round.
Assess your plants' needs
When you pick up a new set of plants from the grocery or hardware store, you may be tempted to quickly peel off the caretaking notes stuck in their soil. After all, don't plants just need water and sunlight to thrive? Not exactly. Different herbs have different needs and can vary on how much and how often they should be watered. For instance, both Mexican and Italian oregano thrive in sunny, sometimes arid environments, notes The Kitchn so they require considerably less water than leafy, moist herbs.
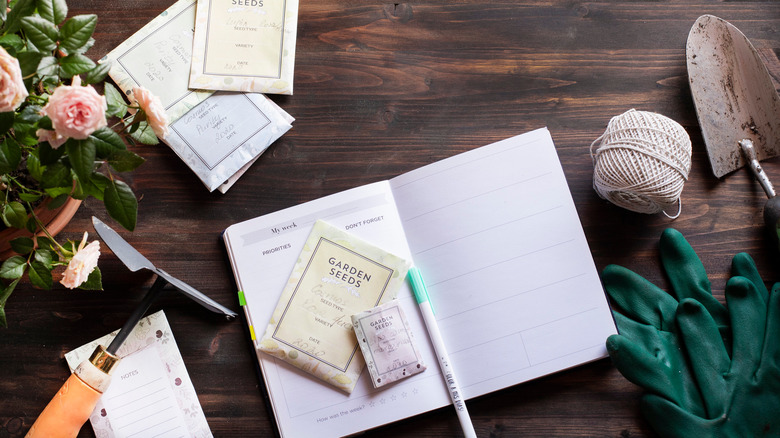
To help keep track of it all, make sure to label the herb pots. You can use either a label maker or go old-fashioned with some card stock and twine. Then, make a plant caretaking ledger in a notebook or on your phone to help you keep track of each plant's needs and even reminders for watering and changing soil out. Eventually, you'll probably be able to intuit what your plants are needing, but this is a great idea for gardening beginners.
Enjoy your new herb garden
You'll be feeling like a regular green thumb when you pluck your first parcels of parsley, bathe your dinner in basil, and chuck chives onto the appetizer, all grown under your own roof and with your constant care. Growing edible plants is deeply satisfying, great for the wallet, and having fresh herbs on hand just plain makes food taste better. Don't stress if a recipe calls for dried herbs — you can easily dry your homegrown plants. HGTV recommends letting low-moisture plants like thyme, rosemary, dilly, and oregano air dry, while herbs with higher moisture levels, like basil, mint, and chives benefit from being dehydrated in the oven.
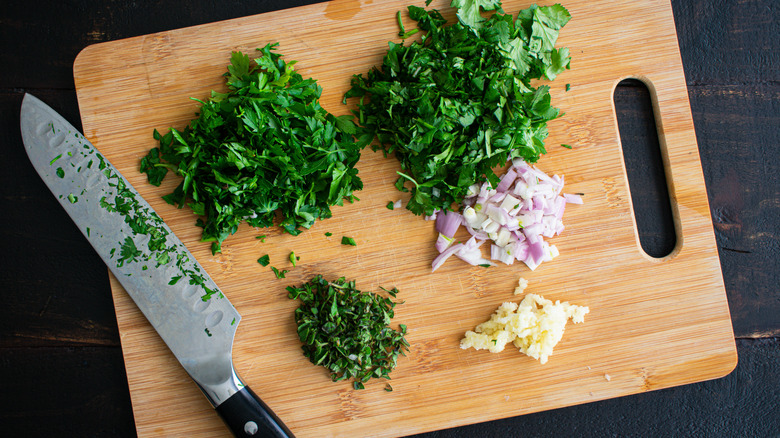
Now that your herb garden is thriving, you may be wondering how to use up all these delicious green herbs. Our friends at Mashed have created an amazing guide to the very best herb-based recipes that you need to try. With that, it's time to get chopping.