How To DIY Your Own Rain Barrel

We may receive a commission on purchases made from links.
According to The Home Depot, a single inch of rainfall on a 1,000-square-foot home can create up to 600 gallons of rainwater runoff. Rather than let this precious resource go to waste, why not collect it in a rain barrel? You can use the conserved liquid to care for your garden or houseplants, wash your car, or even flush your toilet. But no matter how you use it, a rain barrel can save money and resources. As an added benefit, using a rain barrel reduces stormwater runoff, which can pollute waterways (via PennState Extension).
Barrels specifically designed for collecting rainwater are available for purchase but you can make yourself one in a few hours and put it to use on the next rainy day. Alternatively, you can use a plastic trash bin, as suggested by The House & Homestead, or see if you can find another large container to repurpose — HGTV used a food-grade barrel that was once utilized to ship pickles.
A 55-gallon barrel will do for most households. In addition to your barrel, you will need a few parts to make it functional: a boiler drain or other spigot and a corresponding fitting or lock nut, silicone caulk, a window screen or other mesh to block bugs from the barrel, two ¾ inch hose adaptors, ½ inch screws to secure the mesh, and a downspout diverter.
Where to put your rain barrel
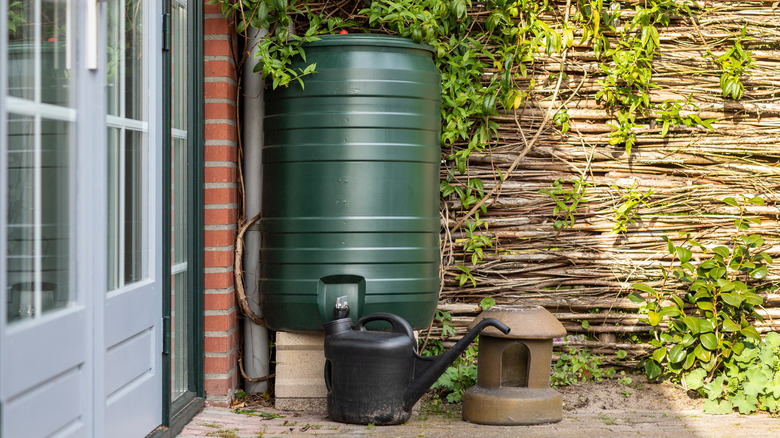
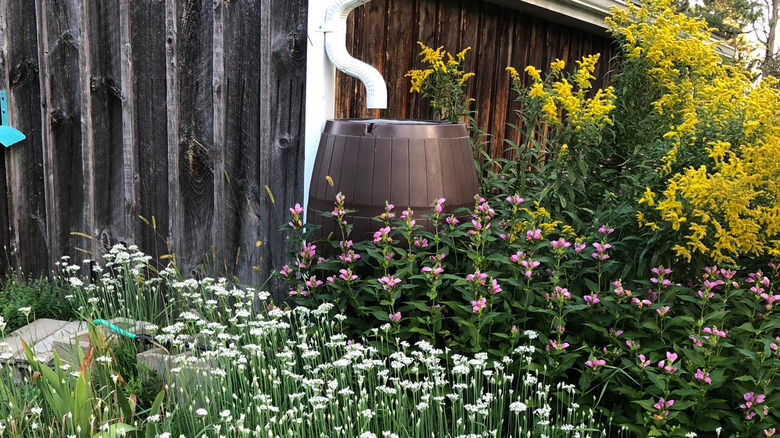
To work correctly, you will need to choose a spot for your rain barrel where a downspout dumps water from the gutters on your house. This water will be diverted into the barrel using the downspout diverter. Examine the area. If there is not a flat place for the barrel, you may need to create a sturdy surface for it to rest on. Making a stand for it has the added benefit of creating more room for gravity to do the work while filling a watering can or draining the barrel.
Building a stand could be as simple as placing the container on a couple of cinderblocks, or you could do what The House & Homestead did and build a base out of scrap wood. Keep in mind that your stand will have to be able to bear the weight of your barrel when it's full of water, which could be up to 300 pounds, The House & Homestead notes.
Attaching the spigot
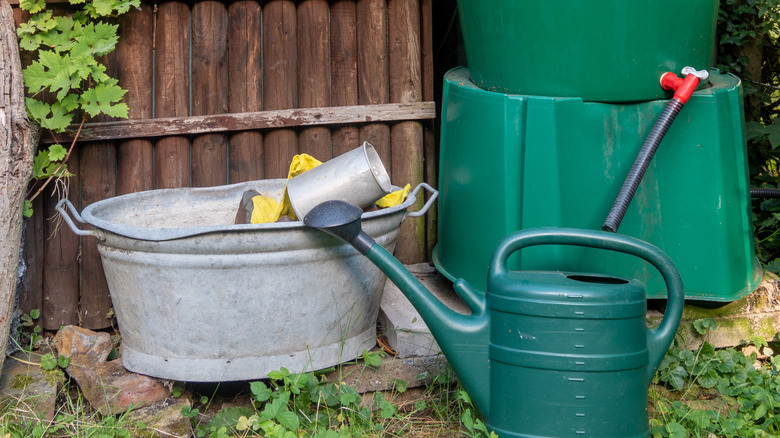
Whether you place your barrel on a stand will influence where you put the spigot to access the water for regular use. If you aren't using any sort of stand, you should make sure to leave enough room below the spigot to place a watering can or bucket so that you can easily access the liquid. HGTV recommends placing the spigot 12 inches above the base of the barrel. If you have a stand, you have more freedom to place it closer to the bottom of the container, allowing complete drainage. If you don't have a stand, you could still drill the hole near the barrel's base and simply attach a hose to the spigot to access the water that way. This configuration could be useful if your rain barrel is on higher ground than your garden.
No matter where you decide to place it, The Home Depot recommends drilling a hole slightly smaller than the threads of your spigot. Coat the threads in silicone caulk before screwing the boiler drain into the hole and secure it with the matching fitting or lock nut on the inside. If your spigot is not close to the bottom of the barrel, you may want to drill another hole below it so that you can easily empty the water. HGTV recommends drilling a 1-inch hole 2 inches above the base of the container and fitting it with a ¾-inch garden hose adaptor and a cap that fits over it.
Completing the barrel
An overflow hole should be drilled a couple of inches from the top of your rain barrel to allow excess water to escape. HGTV recommends drilling a 1-inch opening and inserting another ¾-inch hose adaptor after coating its threads in silicone caulk, using a wrench to tighten. You can employ the optional addition of a tube to divert water as desired. If you aren't using a hose, cover the overflow hole with mesh using silicone caulk and screws to prevent bugs from entering. You could also get another spigot and keep it open for excess water to flow.
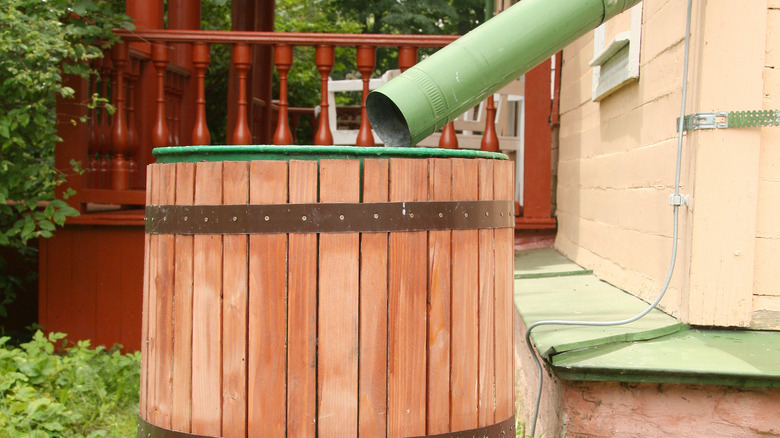
Next, cut a hole for rainwater to enter in the top of your barrel or the lid if it has one. You should adapt the size of the opening and placement for the downspout diverter and barrel of your choosing. The Home Depot recommends using a flexible downspout to divert water from your gutters into your rain barrel by screwing a tab cut into one side of the downspout hole to the top of the container. Cover the hole with a panel of window screen or other mesh and fold the edges over three times before securing them with screws and some silicone caulk (via The Home Depot). This protective filter is crucial for preventing debris from entering your barrel, not to mention mosquitos, which like to lay their eggs in standing water.
Adding finishing touches
Congratulations, you just made yourself a rain barrel! At this point, you are ready to start harvesting rain and save money on your water bill. First, however, there are a few finishing touches you may want to complete to perfect it. For one, The House & Homestead recommends the addition of plumbing banding to secure the container either to the side of your house or to its stand. This will prevent your rain barrel from potentially tipping over.
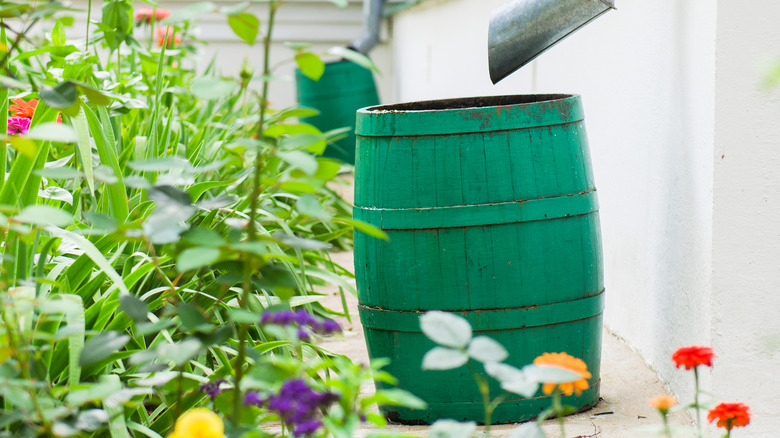
If you'd like to dress up your cask to better fit your exterior décor, consider creating a stylish cover, like the wine-barrel-inspired one that HGTV created with fence pickets and rope. If you have room at the top of your barrel, think about adding a potted plant or flowers. Alternatively, you could paint your rain barrel to match the exterior of your house or fit in better with your preferred color palette.
Maintaining your rain barrel
It is easy to maintain your rain barrel once it is set up. Simply check on it every once in a while to clear debris like leaves and twigs from the mesh screen and ensure that all parts are secure and in working order. Although the screen should prevent mosquitos from laying eggs in the rain container, HGTV recommends adding 2 tablespoons of vegetable oil to the standing water if you do have a problem with mosquitos. The oil will prevent larvae from forming, HGTV says. You may also need to consider using a finer mesh screen.
The inside may also develop algae if your barrel gets a lot of direct sunlight. The Home Depot says that painting your rain cask black can help by blocking sunlight to prevent algae growth. To get rid of algae in your rain barrel, empty it, scrub the interior with bleach water, and rinse it well before allowing it to refill with rainwater.