The Ultimate Guide To Renovating Your Windows
Imagine a house without natural light. It's not an attractive look. The windows on our homes make an impact. They aren't just for aesthetic value and sunlight. According to Efficient Windows Collaborative, windows help keep our homes comfortable by blocking cold air from getting into the house. They also minimize the temperature difference between the glass and the home in colder climates. In warmer climates, windows help prevent hot, humid air from getting into the home with technology such as a low-emissivity coating.
When it's time to renovate your windows, you may have questions and not know where to start since there are many options. We'll help you learn to choose the right windows, when to know that you should replace them, and how to install them on your own. You can hire a window installer, but doing some or all of the work will save you a lot of money. Here is the ultimate guide to renovating your windows.
What's your style?
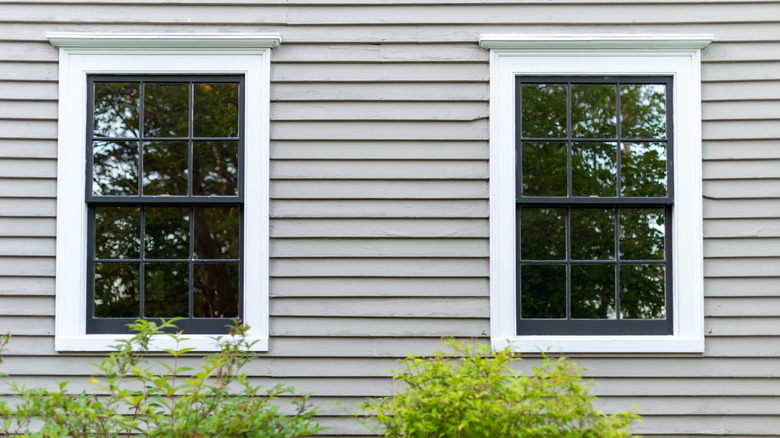
There are plenty of different window varieties available for your home. You can select the right style for your house according to the type of home you have and your taste. There are three main styles, including traditional, modern, and functional, per Golden Windows.
Traditional windows often appear on cottages, farmhouses, or other classic homes. They are commonly double-hung windows with grilles and possibly an ornate or decorative design. Modern window styles include a simple style with sleek lines to complement the home. A few popular contemporary designs include the picture window with no grilles, a casement, or a slider window. The functional window serves a purpose and is less concerned with style. Those whose top concerns are efficiency, functionality, and simple maintenance are better off seeking the right window to cover those requirements rather than windows with a specific aesthetic. Check out other homes in your neighborhood or houses like yours and see what style you like.
Understand your options

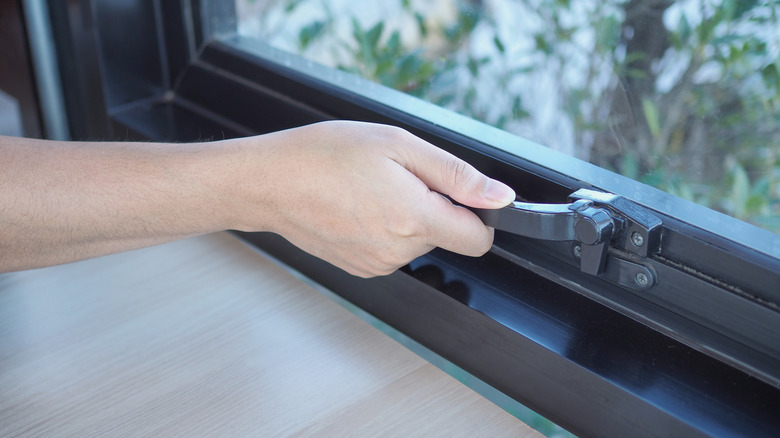
To keep it simple, remember these five choices for window operation: vertical opening and closing, side-to-side, open horizontally, fixed windows, or a combination, per Eikenhout Building Supplies. Double-hung and single-hung windows operate by pushing a sash up or down vertically. Double-hung allows you the choice of moving either the top or bottom sash. On the other hand, a single-hung window only has one sash that moves. Casement windows crank open vertically to the outside. Windows that open side-to-side are called sliding windows. Usually, both sides open and close. An inward opening or hopper window is for smaller spaces, like a basement. They pull or crank down into the room horizontally, like a backward awning, rather than opening to the outside. An awning window opens in a similar fashion but to the outside.
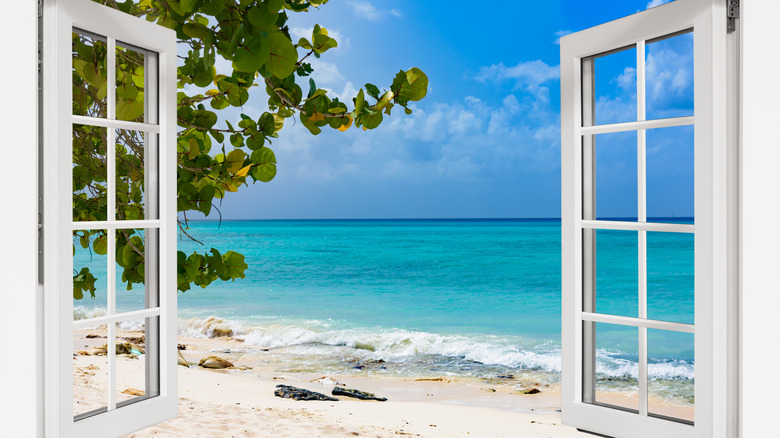
For windows that don't open but instead provide stunning views or a decorative accent, look for fixed windows. They don't open but still serve a purpose. These windows are designed with one continual windowpane to allow for unobstructed views. For a combination of fixed and functional windows, a bay window protrudes outward from the house, with a fixed center and side windows that open outward.
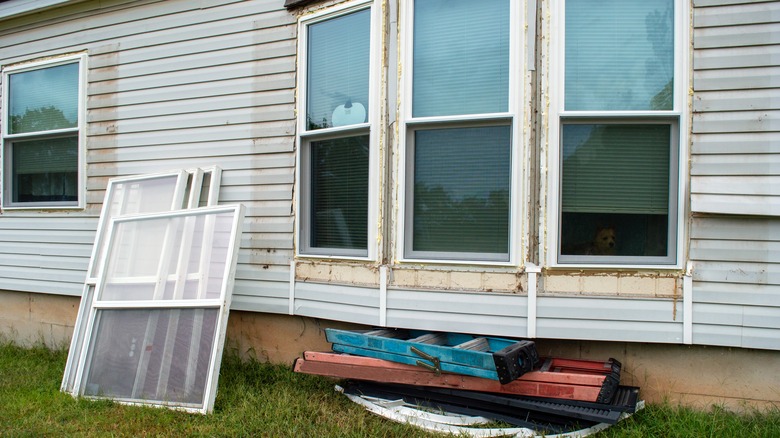
Replace windows regularly

How do you know when to replace your windows? It's essential not to wait until window replacement is an emergency, but you also don't want to replace a window if it isn't necessary. A draft is usually one of the first things homeowners notice as windows begin to fail. You may need a window repair or replacement if your home is drafty.
According to Indow, there are a few ways you can repair a drafty window before deciding to replace it. They recommend clear nail polish for small cracks, draft stoppers, window film wrap, reglazing windowpanes, or adding storm windows or inserts. Other tell-tale signs that windows need replacing are hefty energy bills, visible moisture or damage, and difficulty opening or closing them. Windows can last anywhere from 20 to 40 years. If you've been in your home for a long time without replacing the windows, you may want to look for the signs they need replacement.
How windows work for newer construction

Usually, if a home already exists and it's time to renovate the windows, you can use replacement windows. Still, some homeowners and contractors prefer new construction windows no matter what the situation is. According to Toms River Door & Window, new construction windows come with a nail-fin frame, allowing the new window to be nailed directly to the home's frame.
When frames are intact on a preexisting house, there's no need for new construction windows. It's best to start from scratch with the nail-fin frame window if the frames are no longer in good condition. Damage can be done to the home's frame when removing the old window frame to install new construction windows. Still, some window installers and contractors prefer them every time and feel it's helpful to have the new frame along with the new window. You'll pay more, but in some cases, it's worth it.
What to know about replacement windows
Replacement windows are ideal if your old frames are in good shape. However, if your window frames are beyond repair, they may not be your best option. In this case, go with new construction windows.
When searching for replacement windows, especially when not swapping out the entire house, you may want to consider saving money with previously-owned windows. According to Habitat for Humanity, you aren't just cutting costs when purchasing previously used items for your home. You're also encouraging sustainable shopping, which helps the environment. It's a win-win for everyone. If you can't choose used windows, shop around until you find the style you want at the best price. Once you've chosen your replacement windows, you're ready to prepare the frames for installation. One replacement window can take about an hour to install, so keep that in mind as you plan for a day of construction.
Go green with energy-efficient windows
Many homes now have energy-efficient appliances, but there's no need to stop there. Make the entire house more eco-friendly and gain cost savings with energy-efficient windows. According to Energy Star, energy efficiency means a product uses less energy to complete a task than products that aren't as efficient.
Choosing energy-star-rated products for our homes is one of the best ways to fight climate change, purify the air, and improve budgets for homes and businesses. When renovating windows, it only makes sense to search for energy-efficient windows as a replacement. These windows will cut down on drafts and reduce the heat or cold air getting into the house in the summer and winter. Your windows are responsible for 25 to 30 percent of the heat gained and lost in your home. With energy-efficient windows, you'll see a decrease in your energy bills. While energy-efficient products can come with a higher purchase price, they will save you money in the long run.
Measure and order windows

Don't end up frustrated when you begin installing windows. Measure correctly the first time to make everything go smoothly. According to Lowes, you can start by grabbing a tape measure and start with the width measurement. You'll do this by measuring the window opening between the jambs and the two vertical sides of the window frame. Measure the top, middle, and bottom and use the smallest number of those three for ordering. Then, measure for height. Find the highest point of your windowsill, and measure the right, left, and middle of the window opening. Use the smallest out of the three here. Finally, measure the depth of the window opening. Ignore any parting strips or pulleys, as they won't be there when you install the new window.
Remember, you're only measuring the window opening. Manufacturers will subtract ¼ inch from height and width, then cut to the nearest ⅛ inch for your new windows.
Gather your tools
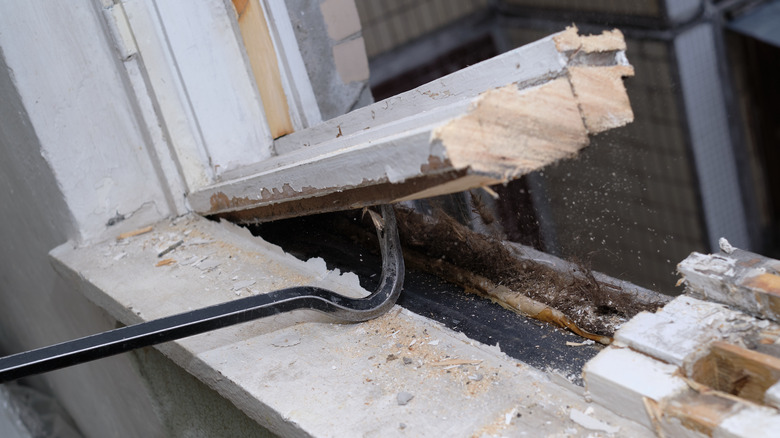
The right tools make any job simpler. Gather all the tools you need for a window renovation before getting started. According to The Window Shoppe, you only need three tools on window installation day. Find a caulking gun and sealant, a pry bar, and a power drill. They also recommend a putty knife and safety glasses to make the job easier.
You'll use the pry bar to remove the old windows. The safety glasses are helpful during that process, as glass or pieces of wood could break off and hit you in the eye. Once the opening is clean, the caulking gun is put to work, placing sealant before the window goes in. Lastly, you'll use your power drill to install screws into the window jambs to secure the window. You may want to have a level and a screwdriver on hand. Level windows are essential, and a screwdriver is helpful when a power drill can't squeeze into awkward positions.
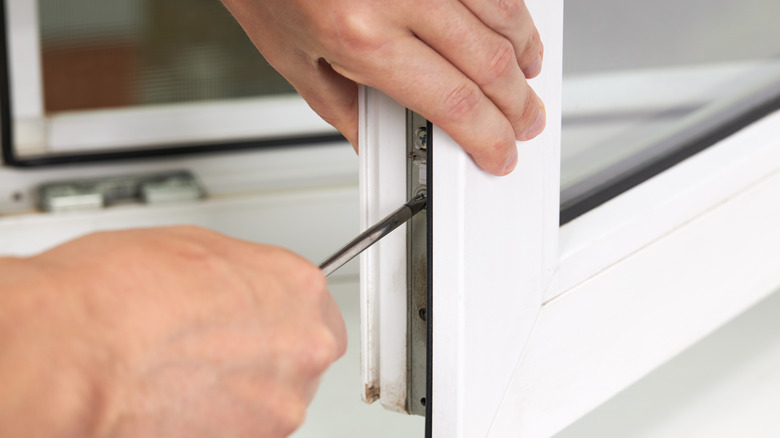
Pull away window stops and inner sash
The window stop keeps the window sash where it needs to be on a window frame. The sash holds the glass of the window in place. According to Stanek Replacement Windows, most windows in today's homes are sash windows fitted into the window frame and are sometimes moveable. The window sash plays an essential role in the durability of a window.
Unscrew and pry off the window stop to remove it. There are two stops, and you'll find them alongside the jambs. It's only necessary to remove one to get the sash out. After that, you can remove the bottom sash. If the window has paint, you'll likely need to remove some to be able to pry the sash out. Score through any paint with a razor blade to loosen it up, then gently pry the bottom sash out and remove any knotted rope, letting it rest against the pulley if there is one. Don't let it fall into the pocket, or it will be challenging to retrieve.
Take off parting stops and outer sash
The parting stop is used in double-hung windows and separates the two sashes. It's usually a piece of wood. According to The Craftsman Blog, it may look like the parting stop (also called parting bead) is a permanent fixture because they have layers of paint. However, they are removable. It only takes a little elbow grease to get it pried off. Once the parting stop is gone, you can clean it up to use again with the new window.
Next, you can remove the top sash. Turn to your razor again to scrape away any paint if necessary. It may seem like a top sash won't budge, but it does slide up and down in a double-hung window. It's probably sat in one position while on your house, so be patient as you loosen it up and pry out the top sash. Once it's willing to slide, slide it down to the windowsill and remove it. Be sure to use a label for each sash to know which one is which.
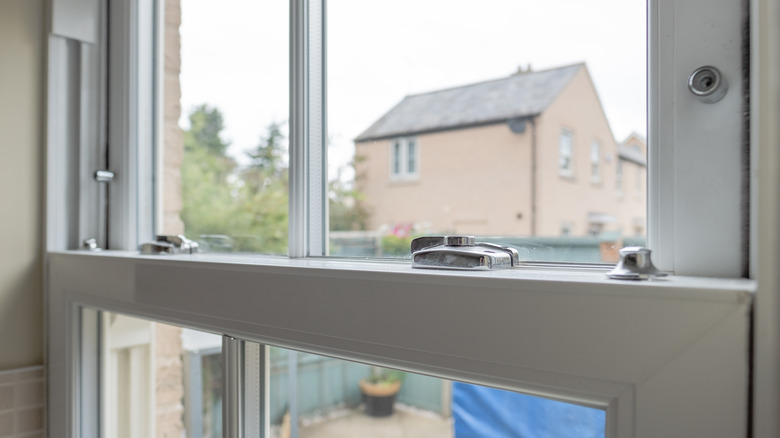
Remove counterweights, pulleys, and insulate weight pockets
Not every window will have a pulley system. It's essential to know what type of windows you have so you know which parts to look for as you take old windows out. According to Phelps Company, the pulley system used only in double-hung windows was the standard and is again becoming the choice of architects and builders. It consists of a sliding sash attached to a cord or chain that passes over the pulley mortised into a window jamb. The other end attaches to a counterweight, creating a window that's easy to open and close.
To remove the pulley system, find the plate that holds the pulley in place and remove it. Pull the rope out of the well until you can retrieve the counterweight. Set it aside and do the same thing on the other side. Last, you'll need to insulate those empty pockets for the counterweights. You can use foam insulation to get the job done.
Test and secure the window
Now that your old windows are out, you can secure the new ones. According to Family Handyman, you'll need a caulk gun, cordless drill, hammer, level, pliers, and putty knife. First, clean up the area where you've removed the old window. There may be years of built-up dirt and chipped paint pieces. If necessary, do some sanding to smooth it all out. Next, apply flashing tape to the sill and ensure everything is level. Slide the new window in as a dry run to ensure it fits well, then remove it and caulk around the window frame before installing again and securing it with screws. Replace any trim, if necessary, and caulk to fill in gaps.
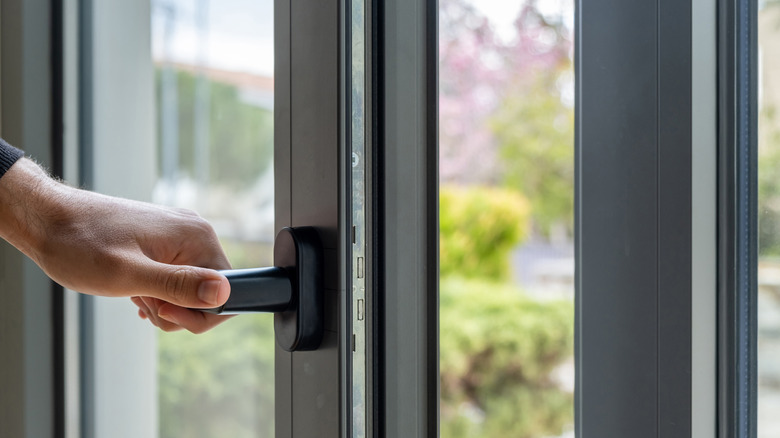
Give your new windows a test run by opening and closing them. The window installation has gone wrong if they are difficult to open and close, feel drafty, make creaky noises, or if you see moisture built up after a day or so (via Home Reference). If that's the case, you may have to remove the windows and start over with the installation, or hopefully, there are just some cracks that need filling or screws that need tightening.
Apply caulking to seal

Caulking may seem like the easiest part of window replacement, but it's an essential step to insulate windows. Caulking helps hold things in place and fills gaps so air can't get in, which makes your windows more efficient. However, you can't go caulking crazy. According to Mr. Handyman, there are three areas around the window you should never caulk. These include the weep holes, which allow moisture to escape. Caulking clogs them and causes moisture to build up in the windows. Avoid caulking when installing trimmed-out windows. These windows sit above the siding, and caulking will clog the joints. Lastly, don't caulk any moveable parts, or you might seal the window shut.
Don't attempt to install windows without caulking. Even if they look great, air has a way of seeping through the tiniest cracks. Use caulking wisely and sparingly in the essential areas for best results.
Treat yourself to new window treatments
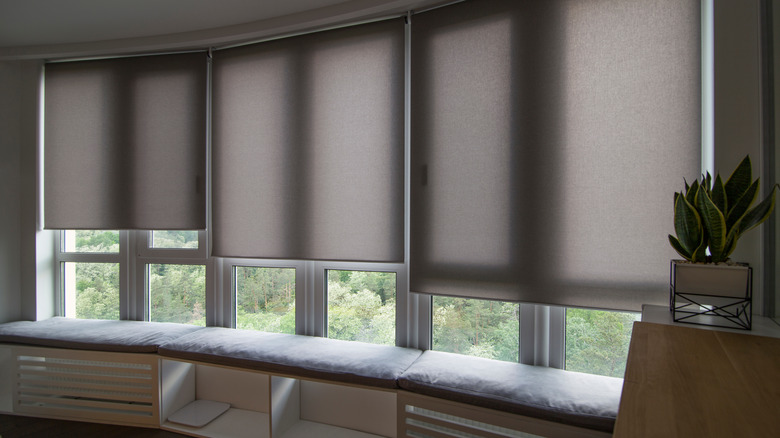
New windows look so beautiful, making it hard to cover them up. You've done your research, installed new energy-efficient windows, and can now stand back and enjoy the view. However, don't get too comfortable just yet. You don't want to forget to give your new windows an essential element — excellent window treatments.
Window treatments look lovely and help make your windows even more efficient. According to Home Depot, using energy-efficient window treatments helps cool your home in the hot months and warm it up in the colder ones. That means your air conditioner and furnace can take a break now and then, and you'll get to see the cost savings in your energy bills. There are a variety of energy-efficient window treatments, such as shades, drapes, shutters, or a combination of any of them. Anything that helps block the sun and cut down on drafts is an energy-efficient window treatment.