5 Tips For Staining Your Wooden Deck Like A Professional

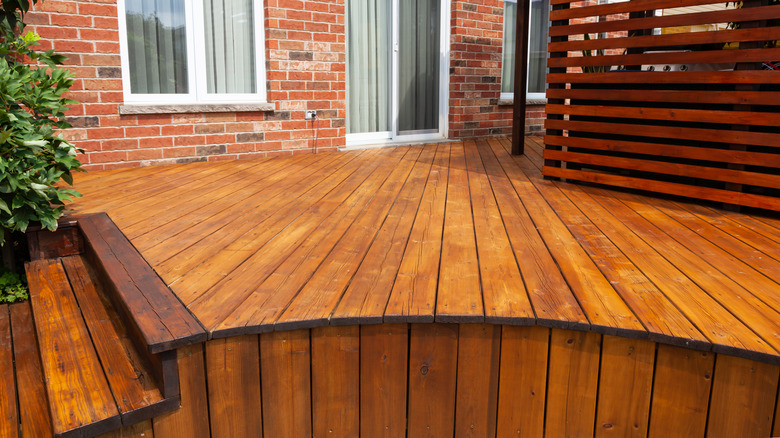
Well-maintained wooden decks look amazing and also feel comfortable underfoot. However, if left untreated, your deck will only last you for so long. Since the biggest threats to a wooden deck are moisture and exposure to sunlight, you will need to regularly stain it to keep it looking good. In fact, per C & M Residential Services, for a typical residence, a deck will need to be re-stained every two to three years. You'll be delighted to know that while staining can be done by a professional, it is also one of those activities that you can easily DIY over a weekend.
You don't need any prior experience; all you need are the right tools and a little patience. Proper staining protects your deck from moisture and UV rays from the sun, as well as normal foot traffic and wear and tear. To give you a few pointers, here are five tips that will help you pull off a professional-like finish.
Prep the deck
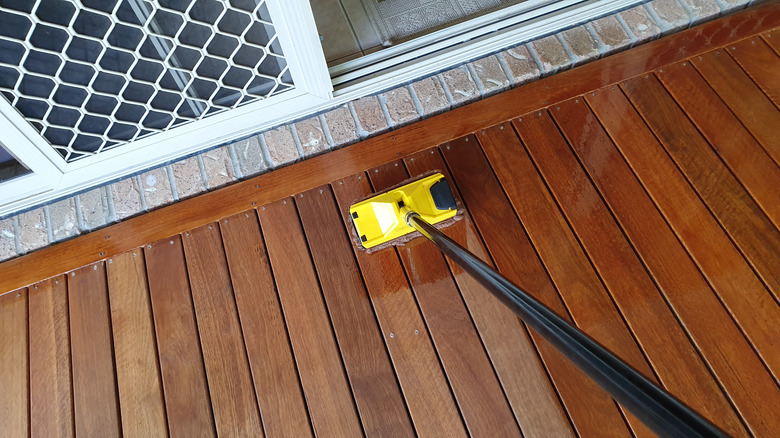
Deck preparation essentially involves cleaning the surface. For an older deck, you will need to thoroughly clean your deck with the proper wood cleaners to remove mold stains, debris, and graying from oxidation if present. Viance cautions against using household bleach and, instead, recommends hydrogen peroxide, oxalic or citralic acid, or products such as Simple Green. Saver Systems explains that the wood stain will not adhere perfectly if you fail to prepare your deck beforehand. Remember you need to remove old stains from the deck as well. While wood cleaners will help you remove most of the older stains, you will need to sand down any buildup. A pressure washer will make your job easier as far as cleaning the deck is concerned.
Right after using the wood cleaner to remove any debris and previous staining, use a pressure washer on the highest pressure level to wash down the dirt. Now that your deck is nice and clean, allow it to dry naturally for two to three days. Staining before the deck dries means that it will not adhere and, therefore, it will fail to protect your deck effectively. Once the deck is dry, you can go ahead to the next step.
Wood brightener application
Although applying wood brightener is not the most essential step, it will go a long way in giving you that professional-like finish. It's an easy process that is often overlooked yet will leave your deck with impeccable appeal after the task is done. Wood cleaners and strippers are acidic in nature, therefore, raise the pH of the wood causing the deck to darken after it dries. A wood brightener restores the original color of the deck, enhances the look of old worn-out decks, and also increases the absorption of the wood stain significantly (via Pro Wash Exteriors).
Yes! This single product is responsible for all these functions and that is why you ought to include this step. As mentioned before, the application is a no-brainer, all you need to do is spray the wood brightener on the deck and allow it to dry for a short period of time before rinsing it off. That's it — there is no unnecessary scrubbing! However, remember to allow the deck to dry completely before applying the stain.
Use the right equipment
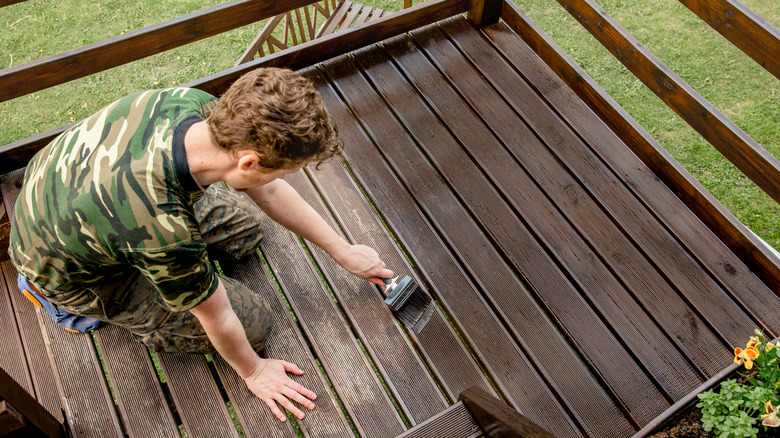
Wood stain effectiveness is as good as its application. When it comes to applying stain, there are different ways to pull off the task. The most commonly used tools are spray guns, paint pad rollers, or pump-up garden sprayers. While every method mentioned here will work for stain application, a regular paint brush should not be too far from reach. In as much as these methods are effective, Saver Systems says the paint brush is still king.
A handheld paintbrush causes agitation for better stain absorption and also the bristles can get to those hard-to-reach places. According to Popular Woodworking, the key to stain application success is to apply and remove any excess right away before it has a chance to dry. Spray guns and paint pad rollers are not quite effective in removing the excess stain from the deck. So if you decide to use them, be sure to switch to a paintbrush right after and clean as you go.
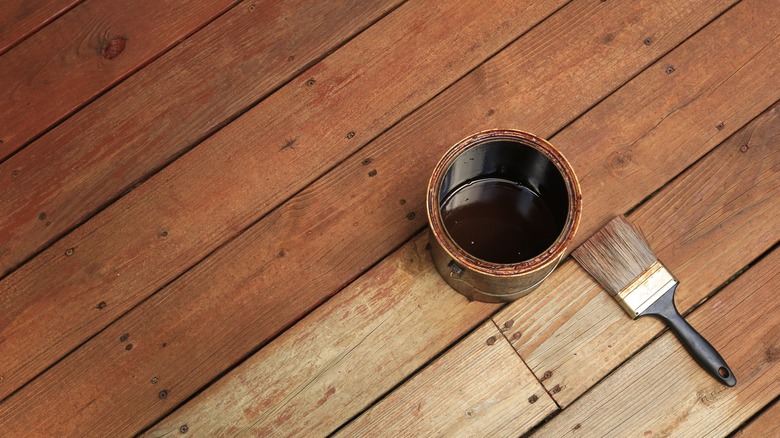
Consider water-based stains over oil-based
Water-based stains are the new favorite for many reasons. They have plenty of advantages over the oil-based options, making them a great choice for staining wooden decks. First, water-based stains are non-toxic as compared to their traditional oil counterparts. According to the safety data sheet provided by Rust-Oleum, water-based stains do not contain any toxic ingredients. On the other hand, oil-based stains warn of hazards including skin irritation, flammability, and several others.
Saver Systems adds that water-based stains do not necessarily need the wooden deck to dry up entirely before you can apply. Also, they dry fast themselves and are a lot friendlier to the environment. Modern types of water-based stains are made of synthetic components that go a long way in preventing the growth of molds or mildews. Synthetic water-based stains are particularly helpful especially if you are in a region with high humidity levels.
Maintenance
After returning your wooden deck back to its former glory, your work is done, but only for the time being. Your new and shiny deck will not stay like this forever. Damaging weather elements are still at play. What's more, depending on how much you use the deck, the stain will deteriorate at different rates. Having said that, it's also important to mention that frequent maintenance whenever necessary will go a long way in keeping the deck in tip-top shape.
A final tip from Saver Systems is to treat it the same way you would your house or car by making a point of removing dirt and debris from your deck regularly. If by any chance the wooden deck begins showing gray spots or is no longer waterproof, coat these particular spots with a wood brightener and a thin coat of stain for maintenance. With an average labor cost of $450 to $1,000 to have a deck stained by a professional, according to HomeGuide, you can save yourself quite a bit of money if you choose to DIY.