How To Make Your Own Indoor Composting Bin With These 4 Simple Steps
We may receive a commission on purchases made from links.
Anyone with a green thumb will be familiar with the value of high-quality compost. Organic gardeners can't get enough of the stuff, and you may even find them building raised garden beds almost entirely from compost. Because compost prices have increased a lot in recent years, and because it's a sensible way to recycle kitchen leftovers and garden waste, most people who need a lot of compost will make their own to some extent.
According to Thriving Yard, these compost piles are generally located outdoors to generate enough compost to make a difference in a big yard. They require more space than a typical kitchen can accommodate. However, there are several reasons to have a smaller indoor composting bin right on or under your kitchen counter.
First, indoor composting can be a solution for anyone who wishes to reduce their waste going to the landfill, even those without a large garden or access to a big space. Second, per The Tiny Life, having easy access to an indoor composting bin can help build the habit of composting into your daily life, which is always a good way to ensure an environmentally-responsible practice sticks.
Lastly, even if you do have a big yard and a thriving outdoor composting system for your lawn clippings and wood chips, a smaller, more secure indoor system can protect these compost ingredients from being adversely affected by weather and animals, especially during the delicate beginning phases of breakdown.
Pick your spot, pot, and method
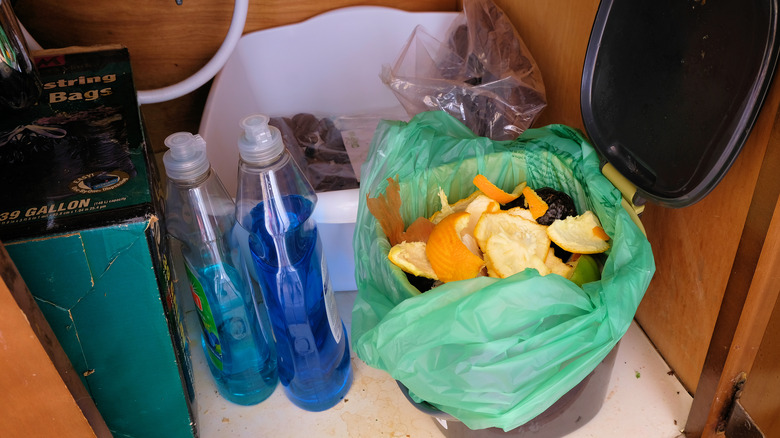
According to Green Matters, the most important thing to consider is where to put your indoor compost bin. It can sit on top of the counter for easiest access. Another option is to place it below the sink or in a cupboard where it will be out of the way and it will stay dark and warm. The location will also inform how large of a container you use, as well as any aesthetic concerns you might have such as design and materials.
Indoor compost bins can be made from metal, plastic, or wood. They can be 20-gallon tubs, 2-gallon buckets, or anything in between so long as they have a tight-fitting lid. Deciding on a space that can be the long-term home of your indoor composting operation may take some of these choices off your hands.
For the DIY approach, there a few different types of composting to choose from, as explained by Pela. The classic, simple aerobic composting is what we will focus on here, but be aware that vermicomposting and the Bokashi method are both also viable methods for indoors. Vermicomposting is basically worm composting, and the anaerobic Bokashi method requires adding special inoculated bran to the mix,; both are a little more complicated and expensive.
Make sure it can breathe

Once you've got a location that works and a container that fits, you'll need to make sure that enough air is able to circulate in and out of the bin. For hygiene reasons, you'll want a tight-fitting lid on your indoor composting bin, but in order for the beneficial bacteria to break down your food scraps into useful compost, they need to have a decent flow of air. Hobby Farms lists a lack of oxygen as the number one reason for compost to develop a bad smell — so airflow is important!
Assuming you've got a relatively lightweight plastic, wood, or even metal container for ease of handling, a hand drill ought to be able to make holes large enough to encourage airflow. You want to make at least five holes across the top. Many people also add a few holes at the side and even the bottom to ensure plentiful airflow to the entire bin, though that's optional.
Leaving the holes completely open can lead to unpleasant smells and flies, so line them with a breathable material. Saie Beauty recommends using a charcoal filter to absorb odors whilst allowing air to continue to flow naturally. These can be simply glued to the lid, but any holes on the side or base might be best served with a simple gauze or cloth layer.
Fill your bin
Now you've got a secure container in a convenient spot, punched full of convenient holes with a decent filtration system in place, it's time to start making indoor compost!
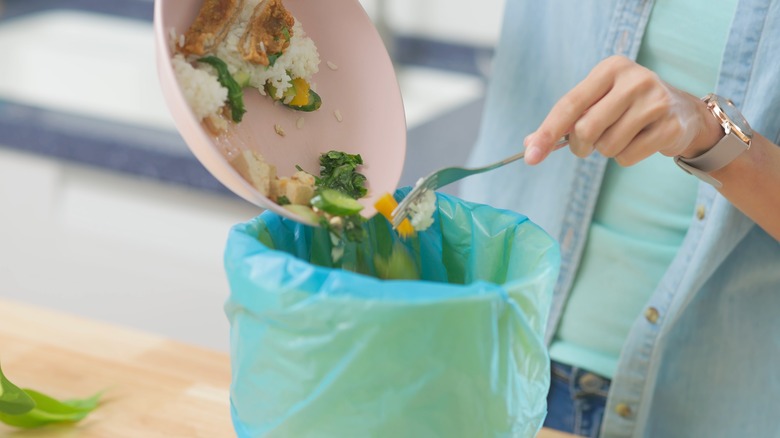
Quality compost isn't just made up of vegetable peelings and old banana skins. There are several things to remember to include alongside organic matter and several more common kitchen items that you really don't want to accidentally mix into your compost.
Before adding any food, place a layer of dry, high-carbon material in the bottom of the bin. This should be what gardeners call brown material. Shredded paper or cardboard, coffee filters, hay, or even dried leaves will work. Next, a layer of kitchen scraps, or green material. Alternate between the two as you fill the bin up. Halfway to the top, give the bin a spritz with water to help with the initial moisture content. Keep going until you've used up all of your green material.
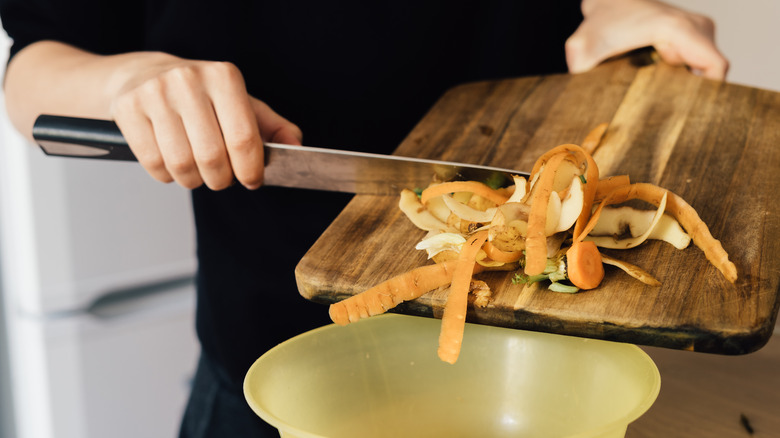
According to Happy Sprout, anything organic can be added to a compost bin. However, if an item is tough to break down, like wood or bone, it can take a long time to process. For this reason, it's always worth shredding harder stuff into small pieces to give them a head start. Meat and fish will break down, but including them is not advised. They will smell a lot worse than vegetables and likely pique the curiosity of your pets.
Maintain proper levels of air and water

Aerobic composting is essentially about keeping tiny organisms alive so that they turn your waste into something useful. Granted, you can't see the microorganisms in your indoor compost bin, but nevertheless, they are there and they require specific conditions to thrive.
Even with air holes, aerobic compost requires regular turning to break down quickly. This is stirring the contents of your compost bin to expose buried parts to oxygen, so the microorganisms can continue to do their job. Some people do this by rolling the container around, some use a trowel or garden fork, or whatever tool is convenient. Turning should happen at least once a week, or every few days, as advised by Help Me Compost.
If your indoor compost bin is leaking liquid, and/or giving off a bad smell, it might be too wet. Some moisture is good, but too much can turn the system anaerobic and lead to those bad smells. According to Planet Natural, the ideal level is similar to a kitchen sponge that's been squeezed out — not dry, but definitely not dripping. If there's too much water in your system, add more brown material to dry it out.
Conversely, if your system doesn't have enough moisture in it, those microorganisms are going to die of thirst. Simply spritz some water from a spray bottle a few times as you turn it in order to up the moisture content and keep the process going.