How To Start Worm Composting In Your Kitchen

Composting is a common practice in homes across the United States. Homeowners have taken to a variety of opportunities to provide for the environment and act as good stewards of the land. Recycling, composting, and smart purchasing practices that reduce the amount of plastic brought into the home in the first place all fit within this realm of intelligent and responsible consumerism.
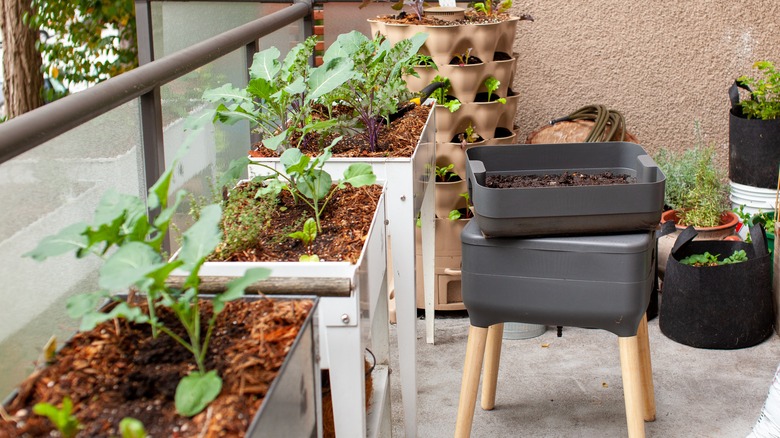
Using vermicomposting, or composting with worms, is a great addition to this approach (via the Cornell University Extension). With a specialized vermicomposter, adding food scraps to a worm-dense soil apparatus transforms old food waste into nutrient-rich soil that can help kickstart growth in the garden. Vermicomposting is often done with a worm bin that facilitates the health of the worms and the successful creation of resulting nutrient-rich material.
Planet Natural notes that the product of worm composting comes out as a slow trickle, so using the worm castings as a soil amendment rather than expecting a complete soil replacement is a reasonable goal. Earthworms have been a part of the natural ecosystem of the planet for more than 200 million years (via BioMed Central), and have played an active and essential role in soil health for this entire duration.
Composting with worms as the central ingredient is easy to do and produces immensely valuable and enriching soil for use in your home garden. Starting is simple, and the benefits are immense.
Start by taking stock of your typical kitchen waste volume
Planet Natural recommends spending a few weeks weighing the volume of compostable kitchen waste that your household produces. This is a great first step toward responsible vermicomposting because it will help you establish a routine baseline for the number of scraps you add to the compost bin on a regular basis.
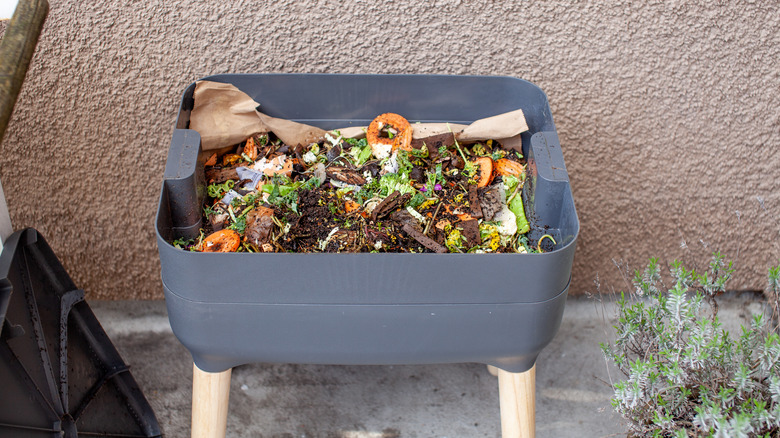
The amount of kitchen waste you plan to compost will dictate the size of the composting device you need, as well as the overall number of worms that will be necessary to facilitate the natural breakdown of organic material. When weighing out your compostable material, make sure you don't include oils and fatty waste, meat products, or inorganic food waste like plastic or aluminum. Packaging can often be recycled, but it won't be broken down in either a traditional compost heap or a worm composting bin. The same goes for meats — meaty products won't be touched by your worm collection, leading to a rotting phenomenon that attracts pests and takes away from the goal of the project.
Green compostable material is what you're after (not the brown components that are included in traditional composting). Green material is made up of vegetables, fruits, and other similar food waste. Starting with knowledge of your volume of compostable matter will help set you on the right track for creating a steady flow of valuable worm castings.
Understand the natural habitat of worms and build your setup
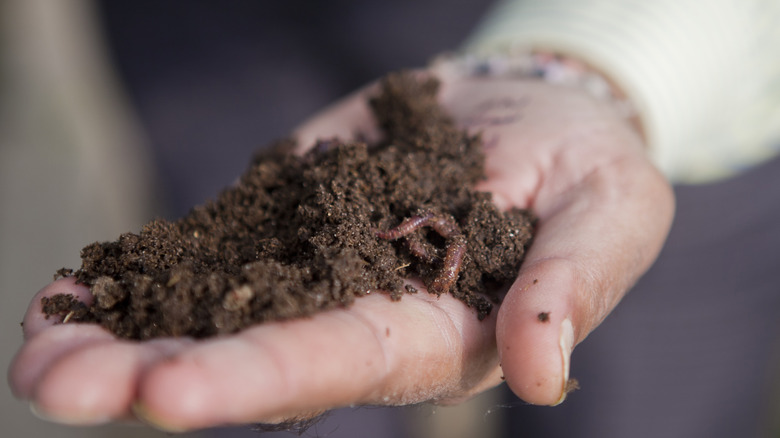
You'll need red worms for the vermicomposter, according to the Cornell University Extension. Earthworms burrow deep into the soil and require exactly that to survive and thrive. In contrast, your worm bin setup won't be providing soil for the worms to live in, but rather a similarly damp, dark, and organically diverse environment among the food scraps that these types of worms seek out. The Cornell University Extension recommends seeking out red wigglers (a common name for the appropriate type of worms); the most common types are Eisenia foetida and Lumbricus rubellus.
These worms thrive in dark and moist conditions, rife with warm temperatures and the kind of foliage that is found in these types of areas. Loose dirt and grass can be simulated with the help of shredded newspaper and other, similar bedding materials; however, staying away from heavily colorful sections of ink in any paper products you use is a good idea (via Planet Natural).
Mimicking the natural environment of your worms as closely as you can will set your operation up for success and allow you to compost kitchen scraps responsibly while taking advantage of the natural byproduct of vermicomposting. Trying to make the space as natural for your worms as possible will give them the best start and ensure a long and beneficial relationship for you and the compost bin full of worms.
Feed your worm colony food scraps in doses
Feeding the food scraps to your compost bin (and the worms that will eat the leftover material) is a process that must be perfected. The City of Spokane provides a great resource on how to add scraps to the pile, suggesting a rotating application across different areas of the compost bin. The Clemson University Extension suggests adding a half-pound of food scraps per pound of worms present in the compost bin until they've acclimated to the environment.
Everyone's vermicomposting setup will be a little different, so experimenting with your worm bin to find the best ratio of weight to add at regular intervals is a good idea. Once your worms are comfortable in the new environment (after a few weeks, according to the Clemson University Extension), you can begin shifting your additions around the bin or utilizing the surface feeding method. This will require you to lay a thin layer of compostable scraps across the top of the whole bin, then add additional bedding on top to entice your worms to continually move upward through the material present in the bin. This can help you to keep all your worms in place when it comes time to harvest the resulting worm castings because they will be clumped near the top of the pile with the desired byproduct beneath them.
Maintain proper moisture content and amend drainage as needed
Worms will thrive in a naturally moist environment, but too much moisture can lead to rot and other issues. Excess liquid should be quickly removed from the ecosystem when discovered through one of a few key methods. Planet Natural recommends using a coir-filled sock to regulate moisture in the space, removing the apparatus and replacing it if it becomes too waterlogged.
This addition is a great asset when trying to monitor moisture. But if you're experiencing excess liquid and the coir sock isn't cutting it, raising the compost bin off the ground with a few blocks can help give your drainage holes better freedom to perform their function. Contact with the ground can clog drainage features, making them ineffective. Another approach is to use a turkey baster to remove excess water directly. Digging around gently in the bedding to push it away from the space you're seeking to drain will help keep the baster from becoming clogged, leaving you just the liquid to suck up and remove from the habitat.
Harvest the vermicompost for use wherever you see fit

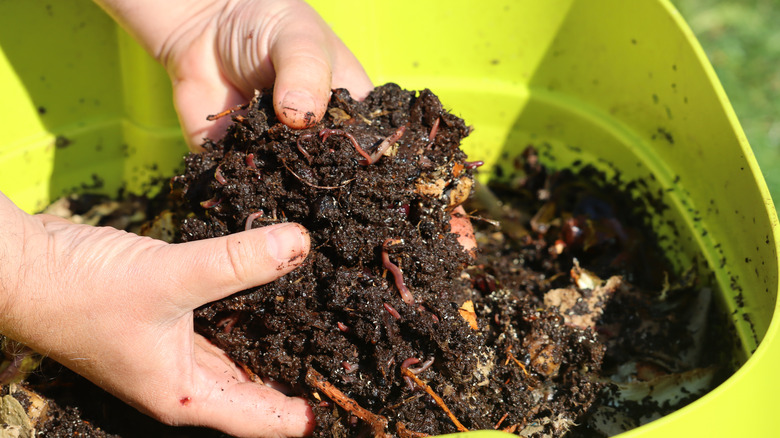
After an initial period of about three to six months, according to the Clemson University Extension, you can begin to harvest the composted byproduct. You may need to use a dump and sort method to remove the compost product from the bedding, remaining scraps, and worms. This involves a tarp or some other film that you can use to keep the material off the ground (and therefore easier to return to the bin once you've finished). Separating the compost material into small piles in the sunlight will naturally move the worms into the centers of each segment, giving you the ability to remove the compost material for use from the top.
The longer you wait to harvest the worm castings, the more material you'll have to work with when feeding your garden. Planet Natural estimates that waiting around six months between harvests is a good rule of thumb.
By timing your harvests ahead of time, you can also make use of other techniques for removal. If you are already rotating your application of food scraps, the use of an alternative method will be simple to implement. Instead of continuing the rotation, exhibiting a heavy hand in one corner of the bin will entice the worms away from other sections, leaving you the ability to scrape together compost material and remove it more freely. Either way, the Cornell University Extension recommends halting new additions of scraps for a few weeks before harvest.