The Best Ways To Get Rid Of Pesky Tree Stumps
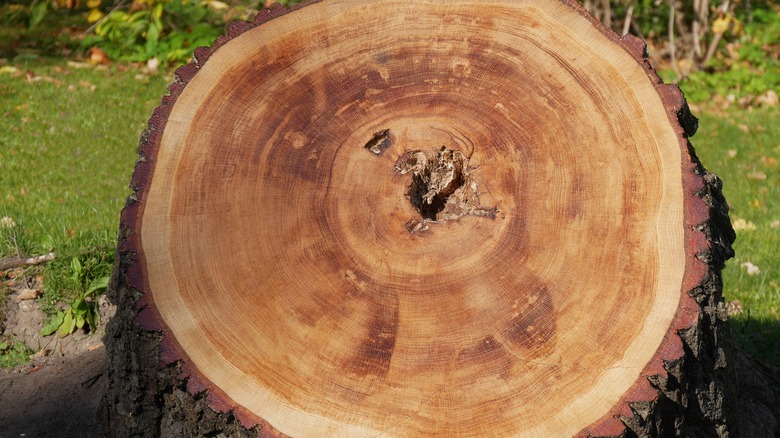
Creating space in your garden for new flowers and ornamental trees can sometimes be quite difficult due to the presence of large trees. In Brief, writes that unwanted trees could block the passage of natural light into your home or yard. As important as it is to be environmentally friendly, removing a tree is sometimes the only way to recover the beauty of your garden. However, cutting it down is just the first part of fixing the problem since trees can grow back if the stump remains.
Getting rid of a tree stump is difficult work because the roots penetrate deep into the ground, frustrating your efforts of getting rid of the tree permanently. With time, tree stumps absorb nutrients from the ground and prepare to regain their lost territory by sprouting again, explains Nelson Tree Specialists. Thankfully, if you don't want this to happen, there are some handy DIY methods that will help you get rid of those pesky stumps forever.
Apply epsom salt to the stump
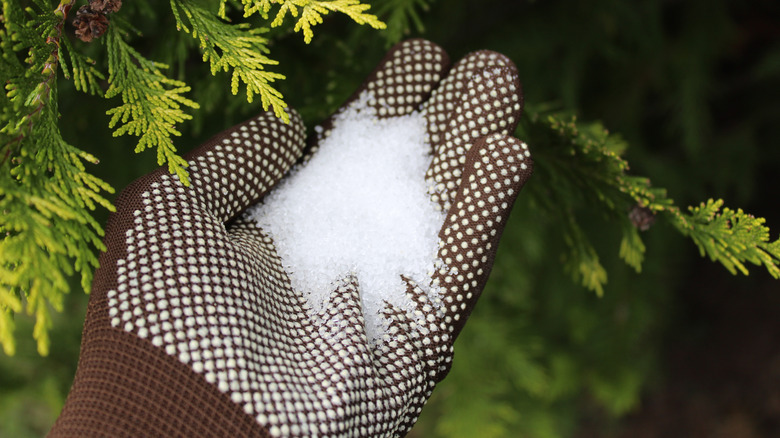
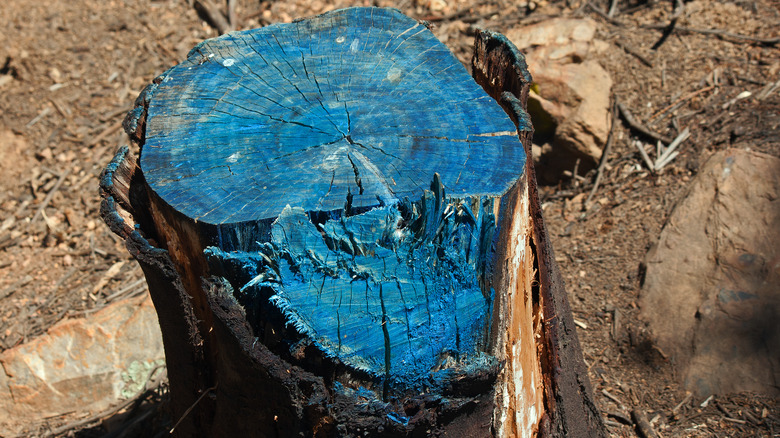
Epsom salt is one of the essential minerals recommended by health workers for body relaxation and relief of pain, explains Cleveland Clinic. That's not all, the salt contains a good amount of sulfur and magnesium, which helps plants to grow, says Epsom Salt Council. On the other hand, Epsom salt can also be a destructive agent when applied to tree stumps, causing decomposition and biodegradation. The best part is that it is affordable, easily available, and causes no harmful after-effects to your garden. To carry out this process, you'll need a garden trowel, a drill, warm water, and a large bucket.
To get started, mix one part of Epsom salt in two parts of water and leave aside to dissolve completely while you dr out holes around the tree stump with your garden trowel. Now, drill holes in the top of the stump, and any visible roots, about two inches deep. By now, your Epsom salt should be thoroughly dissolved and ready to work on the stubborn tree stumps. Soak each drilled part of the stump with the solution and level for a few days before repeating the process. This will allow the Epsom salt to absorb the moisture and eventually kill the tree stumps, notes Mr. Tree.
Remove with a chainsaw
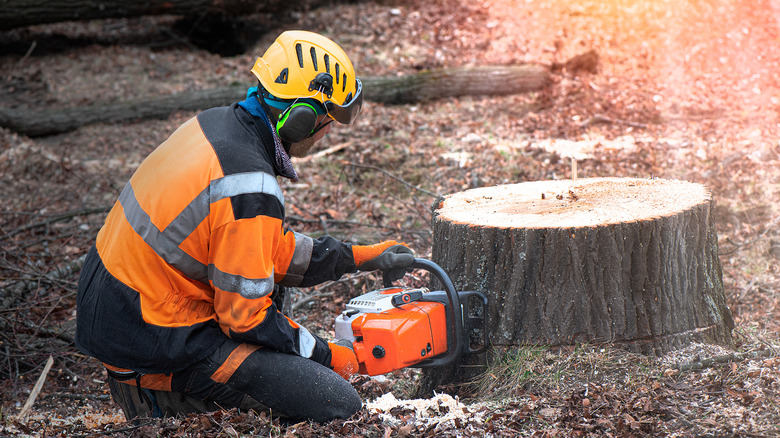
If you have a garage full of handy gardening tools like a chainsaw, then this method is definitely for you. However, this method is not for novices. You need experience to safely handle a chainsaw and prevent an accident says Garden Guides. Also, this technique will often leave your yard filled with sharp woodcuts, and you need to ensure your personal safety by wearing the right gear, such as gloves, safety glass, and steel-toed boots.
Before you begin cutting, dig around the stump with a trowel to reveal the roots. Slowly and carefully cut into the stump in sections, moving the tool diagonally. Continue digging and cutting alternately till you're left with only the roots. This may require some additional assistance if the stump is quite hard (via Kyle's Garage). Once the bulk of the stump is out, you can decide to continue with the roots or leave them to naturally dry out and replenish your soil with some nutrients.
Remove with a stump grinder
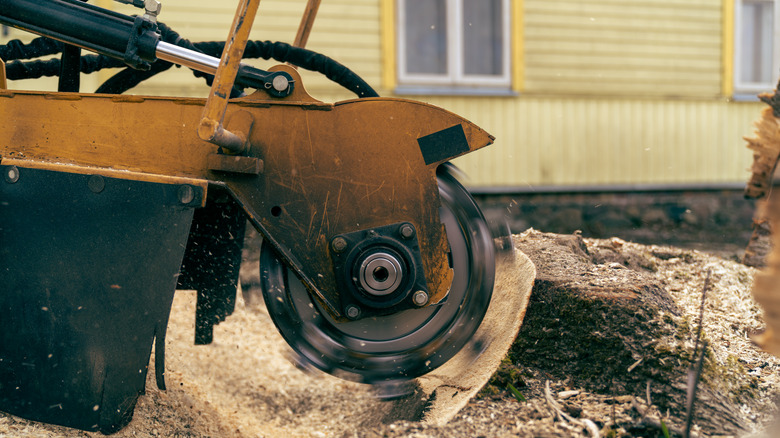
If you're dealing with a very large stump or several smaller stumps in one area, the best DIY tip is to use a stump grinder, which gets the job done in about two hours. Although buying one is rather expensive, you can rent from a home improvement store for an affordable fee of $70 to $200. Before deciding on this method, you will also need to organize a large vehicle to transport the stump grinder as they are quite heavy. A shovel or mattock, rake, and chainsaw may also be needed to fully get rid of the tree remnant.
First, pick out any rocks and stones from around the base of the tree stump to avoid damage to the stump grinder wheel, says GW Tool & Plant Hire. If the stump is a few inches off the ground, cutting it to ground level with a chain saw will save some time. Place the grinder over the stump and then slowly lower the cutting wheels, incrementally cut from one side to the other till the stump is completely removed.
Apply chemicals
If you'd prefer a less physically demanding method, then you could opt for applying chemicals to the stump. Asides from it not requiring excessive manpower, this provides a faster way of decomposing the stump. However, these chemicals are very dangerous and should be kept away in a safe place, especially from children and pets, says Mr. Tree.
One of the most common stump removal chemicals is potassium nitrate. But this would only work on a tree stump that's at least one year old, says Love to Know. To apply, drill out the stump on all sides and fill each hole with potassium nitrate using a funnel. After this, pour some hot water into each hole and stir the mixture with a stick to dissolve the nitrate powder. Ensure the tree absorbs the solution, then leave for about 4 to 6 weeks to decompose. Another chemical that works well is ammonium nitrate. According to The Green Pinky, applying chemicals that are high in nitrogen will feed the bacteria and fungi to quickly degrade the wood.
Burn the stump
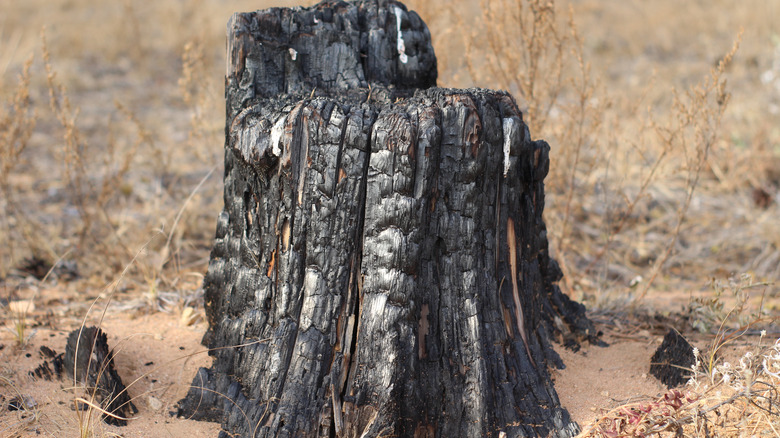
According to Lineage Tree Care, burning out a tree stump takes about 12 to 24 hours, so it works well for an urgent removal method, too. However, you need to ensure that the burning of stumps is legal in your state to avert penalties and fines. You'd need a shovel or trowel for digging, a drill, charcoal, and kerosene to light up the stump.
First, dig out the stump sides, exposing the tree roots (if possible). With your drill, make several deep holes in the tree stump, and pour kerosene into each hole slowly, allowing it to soak into the wood. Continue topping as the kerosene level reduces for 48 hours, which will ensure maximum penetration into the wood.
Once the stump is perfectly soaked, place charcoal on the top, before lighting it up, suggests Tree Triage). The stump will continue burning slowly until it all turns to ashes. While burning, maintain a close eye on the fire to ensure it doesn't spread. Once the stump is burnt, quench the remaining fire and allow it to cool before removing the ashes and any lumps of debris.