The Top 5 Home Repairs You Should Really Fix Before Winter
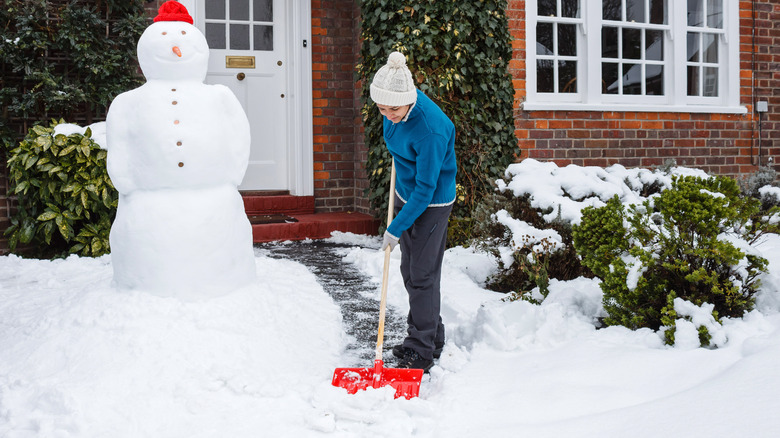
Nothing feels better than coming home to a warm and cozy house after a long winter day. As good as it may sound, however, that warm and cozy house will not naturally prepare itself for winter. Even if you don't live in an area prone to winter storms or an overall harsh winter climate, a shift to a colder temperature is something your home still needs to prepare for, and now, as winter is just beyond the horizon, is the perfect time to do it (per The Washington Post).
Unfortunately, as HGTV mentions, you can't just layer your house in warm clothing in preparation for winter. When preparing your home for winter, you need to pick out its flaws and fix them while the weather is still warm. Even if your house seems to be in pretty good shape at the moment, even the smallest of flaws can quickly escalate into a major and costly problem when the colder months start to roll around. Finding all the little repairs around a house, however, can feel like a pretty overwhelming project. So, if you are clueless about where to begin, start with our five home repairs you should fix before winter comes around.
1. Repairing brick mortar

If any portion of your home consists of bricks, searching for small repairs within your brick mortar is an important step to take when preparing your home for winter. Today's Homeowner claims that brick mortar is the main reason why bricks are a durable and valuable asset to the foundation of your home. This is because it not only holds your bricks firmly together but it also keeps outdoor or indoor conditions from seeping in or slipping out of the cracks. Because brick mortar can only be reapplied during warm and dry weather conditions, you want to look it over before the cold weather moves in. It is also not advised to wait till after winter to repair your mortar damages because of the exposure it will cause to your home during the riskiest season and possibly cause more damage to your home.
Fortunately, repairing brick mortar is a rather easy task that can be done without the help of a professional. Today's Homeowner states that you can quickly start the process by removing the damaged and brittle pieces of mortar with a chisel and hammer. Then, when the area is exposed, you can simply apply the fresh mortar. As you apply the mortar, however, it's important that you remove excess mortar as you are applying it to the area. When finished, you should leave the freshly repaired area alone as it dries and enjoy the crisp new look of your home's bricks.
2. Repairing stucco

Similar to brick mortar, repairing cracks and holes in the stucco portions of your home is also an important task to complete before winter. According to Knauss Property Services, stucco is usually only used in the southwestern areas of the United States due to the extensive damage it faces when it is exposed to harsh winter climates. This is why it's imperative that if your house is made from stucco, it is in its best condition before winter hits. Also, similar to brick mortar, stucco can only be applied when the weather conditions are warm and dry.
To repair a simple crack in your home's stucco, True Value insists that all you need is some exterior latex paintable caulk. With a simple caulk gun, apply the caulk onto the crack at a 45-degree angle, then leave the area alone as it dries in place. If you discover crumbling portions or even holes in stucco, True Value states that a bit more work will need to be done. To start, use a chisel and a hammer to remove all the broken pieces of stucco from the damaged area. During this removal process, it is highly recommended to wear gloves and safety glasses to prevent possible injuries from flying debris. Then, when the area has been cleared, you can fill in all the damaged areas with your stucco mixture by using a layering method that involves metal mesh. Finally, when the fresh stucco has dried, you have the option of painting it to match the rest of your house.
3. Sealing basement leaks

Beyond the exterior foundation of your home, before winter rolls around, it's recommended to take a trip down to your basement and complete some much-needed maintenance for the interior foundation of your home, as well. According to American Leak Detection, basement leaks are a common household occurrence whenever there is any build-up of moisture outside, which can affect your interior foundational walls. Unfortunately, winter is a very leak-prone season due to the build-up and melting of snow. Luckily, there are ways to quickly and simply seal your basement walls and prevent these leaks from occurring this next winter season.
To start, True Value states that you need to first pinpoint the area of the leak and determine if anything other than moisture from outside may be causing the leak. After you can ensure the leak is not being caused by a bigger problem within your home, you can start preparing the area. To prepare for the sealant, start by soaking up any excess water in the area. Then, thoroughly clean any mold, mildew, dirt, or debris from the area. After the area has been prepared and cleaned, apply two layers of sealant to the wall. One layer should be applied with a nylon or polyester brush, and the other can be applied with a regular brush or roller. Finally, let the sealant dry, and your interior walls will be ready for winter.
4. Sealing driveway
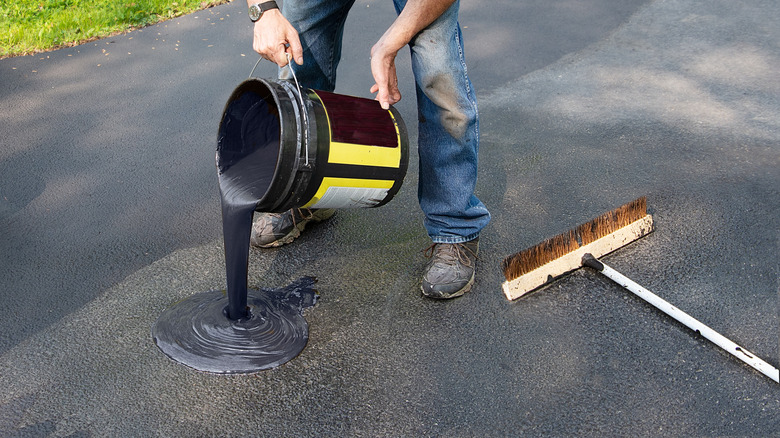
Winter is only one of many reasons you should consider sealing your driveway during these last few weeks of summer. Asphalt Sealing claims that sealing your driveway not only protects it from a variety of different elements, including automotive fluids and ice but also keeps it looking great all year long. Sealing your driveway also increases its lifespan by preventing cracks, as well as the overall breakdown of the asphalt material. Asphalt Sealing also explains that the period before winter is the perfect time to complete this task because the driveway will be fully protected before the colder temperatures start rolling in, and this time of year provides a perfect outdoor working condition.
After finding a sealant that fits your specific driveway and home, Lowe's walks their customers through the steps of applying the product to their driveway. To start, it is highly advised to thoroughly clean your driveway with a leaf blower, asphalt degreaser, and pressure washer. During this cleaning process, it is also recommended to cover or trim away any plants that may be in close proximity to your driveway to keep them from interfering with your sealing process. Objects and any parts of your home near the driveway should also be properly covered to prevent the sealant from affecting other portions of your home. Finally, when your surface is ready, apply the sealant and spread it around with a squeegee tool or large broom. Two layers of the sealant should be applied before being left alone to dry.
5. Replacing wobbly mailbox
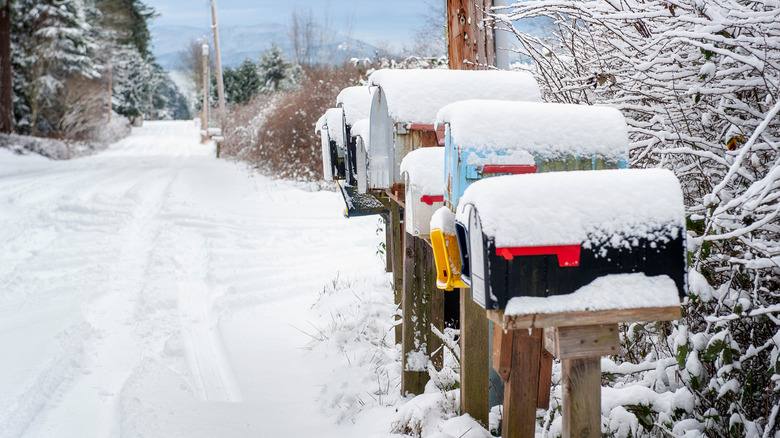
Although a wobbly mailbox does not directly affect the warmth and comfort of your home, replacing it can bring major relief to both you and your local mail carriers during the winter season. Patch further explains if your mailbox is already causing you problems, the temperature drop and wet climate of winter can increase the poor condition of this must-have yard decor or even cause it to break completely. DIY Mailboxes also indicates that it is not ideal to replace your mailbox if it breaks in the middle of winter because when the ground is frozen, the new mailbox could be installed incorrectly into the frozen ground.
To check if you need to repair or replace your mailbox, Patch recommends gently shaking the post to ensure it is planted firmly into the ground and not crooked or leaning. After you know the mailbox itself is sturdy, you can then check all pieces of the mailbox to ensure they are all firmly attached to each other, as well. While checking each piece, you should also check for rust, sharp edges, or any other dangerous elements that may need to be adjusted or fixed. After all these areas of your mailbox have been checked and cleared, you need to finish off by testing the door for a smooth transition for both you and your local mail carrier.