5 Expert Tips To Help You Perfectly Glaze A Window
Window frames that have seen better days will likely crack and come off if not well taken care of. This can cause leakage in the house that you could otherwise have avoided by glazing the glass. If you want to upgrade windows, glazing will make the process easier and the outcome classier. Window and door glazing is part and parcel of a home maintenance routine that ensures the safety of your house and keeps glass panes airtight. It makes rooms look airier and also allows better ventilation in the house. According to Crown Glass, the process involves changing the old windows or maintaining them to look new.
Since glazing is not something to grasp in a day, how can you do it like a professional? The good thing is that, unlike painting, you can remove putty glazing and redo it to create a smoother and lustrous job. Having expert tips at the back of your mind will make your window glazing experience unforgettable, even if you are an amateur. Check out the following steps to perfect your window glazing experience.
1. Pick the right glazing material
The first tip for achieving a professional job is choosing the right product to glaze the windows. The glazing process is highly dependent on the proper putty, and failure to match the right option to its corresponding windows will only give you unsatisfying results. The Craftsman Blog explains that before you walk into a shop to buy a putty, you must understand that there are different varieties of glazing putty for windows. Glazing steel and aluminum windows need a different kind of putty than the one you would use on wooden windows.
For instance, Sarco Putty Multiglaze Type-M is a great choice for vintage windows, while Austin's Glazier's Putty is perfect for glazing wood and steel sash. You also have to check whether the putty is latex-based, oil-based, or mildew resistant to buy one that meets your needs. Other than the right glazing material, other things you can purchase for removing the putty effortlessly are a heat gun, sand scrapper, and utility knife.
2. Understand single and double glazing
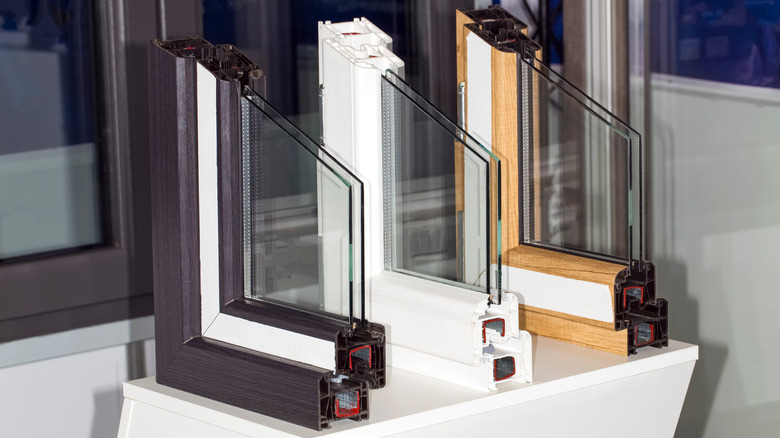
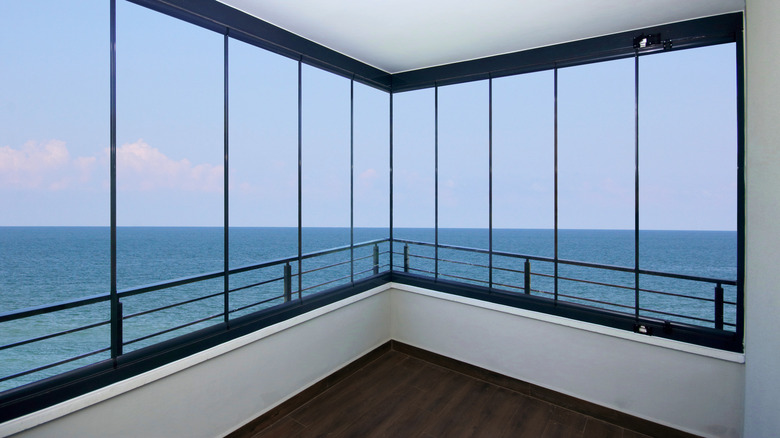
Knowing the difference between single and double glazing will help you ascertain the right glazing for your windows. Today, most windows are double and triple-glazed for more efficiency. Single glazing consists of a single glass window pane, while double glazing has two panes of glass and a vacuum between the panes. Livingetc warns that although single glazing is more affordable and easier to repair than the others, it offers no insulation. On the other hand, double glazing loses less heat; thus, it's more energy efficient. Triple glazing has three glass panes and an extra cavity, but it is the most expensive.
While the location of your home also dictates the type of glazing for your windows, it is better to pick double glazing over single glazing. Some benefits you will enjoy by double glazing your windows include warmer winters, cooler summers, noise reduction, and low power bills. Make sure you don't leave out a gap between the windows while double glazing. Go for 60 to 100mm if you are double glazing to reduce noise.
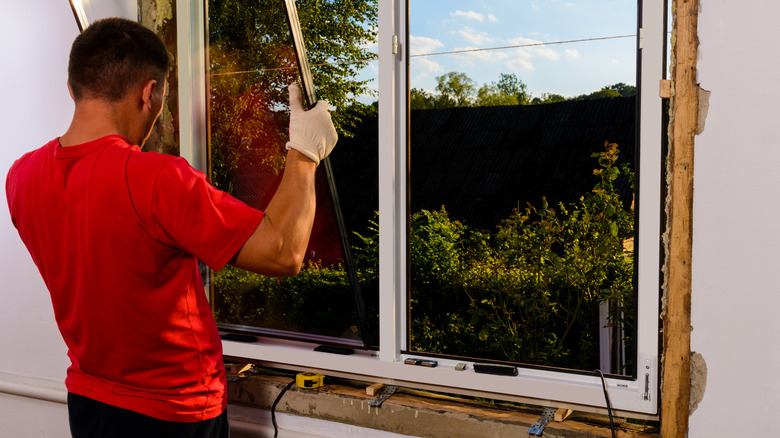
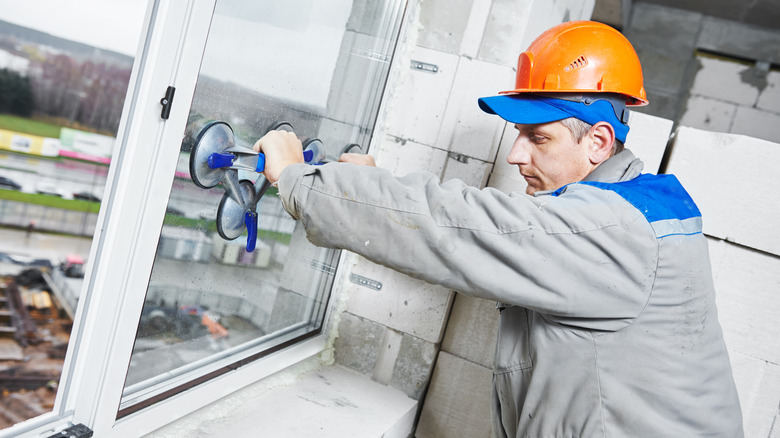
3. Remove the old sash, glazing points, and spring clips
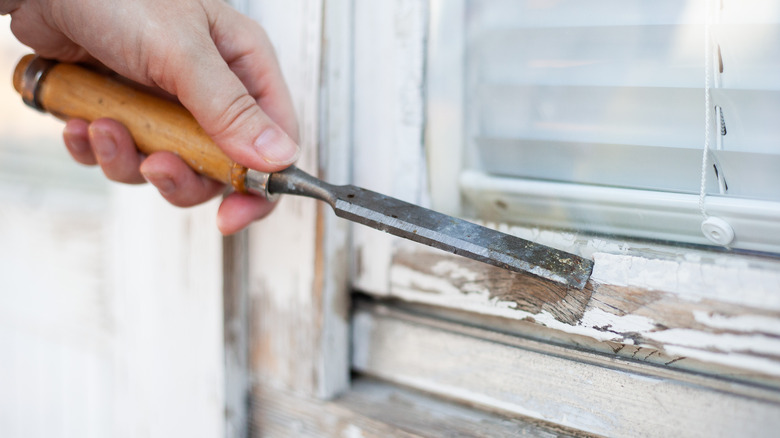
Before you start the task, take out the window sash, which is the part that opens and shuts. You can do this by extracting the wooden pieces curved on the window. This is if you are glazing an old window. Place the sash on a working surface and use a putty knife to remove the old glazing. Dap Global Inc recommends using a heat gun to loosen up the old glazing that can't come out. Note that the heat gun can destroy the glass pane and the paint around the wood. To protect it, use a scrap of sheet metal or the heat shield attachment.
If the excess heat destroys the paint and pane, you have to scratch it out and repaint the window. Don't forget to take out the glazing points or spring clips while at it. You can put on gloves while scrapping them out and removing the glass. After that, you can use oil-based primer and back bedding on the sash before installing new glazing points or spring clips.
4. Have straight lines and sharp corners
Cleaning the oils off the glazing lines will cut off the extra time you spend handling the task. To ensure you don't see your glazing putty from the interior of your window, you have to make smaller and straight lines. Old Home Rescue states that the straight lines will prevent the putty from looking wiggly and all over the place. If you want to feel like a pro in glazing, you must make clean interior lines that allow you to run paint along the top of your putty.
Ensuring you have sharp, pointed corners makes your glazing lines look clean and crisp. Therefore, you must keep the glazing corners sharp once you've finished cleaning the lines. The best way to do this is to confirm you have the right putty knife for smoothing the glazing and removing any extra around the panes. A firm putty knife will give you a smooth and consistent line of glazing putty.
5. Clean up the glass
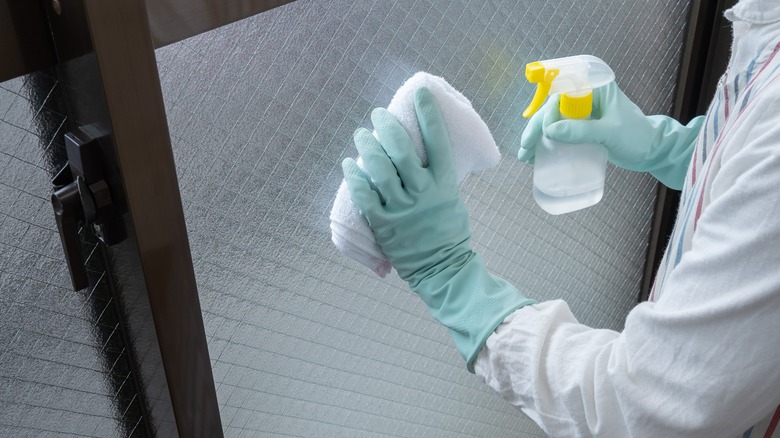
Rest assured that after you are done glazing your window sash, there will be some putty smudges on the glass pane. After completing the glazing process, you have to clean up the window and wait for it to cure before you start painting. Although you might be tempted to wait until you are done in order to clean up, the streaks will dry and become hard to scrape. The Craftsman Blog advises using a chalk whiting powder and a chip brush or an old paintbrush to dust off the whiting over the putty and glass. This is the perfect way of cleaning up the glass pane.
The whiting cleans the glass by getting rid of the oils and absorbing the remaining grease from the putty glazing. To achieve the best glazing results, you must clean the sash with whiting once you finish glazing and then leave it for some time to cure. It is worth stating that the curing process of window glazing putty takes some time. Give it a few days to cure and dry well before you apply an oil-based primer of your choice.