How To Make Your Coffee Maker Last

We may receive a commission on purchases made from links.
A nice cup of coffee gives a great start to the day, but what if you go into the kitchen one day, flip the switch, and nothing happens — not even a drip or any signs of life? How can you avoid this morning downer?
Regular maintenance and cleaning add years to your coffee maker. As you will see from these tips, making your coffee machine last is not a complete mystery or a major undertaking. In fact, it comes down to some short daily clean-ups, monthly descaling, and deep cleaning, as Coffee For Less notes. Furthermore, you can find the tools and solutions you need right in your kitchen cabinets unless the manual specifies some particular cleaning products for your coffee maker.
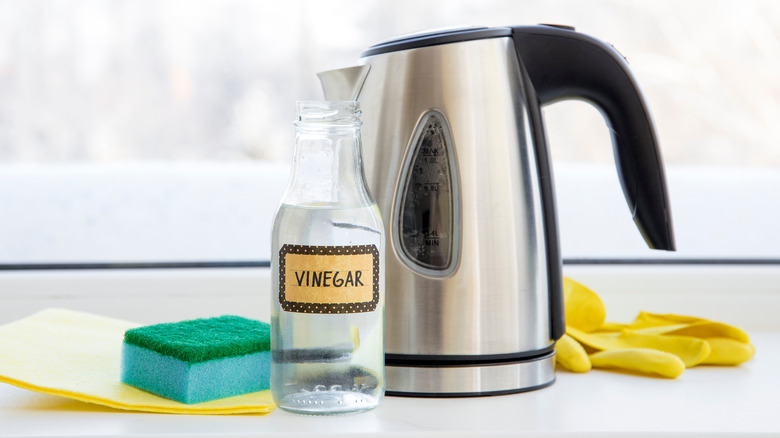
In that case, following the manufacturer's instructions and recommendations is always best. Otherwise, water, white vinegar, dish soap, and soft towels and sponges are all that you need to effectively maintain your coffee machine.
Wipe the exterior and soak the containers

Keeping the exterior clean and occasionally soaking the containers makes your coffee pot last longer. Because accumulated dust can do a number on the inside, cleaning the outside is important — just like with any other electrical appliance. In fact, as recommended in the Coffee For Less blog, you can tackle this task at least once a month. Start with dusting the outer structure. Once you get to the hard-to-reach areas, you can use a canned air duster that works perfectly for stubborn particles accumulating in crevices and around the heating element and switches.
Also, you can run any removable parts through the dishwasher if specified in the manufacturer's instructions. Otherwise, you can soak the metal filter (if you have one) and the basket. First, you will need to fill a large basin with hot water mixed with vinegar. Then immerse the basket and filter in the solution and allow them to soak for a few minutes. The mix of water and vinegar should break up the residue to where you can scrub off any stains from the filter and basket once they've soaked for a while.
Plus, you can use a similar solution to soak and scrub the inside of the carafe. If the stains are hard to remove, try scrubbing with salt, baking soda, or another non-scratching cleaner. Again, make sure to rinse the carafe completely to remove the flavor of the cleaning mixture.
Remove lime and deposits
This is probably the most important part of coffee maker maintenance that will extend its longevity. In fact, as mentioned in the HomeDepot blog, removing lime and mineral deposits and coffee residue should be done according to the manufacturer's recommendations which is usually every one to two months.
The first step of this process is to fill the water reservoir halfway and then pour white vinegar into the water. Next, turn on the coffee maker and allow it to cycle halfway through. When it reaches the halfway point, you'll switch the appliance off and wait for 30 to 45 minutes for the solution to steep. After the time is up, you'll turn the coffee machine back on to finish the cycle.
Once the "brewing" has finished, you'll need to run another cycle with water only. This should rinse the vinegar and water mixture out, but when this second cycle has finished, you'll need to pour out a cup full of the water. (Don't forget to dump out the rest.)
Next, you'll need to pour a spoonful of baking soda into the cup of water and watch for the reaction. If nothing happens, then the coffee maker is all clear. However, if you see a fizz, then you'll need to run another cycle of plain water through the coffee maker to clear out any residue.