5 Tips For Removing A Broken Light Bulb

We may receive a commission on purchases made from links.
If you've ever had your lightbulb explode out of the blue, you know that your first question is usually "Why?" And the second is, "What do I do about the glass now?" For the former, there are several reasons why your lightbulb could break. From power surges to loose socket connections and faulty wiring, the last of which is hard to spot. Lucky for you, we revealed three signs your home is filled with faulty wiring for your convenience.
Your electrical devices, including light bulbs, are only made to handle a certain amount of power. So when a power surge happens, an overwhelming amount of electricity runs into the device. In the case of your lightbulb, the extra power leads to the filament — that is, the small metal thread inside — getting overheated. The filament can then burn out and snap, causing the bulb to explode. This flying filament darts off into the glass, typically the result of an overheated light bulb, which is a common cause of light bulbs exploding, via Glenco. As for the second question, how to remove the broken lightbulb? We've got you covered.
1. Wring it out with duct tape
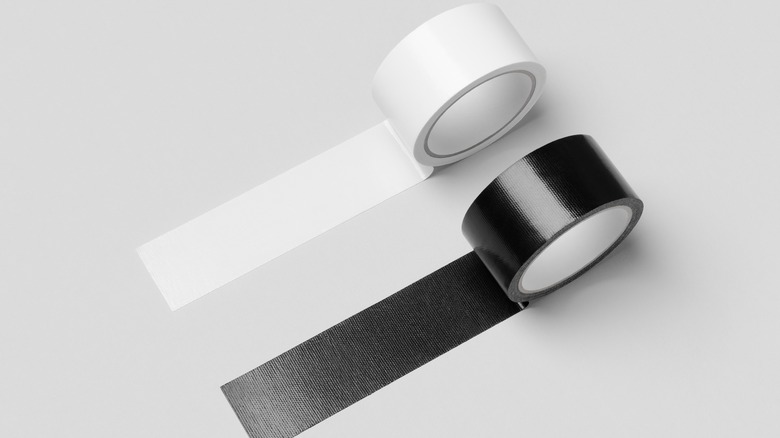
Before you start, make sure the power to the light fixture is off. Turning off the switch doesn't always do the trick, so it's best to switch off the power to the light at the circuit breaker. Since you will be working with broken glass, which shatters and splinters very easily, the experts at LampHQ recommend that you use eye protection and gloves when handling broken light bulbs. You most likely have duct tape at home, but if you don't, it's only $13, and you can get it anywhere, including Amazon.
Now, cut a long piece of duct tape, and roll it back on itself to create a sticky wad about the size of your broken light bulb. Stick the wad into the center of the bulb and apply a bit of pressure, and then turn the bulb counterclockwise. Any remaining glass should stick to the tape, all while giving you a bit of leverage. Equivocally, you can also use duct tape to clean up any small glass pieces that might have fallen on the floor to save yourself the trouble later.
2. Wring it out with a potato

We think potatoes are the food version of the peculiar jack of all trades. Besides food, we've seen potatoes used in skincare, the odd art or science project, and even rough cleaning tasks like using a potato to clean your cast iron skillet. But one of the oldest tricks in the book is using a raw potato to remove a light bulb. First, ThriftyFun says to cut your potato in half, firmly press it against the socket and begin twisting counterclockwise. The potato should grip the base of the bulb and any glass, turning it while the socket remains still.
Once the base is out, dispose of the bulb and potato. You may have to wipe up any potato juice left behind with a clean, dry towel when finished. If all the glass has broken off the bulb's base already, that's okay. The starchy potato will still catch on the threads of the base, so you can turn it and pull it out of the socket.
3. Pliers
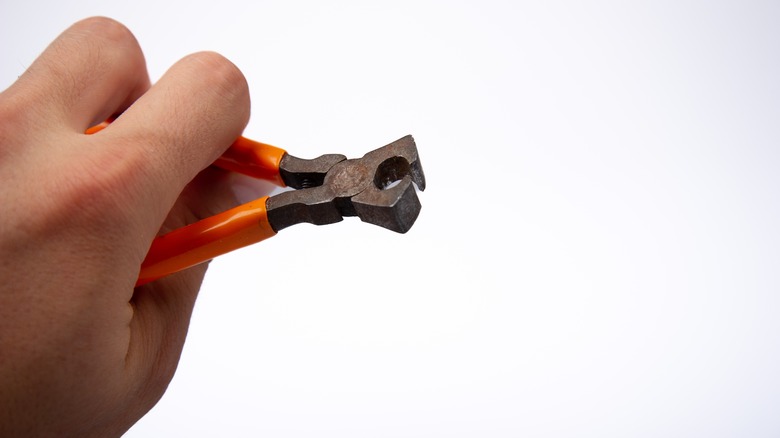
Long nose pliers, also known as needle nose pliers, are most commonly used for detailed work with wire. But they can also be used to remove a broken bulb from a socket. For added grip, you can wrap the tips of the pliers with electrical tape. The more intact the bulb, the better, although needle nose pliers will work even if all the glass has broken off the base of the bulb. There are even pliers made for light bulb removal, although they cost a pretty penny, via Cal-Van Tools.
Don't try to pinch the base or broken glass with the pliers. Instead, insert the tool into the bulb's base, then spread the handles open, so they catch. Slowly twist the pliers counterclockwise to unscrew the bulb without touching it. If the filament remains intact, use a pair of needle nose pliers to grip the glass base and gently twist. There is a chance the base will break free from the threads of the socket; if that happens, use the duct tape method to remove the rest of it.
4. Quick setting epoxy
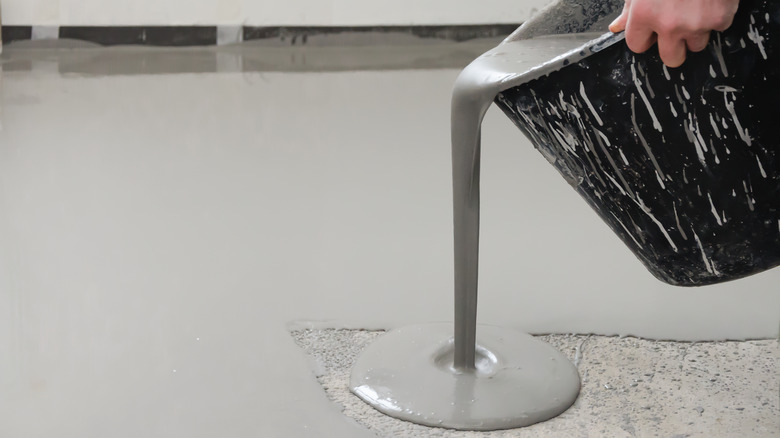
Sometimes, broken bulbs are in hard-to-reach-places like cracks and crevices. You can employ some quick-setting epoxy to remove the light bulb base from the socket when this happens. Better known as epoxy putty, this is one of those repair materials that every household should have a supply of. Why? Because it is so versatile that you can use it in almost any job you can think of, via Sylmasta.
Need to fix a leaking pipe? Use putty to plug the hole. Have a cracked concrete paving slab that requires repair? Use putty to fill the gap. Bathroom tiles or ceramics that are chipped? Epoxy putty to the rescue. Unlike many other types of adhesive, epoxy putties fill gaps and can even be molded into structural elements, says Loctite. To remove your broken lightbulb, mix a piece of epoxy putty and pack it into the bulb base. Once loaded, press a flat head screwdriver into the epoxy, then remove the screwdriver. After about five minutes, the epoxy should harden, and then you can use the screwdriver to unscrew the base from the socket.
5. Broken bulb extractor
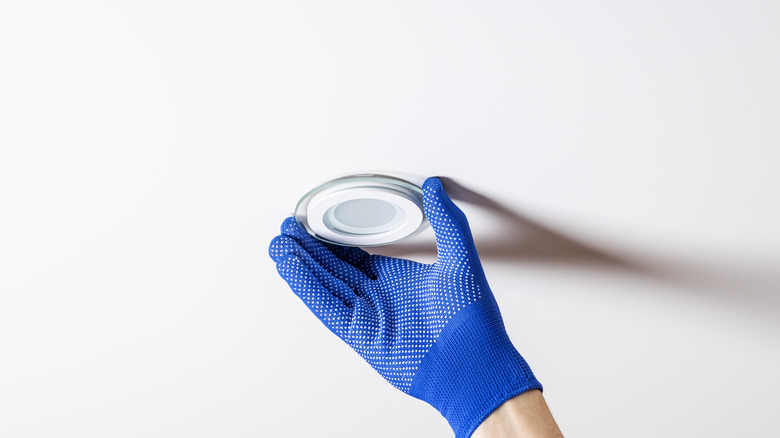
While not as fun as the other methods to remove a light bulb, a broken bulb extractor gets the job done. They cost only $10 and can be found in any hardware store. Moreso, bulb extractors usually come in two different sizes so that you can find the right option for your socket. You may not need the reminder, but please, only use this tool if you've turned off the power to the bulb at the breaker panel, insists Bayco Products. Always put your safety first.
Purchase a broken bulb extractor through an online store or in person, then insert the rubber tip into the socket. Twist the tool counterclockwise to catch the threads of the broken bulb and unscrew it. It is that simple. If none of these options work, or you are not sure you can do them yourself, you may need to get a professional involved, says CMC Service Experts. This reduces the risk factor significantly, although it might make your wallet a few dollars lighter. But hey, as long as you do the job without jeopardizing your safety, it's worth it!