The Best Way To Remove Texture From Your Walls For A Smoother Look
If you're not loving the texture on your walls and wish to make a change, rest assured that there is a method for removing the plaster. This method of scraping the texture from the wall will take a nominal amount of time, but you'll be happy with the smooth surface that will allow for worry-free repainting. First, you'll need to gather the necessary supplies, which according to How to Build It, include a drop cloth, work goggles, a scraper, and a spray bottle, although a large sprayer would get the job done more quickly. You'll also need sandpaper, a wallboard knife, oil-based primer, and joint compound.
Another thing to keep in mind as you embark on this project is to keep the lighting as bright as possible. That way, you'll be able to see any dents or imperfections in the wall. As far as time goes, you might set aside a weekend or two, depending on the size of the area that you're going to tackle. Plus, you'll need to remember that there is some wait time between some of the steps.
First prep and soak
First off, as noted by How to Build It, you must thoroughly prepare the work area. This step entails covering or removing any furniture and accessories and shielding your floors with drop cloths. While you can probably get away with using plastic or tarp for protecting the furniture, you might opt for canvas drop cloth for the floor to avoid slipping and sliding. If necessary, you can pry off the floorboards. Otherwise, you apply painter's tape over the tops of the boards along with any window frames and wall trim.
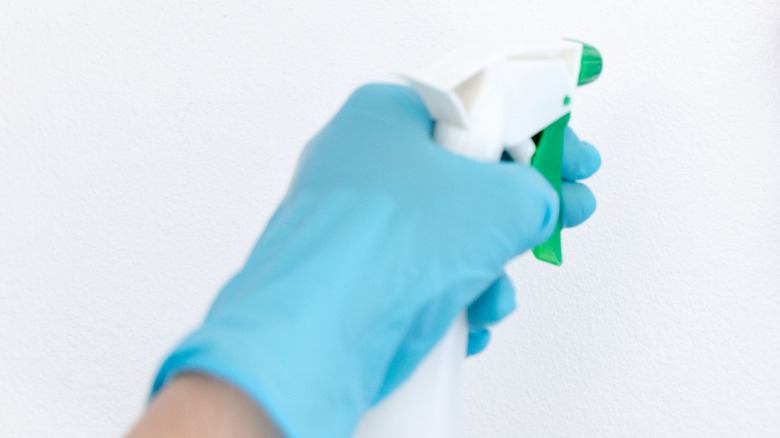
You will take your spray bottle or sprayer and water down the wall as evenly as possible. One hint to remember is that you should not saturate the wall thoroughly since you wouldn't want mold to develop. You only need to spray just enough to wet the surface. After spraying, wait 10 to 15 minutes, and then touch the plaster to see if it has softened. If it has, you are now ready to start the removal.
Then scrape
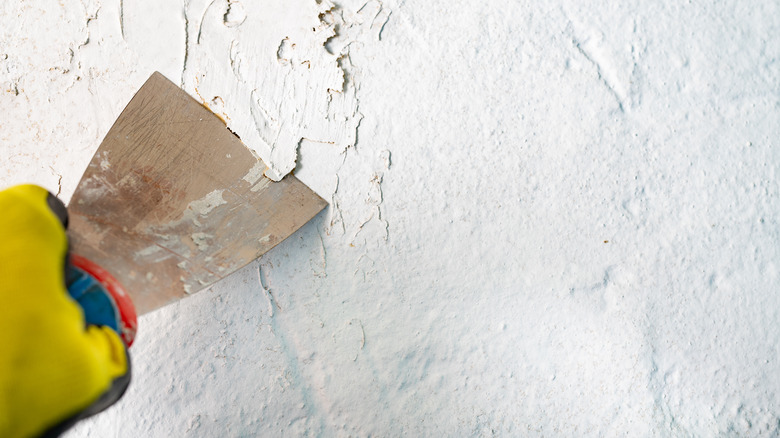
Now that the plaster has softened, you can start scraping. The type of scraping tool that you opt for depends on how easily the dressing comes off. So you might plan on trying different tools, but a floor scraper will save you the trouble of climbing up and down a ladder, as 15 Acre Homestead noted.
First, you'll need to start from the top of the wall and scrape away. The direction of the texture will determine the direction of your scraper. Ideally, you'll scrape against the grain at an angle, preventing you from denting the wall or leaving a hole behind. As you're scraping, use long strokes; this motion works more effectively than short, sporadic scrapes. If the plaster starts to dry, you can respray the area, allow it to soak for a few minutes, and resume scraping.
Prime, compound, and sand

At this point in the project, you can see a significant difference with a smoother surface. However, before the next phase, you'll need to sand the wall lightly to even out any bumps and then wipe off dust and any leftover pieces. Next, apply a coat of primer on the wall, preferably oil-based. To play it safe, you should wait 24 hours to make sure the primer dries completely, per Paint Spray Pro. After that, you will need to take the wallboard knife and apply the joint compound to the wall as evenly as possible.
To guarantee a smooth finish, you'll need to use long strokes and smooth the edges of the compound. Then, you wait for 24 hours to ensure adequate drying time for the substance, and afterward, sand the surface to make it even, and finally, add another coat of the compound. Once that dries (again 24 hours), you can prime the wall again and paint.
What if your walls are painted?
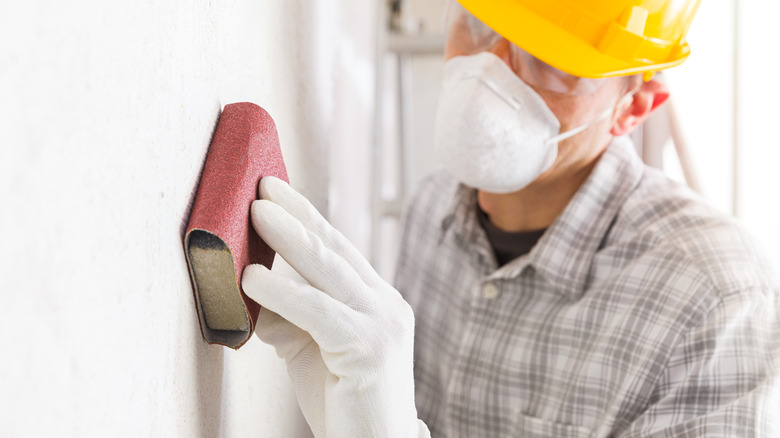
While scraping and plastering are the most effective way to remove wall texture, you might need to alter this method if your walls are already painted. Paint guards a surface against moisture, meaning the texture would not soften up even if you sprayed, according to Gambrick Construction. Hence, you could try sanding the walls first, which would eliminate most of the paint and start to smooth out the texture.
For best results, choose as hard of a grade as possible. After this initial sanding, you would begin the process of moistening the texture and then scraping the walls. Regardless, you may come across some areas where the paint is not completely removed. In that situation, you would scrape instead of moistening the area until the texture and paint are completely gone. This step would take more time, but the texture removal can still be completed.
Alternatives to removing texture
Nevertheless, you may encounter other obstacles that make texture removal difficult, if not impossible. One suggestion that Gambrick Construction provides is to skim the wall. This is a process where you would apply a coat of joint compound over the textured surface, allow it to dry completely, and then sand it smooth. The wall would turn out just as smooth as unfinished drywall if done correctly.
The other alternative is trickier and involves knocking out the textured wall and replacing it with new sheetrock. This method would be more effective if the existing wall already had a thick layer of plaster that's already been painted. Also, you can cover the textured surface with paneling. Fortunately, wood panels have come a long way since the 1970s and early '80s, and you would have more sophisticated designs to choose from. The only drawback to this choice is that you may have to move vents, outlets, and switches and redo the trim. This, in turn, could result in a lengthier, more complex project.