How To Sponge Paint Your Wall
We may receive a commission on purchases made from links.
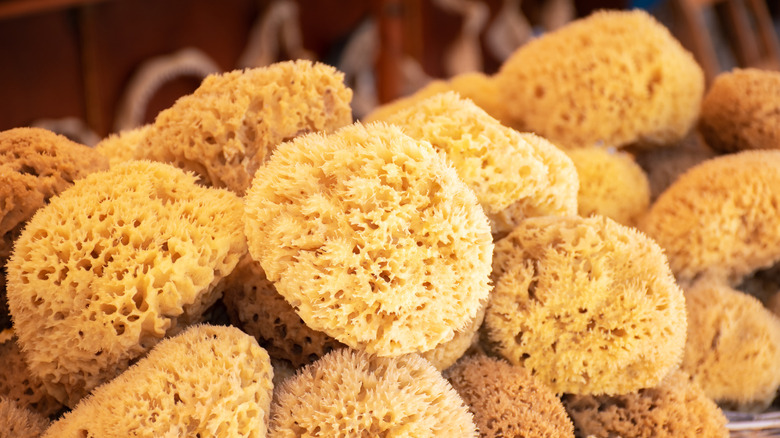
Walls don't have to be boring. A popular way to add texture, color, and interest is a time-tested favorite known as sponge-painting. All you need is some creativity, supplies, and a plan — although, you can also freestyle it and see where it leads. The Home Depot says it's an affordable and decorative technique that makes blemishes on walls more inconspicuous. Typically, sponge-painting involves at least two colors, this application also uses a clear glaze and natural sea sponges (found at craft stores and most places where paint is sold.) Before you begin, it is important to prepare the space by removing or covering furniture and taping and tarping off anything that needs protection.
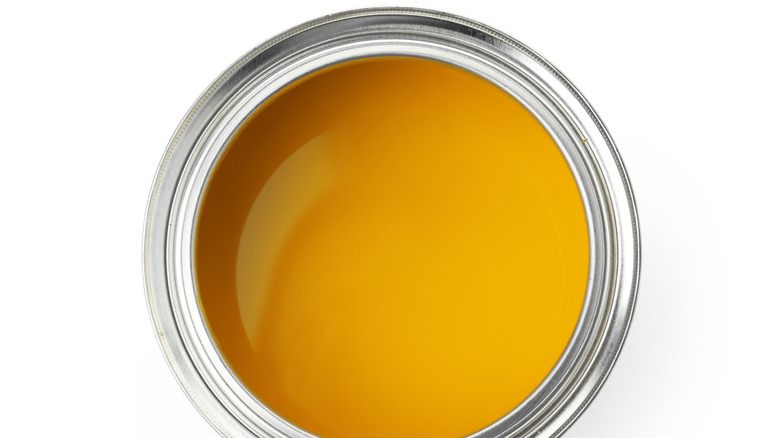
Deciding on paint colors can be overwhelming. Sherwin-Williams suggests finding inspiration from a favorite rug or piece of furniture and sticking to different shades of the same color, or those in the same color family. You can use any type of low-sheen paint. Acrylic or alkyd paints dry slowly and allow for blending, while latex paint is less odorous but dries more quickly. You'll also need a glaze, which according to the Home Depot, is a plain paint formula with no pigment added. The size of the main sponge depends on the area you'll be covering, but House Painting Tutorials recommends using one that fits comfortably in your hand and having several smaller sizes to get into corners.
The process of sponge-painting
If your walls are not already the base color you desire, you will first need to repaint them with primer-infused paint. The Home Depot says that primer provides the best medium for adherence. Once the walls are dry, you are ready to begin sponging. The sea sponge should have a flat side, if it doesn't, you can trim it in order to make one side flat, according to House Painting Tutorials.
Load the sponge with paint and dab off the excess onto a spare piece of cardboard or wood. Then, start in an area that's less noticeable — maybe somewhere that is normally concealed by furniture — and begin lightly pressing the flat end of the sponge against the wall in a random pattern to apply the paint, increasing the pressure as necessary until the desired look is achieved. Repeat this process as you move across the surface.
Additional techniques and tips

You can apply multiple layers of paint to create a mottled look as you like. Rustoleum explains that you should allow each layer to dry completely between applications. For clearer imprints, they also recommend that you rinse the sponge periodically throughout the process, making sure to wring out any excess water.
According to The Home Depot, it is recommended to use a smaller sponge for corners and have a rag handy to blot the sponge between as necessary. When working in corners, it can be helpful to hold a piece of cardboard against any walls to which you are not applying paint. Also, while creating your pattern, try rotating the sponge with each press on the wall. Layers will dry quickly, but you don't want them to dry too fast. So, The Home Depot recommends turning off heaters and air conditioning units in the room. Following these extra steps can make a big difference in the final result.