How To Plant Fall Bulbs For Spring Blooms
We may receive a commission on purchases made from links.
The promise of beautiful blooms early in the year helps us get through the dark winter days a little easier. To ensure your landscaping bursts with color next spring, consider planting bulbs this fall. This is an excellent project for those lovely autumn days when the sky is bright and the air is crisp. A trowel can handle most of the work, but because different types of bulbs require different planting depths, investing in a bulb planter will save you time. This special tool has measurements marked on the side so you can plant each bulb at an exact depth.
You can plant bulbs any time before the ground freezes, but in cooler climates, wait until the average evening temperature is around 40 degrees Fahrenheit, advises Farmer's Almanac.
Warm climates require a little more preparation. Since the ground does not get cold enough to provide sufficient chill hours — the amount of time a bulb needs to be in soil that is below 40 degrees in order to bloom — you'll need to store them in your refrigerator for up to 15 weeks before planting. Longfield Gardens suggests refrigerating your bulbs at the end of October and planting them at the end of the 15-week period to give them time to grow roots before they come out.
Types of fall bulbs
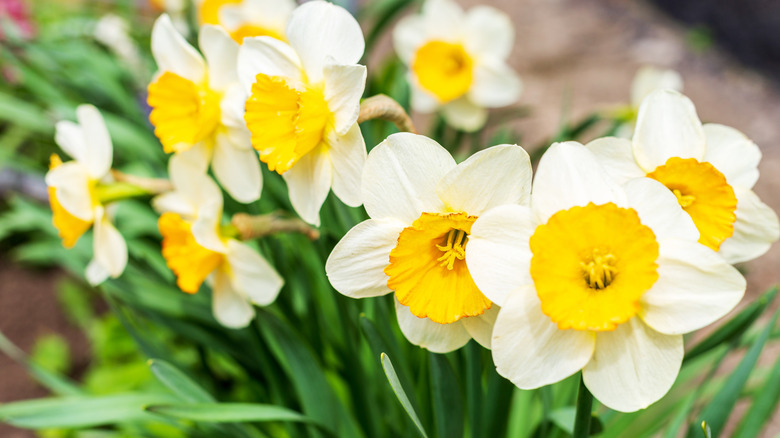
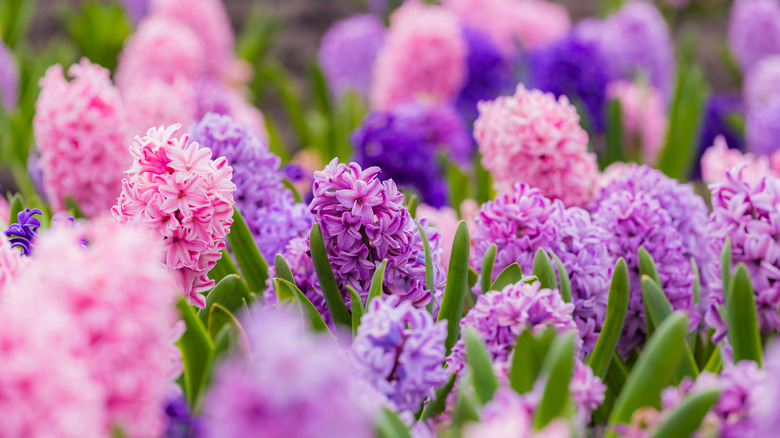
You may be familiar with several types of common spring-blooming bulbs. Tulips, daffodils, and hyacinths are beautiful flowers that almost everyone can recognize. Some less common bulbs you can plant to add interest to your landscape include alliums, a member of the onion family, and anemones, which have a daisy-like bloom. Since bulbs bloom at different times in the spring, planting a variety of flower types will ensure you have lovely, unique blossoms throughout the season. If you're new to growing bulbs, Bulb Blog suggests starting with daffodils because they are hardy, deer-resistant plants. For the more advanced growers, American Meadows has an extensive list of bulbs you can plant in the fall.
As you shop for bulbs, check hardiness zones to find what is appropriate for your region. Some bulbs will not survive the winter in northern climates, while others will only last one season in southern areas. If you have your heart set on a certain flower, you can still plant it as an annual. That way, you either purchase new bulbs each year or dig them up at the end of the season to store in a warm, dry place until the next year.
Choose a location

Before you don your garden gloves, make sure you're planting your bulbs in a location where they will thrive. Lombardo Homes explains that bulbs prefer loose, well-draining soil because they can rot in soggy conditions. To get the best blooms, you'll need a location that receives at least 6 to 8 hours of sunlight a day, even in the winter. Although you may get blooms with less sunlight, full exposure is the best option.
Since the foliage of bulbs seems to pop up overnight, plant your bulbs away from foot traffic; inside an established bed is ideal to avoid accidental damage. Planting bulbs in a bed also keeps you from having to mow or weed around the plants as spring grasses and weeds start to emerge. If you have another special place you want to grow spring flowers, find a way to mark the area so you know to look for the first signs of foliage in the spring and keep them protected.
How to plant
To properly prepare for the best spring blooms, start with the best fall bulbs. There are a number of high-quality online retailers, but if you are shopping in person, there are a few things to look for, according to LawnStarter. Shopping for bulbs is a little like shopping for produce. Avoid specimens with soft spots or anything damp. If the bulbs you're buying are damp now, you have to wonder how long they've been that way and whether it will affect their long-term viability. Only purchase bulbs that have clearly been stored properly. And, like when you're buying produce, feel free to give those bulbs a sniff to make sure they don't smell rotten or moldy.
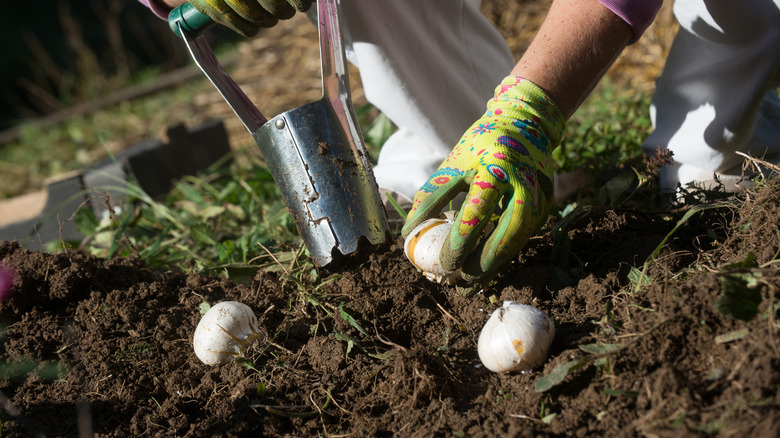
To plant, loosen the soil around the area and work in some high-quality compost. Check the proper depth for the kind of bulb you are planting and use your bulb planter or trowel to dig your hole. Place your bulb at the bottom of the hole with the pointy side up, and backfill with soil. After you've planted all of your bulbs, water the area well.
Fertilization options
In order to avoid some of the common mistakes often made when fertilizing your garden, it's a good idea to get a soil test to see if your bed has an imbalance of nutrients or acidity. Most local extension services offer free or inexpensive soil testing, so you can check with them or use an at-home kit. Savvy Gardening says bulbs prefer a neutral soil pH, meaning you want that result to be around a seven, although it does not have to be exact. Add lime or sulfur at the recommended amounts on the package to adjust the acidity of your soil.
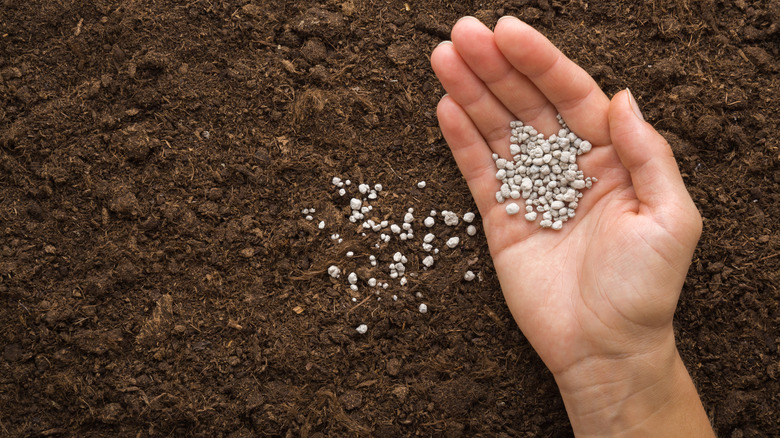
If you added compost to the soil when you plant your bulbs, you've already provided them with many of the nutrients they need to grow. To ensure your young plants have everything they need to produce the best blooms, add slow-release fertilizer granules when the foliage first emerges. While compost adds many micronutrients to the soil, fertilizer provides the big three: nitrogen, phosphorus, and potassium.
Spring care for next year
Once your bulbs bloom in the spring, and all your hard work has paid off, be sure to take the time to enjoy them! Like all seasonal flowers, they will eventually fade, but do not cut down the foliage just because the flower is gone. That greenery is working to store energy in the bulb as it waits for its time to shine again. It may not look pretty, but leave the bulb's foliage untouched for as long as possible, ideally until it turns brown. If it's an eyesore in your flower bed, plant some other annuals around it.
If you want to move your bulbs to a different location, you can transplant them after the flower fades and the leaf tips start to die back, according to Gardening with Allen (via The Columbian). While the ideal time to move bulbs is the fall, it can be very difficult to find them months after their foliage has faded away. Gently dig up the entire plant while the spring foliage is still attached. Place it in a hole at the same depth in its new location and water well. Allow the greens to die back naturally to help the bulb recover from the shock of transplanting.