The Easiest Way To Replace Your Outdoor Light

Outdoor lighting is crucial to setting the mood of a backyard evening or creating a blanket of security for late evening arrivals at the house. Your light fixtures provide comfort, visibility, and a sense of the ambiance that exists around the home and within it.
But outdoor lighting can quickly degrade or go out of style. The exterior nature of these elements means that the wind, rain, and sun can damage components or fade their appearance in a hurry. Replacing lights in the outdoor areas of your property is important because maintaining these features is beneficial for so many different reasons from the ability to see to the aesthetic that your home gives off.
Fortunately, replacing an exterior light fixture isn't very difficult. The process involves a few steps, but a homeowner can replace one lighting element or a whole set in just the course of a single afternoon with the right set of tools and know-how. Continue reading to learn how to quickly and effectively swap out your outdoor lighting for an immediate impact around the property.
Keep safety considerations as a priority: Disconnect the fixture
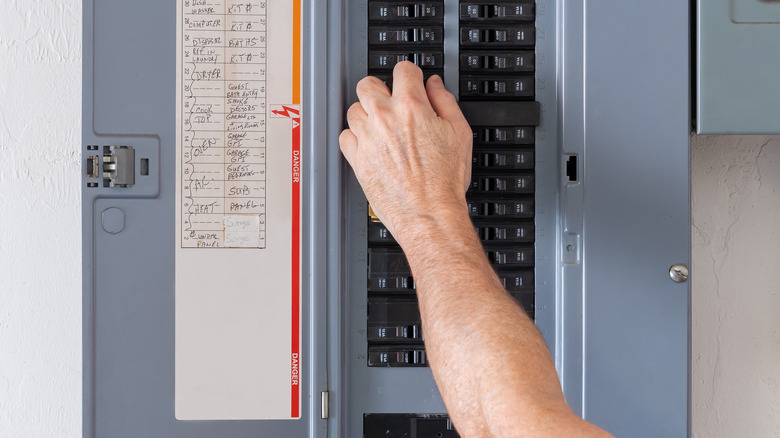
Safety is paramount when working with electricity. An electric shock can kill you if you aren't careful; as a result, live wires are a significant threat to the health and well-being of homeowners engaged in DIY projects around the property. Electrical Safety Foundation International reports that thousands of people in the United States are severely injured as a result of improper electrical safety procedures while engaged in DIY work.
Yet, taking steps to protect yourself (and any loved ones working alongside you) is a simple process and can guarantee that electrical hazards are minimized or eliminated entirely. All homes these days are fitted with a fuse box that's typically easy to gain access to. Switching off the fuses for any parts of the home that you're working on will ensure that the wires aren't carrying an electrical current when you begin your efforts. Disconnecting the outlets, fixtures, and other elements that rely on electrical power will guarantee that they can't electrocute you or cause a fire while the bare wires are exposed during the replacement.
Disconnecting a fixture from the main power supply entering the property is a simple and immensely easy step, and it plays such an enormous role in creating a safe work environment. Don't forget to place safety first when engaging in any home improvement project, especially one that involves power tools or any other equipment and fittings.
Strip away the entire fixture and mounting bracket
When replacing an exterior light, it's best to start from scratch when it comes time to assemble the new fixture. Sometimes, you'll replace a light fixture with the exact same model, but this often isn't the case.
When installing a totally new light, you may need a different-sized mounting bracket and other equipment to make the new addition sit flush against the wall while being properly supported. Similarly, even if you are planning to install the same sized unit (or a one-for-one swap out), a new mounting bracket is still warranted.
Rust Converters notes that iron can take roughly four to six months to rust, on average, while suggesting that all metal alloys are unique in their corrosion timeline and pattern. Different mounting equipment may be cast, forged, or otherwise constructed using a variety of different metal combinations, so rust patterns can't be precisely predicted. What is apparent, however, is the fact that a mounting bracket exposed to the elements isn't as sturdy as a new apparatus.
Whether you definitively need a new mounting unit or not, replacing the old brackets with new ones alongside the new light fixture is always a must. In order to facilitate this exchange, you'll need to remove the old mounting gear at this stage in the replacement process.
Consider exterior repainting as a combined update
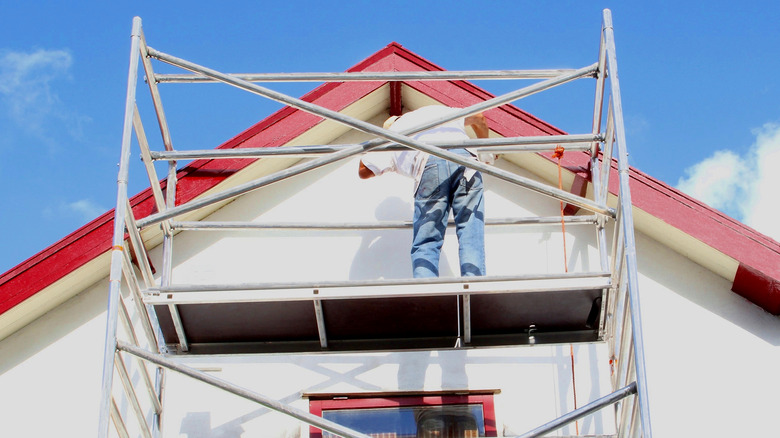
When replacing exterior light fixtures, you might want to consider a combined effort to spruce up other areas of the yard at the same time. Namely, while your light fixture is separated from the wall, you have a unique ability to access this section of the home that's typically covered over.
Repainting the exterior walls of your home while replacing light fixtures can reimagine the visual aspects of the property in a significant way. PaintRite Pros recommends repainting the exterior components of a home every five to 10 years, depending on a number of environmental factors that might preserve or degrade paint at different rates than those of other communities.
A new paint job is a typical home improvement requirement that homeowners face, and with an understanding of trending colors and styles, this improvement can even boost the resale value of your property with a 51% return on investment, according to a 2019 HomeLight survey. Repainting is a big undertaking, so combining it with this project that exposes key areas of the bare wall can make both tasks a little easier.
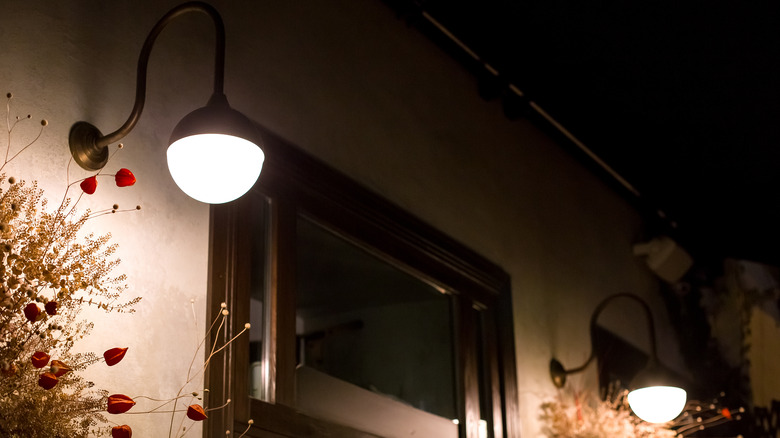
Select a new fixture, light option, and mounting equipment
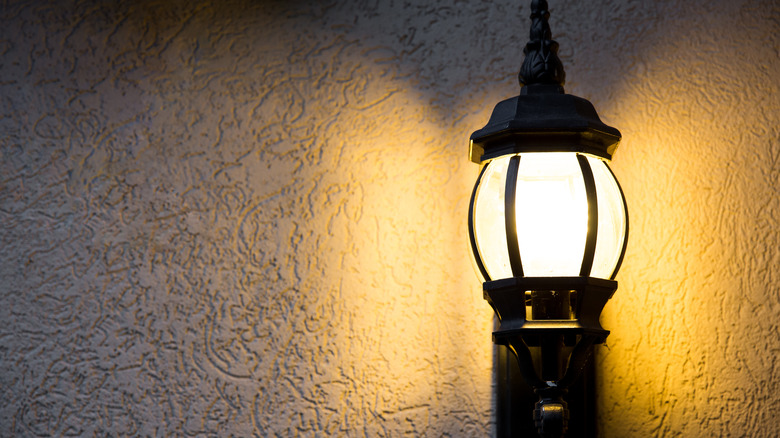
Before you can attach a new light fixture to the circuitry of the home and its exterior wall, you need to select a new lamp. The choice facing homeowners is more complex than a simple stylistic selection, though. Homeowners must consider their illumination needs and use the correct lightbulb to create just the right ambiance or security blanket required of the space. Front-facing lamps are often used differently than those that will provide light to the back porch.
Premier Outdoor Lighting reports that homeowners often select from three unique types of lights, with LED bulbs offering the best overall package. Still, the difference in brightness that comes from mood lighting versus a floodlight style addition can be dramatic. Understanding your needs and the space that the fixture will serve can help you make the best choice when it comes to finding a replacement.
The fixture itself is often stylistic. Light fixtures come in a wide range of options from wrought iron fittings to more delicate, polished steel selections. Finding the perfect fixture and accompanying mounting equipment is all about personalization and taste, so taking some time to make this choice is often necessary. Collect all the equipment necessary and then begin the final phase of the replacement.
Wire the fixture and replace all necessary components
Finally, the job comes to an end when you start to recreate a completed light fixture. Wiring the new lamp is typically a simple job — as long as you remember to keep the fuse to the area of the house switched off. Lamps often come with intuitive markings and instructions, so working with the wires most likely won't require the help of a professional electrician. To start, attach the new mounting bracket to the appropriate space so that your light fixture has a home to support it once the work is finished.
Premier Ponds & Lighting reports on a number of interesting and important lighting elements that you can bring into the landscaping of your exterior space, but the physical installation of each unique type of illumination device is likely very similar. The only differences you may encounter lie in the means of fastening the fixture to its position (for example, a light post that's installed in the yard versus one hanging above a door or off a wall).
Once the lamp is wired into the home's system, you'll want to connect it to the mounting bracket and tighten up any moving or adjustable parts. Then, all that's left is testing. Turn the fuse back on to make sure the light switches on without incident.