5 Simple Ways To Fix Your Botched Paint Job
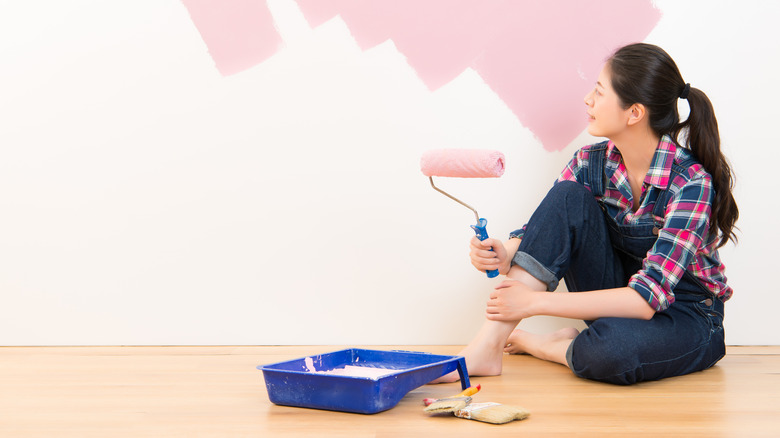
When you hire professionals for a painting job, the usual expectation is nothing short of perfection every time. Unfortunately, this is not always the case, mistakes do happen and you may end up with an unsightly finish that doesn't meet your standards. While painting might seem like a simple and straightforward task, there are a lot of things that could go wrong. Sometimes it might just be because of poor workmanship or a series of unfortunate events that happen on that particular day. However, it's worth mentioning that botched paintwork is not as typical when done by professionals compared to DIY.
Most homeowners are not well-versed in the painting world and are likely to make rookie mistakes like choosing the wrong paint that will end up ruining the whole project, per Painting Without The Problems. With this in mind, you can already see why the chances of botching a paint job are often high. The good news is that most paint mistakes are fixable, especially if you can diagnose them early enough and act fast. Here are a few tips for fixing some of the common painting mistakes.
1. Eliminate paint bubbles
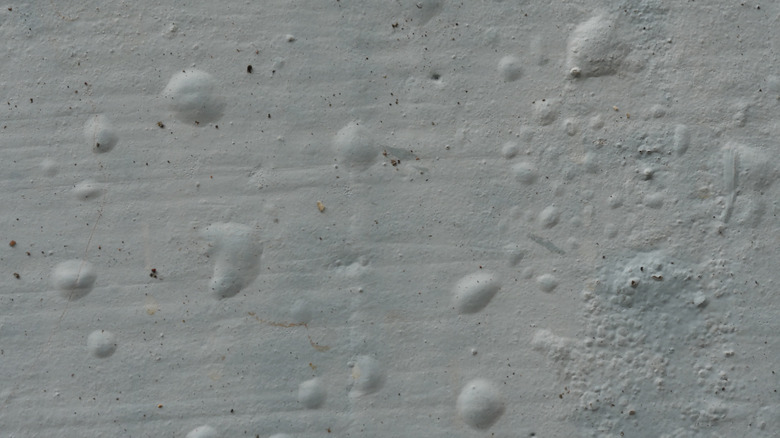
Even after a perfect paint job, there's always a chance that blistering or bubbling on the wall might occur. Usually, blistering occurs when the coat of paint loses adhesion to the underlying surface, for example, wood or drywall. When the paint detaches, the void is therefore filled with air or water, making that particular spot swell up into a bubble. While blistering paint on the wall is unsightly, it's also worth mentioning that it's fixable. Before attempting to fix this painting issue, however, it's essential you get to the bottom of the problem beforehand.
According to Benjamin Moore, the main cause of blistering paint is either moisture or heat, or sometimes a combination of the two. After addressing the root cause of the problem, fixing that particular spot on the wall is rather simple. First, you need to scrape the damaged paint off using a putty knife. Right after, prep the surface underneath by filling any pre-existing holes, if necessary. Allow the substrate to dry properly before sanding the patched surface. Now apply a coat of primer, if necessary, and repaint the surface. Be sure to apply more than one coat of paint, preferably two depending on the color and quality of the paint.
2. Fix uneven coverage
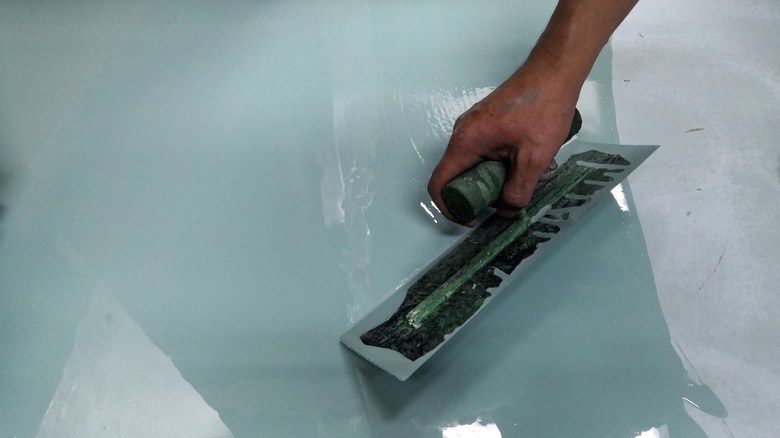
So, what do you do when your recently painted wall starts showing signs of inconsistent coloring? If you're currently experiencing this problem, fret not. It's a common occurrence that happens because of several reasons, including covering the wall with only one coat of paint (via Sico Paints). The good news is that fixing uneven paint coverage caused by applying a single coat is a simple problem to fix; you don't really have to hire a professional painter. All you need to do is take out the remainder of the paint, if any, and the necessary tools.
Ensure the walls are dry before giving them another thin coat of paint to make the color uniform. Also, depending on the paint pigmentation, you can add as many coats as necessary to achieve your desired results. It's also worth mentioning that another common cause of uneven coverage is failing to mix the paint well before application to your walls. To avoid such painting problems in the future, be sure to take the paint to your local paint shop for proper stirring. Alternatively, you can also use a stir stick to mix it thoroughly.
3. Removing paint from the ceiling or the trim
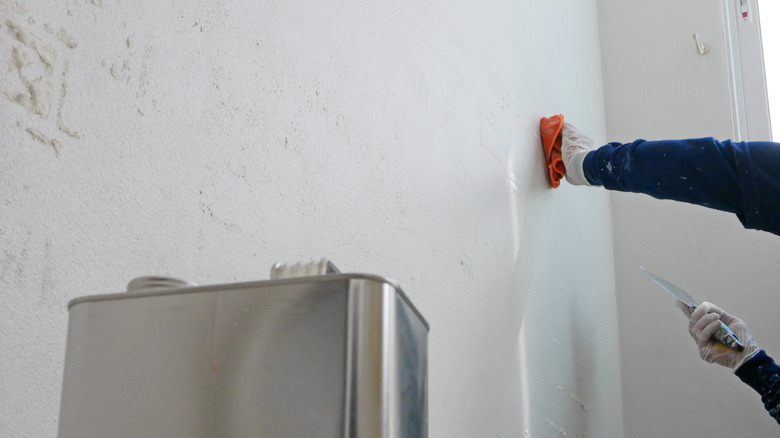
For some reason, the paint may end up on unwanted regions like your bright white ceiling. While this might be frustrating in the beginning, there are ways you can fix this paint problem, depending on the type of ceiling finish you have. If the paint hits your flat ceiling, you're in luck since you can use a wet sponge to wipe off the paint before it dries. For a textured ceiling, on the other hand, a wet sponge will do more harm than good. Alternatively, what you can do is use any remaining ceiling paint (you may have) to cover the blemishes. If you don't have any leftover paint, you may have to purchase a small can for this touch-up work.
Luckily, you don't need to worry if you botch your paint job and paint splatters on the trim around the house. Trim is usually painted with semi-gloss, and fresh wall paint doesn't adhere well to such paint, per Popular Painter. The same applies to hardwood floors with a poly coating that works the same as semi-gloss paint. In this scenario, all you need to do is allow the paint to dry completely before scraping it off with a tool or even your fingernails. It should come off easily without ruining the finish on the floor or the trim.
4. Removing stuck painter's tape
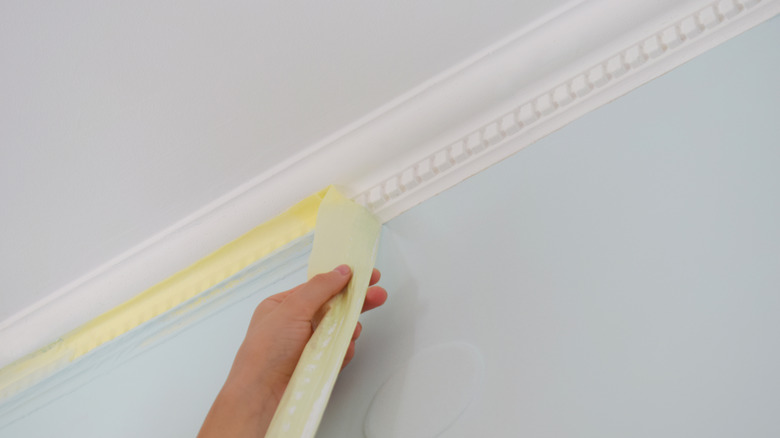
Masking the room properly is the only sure way of getting those precise straight lines when painting. It also goes a long way in preventing messing up other surfaces with unwanted paint color. However, remember that painter's tape should be removed from the wall when the paint is dry enough: Be careful not to leave it on for too long.
Unfortunately, this is something that most DIY painters often learn about when it's too late and they've botched their paint job. Attempting to remove the tape long after the paint has dried is not recommended since you risk pulling out the paint together with the tape, leaving you with crooked lines.
One handy trick professionals use in such scenarios, according to Q1 Tapes, is to cut the tape along the edges with a regular or a putty knife. Doing this will separate the tape from the wall making sure the edges remain straight and the paint doesn't come off, especially along the edges. Even for professionals, knowing exactly when to remove the painter's tape is often a challenge. So if you get it wrong a few times, don't beat yourself up too much, this handy trick should help you undo the damages without anyone ever noticing.
5. Removing paint stains from the carpet
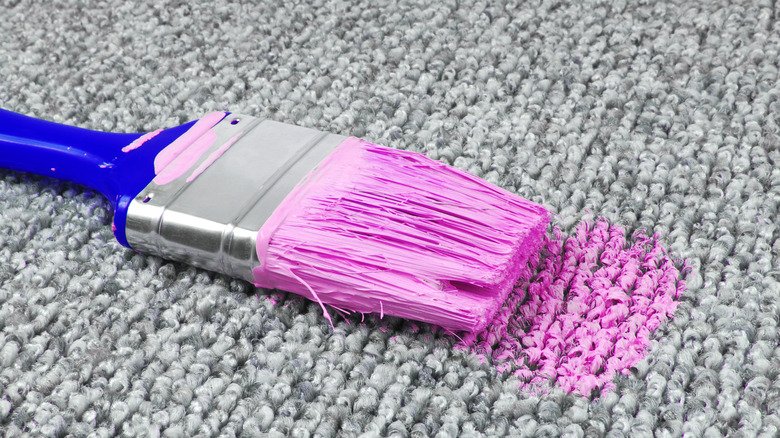
The right practice before painting any surface is to cover any object within the area. However, paint splatters still do happen, regardless; fortunately, removing paint stains from the carpet or any fabric nearby is easier than you would imagine. Remedying this problem depends on the condition of the paint when you notice the splatter and also the type of paint you were using. According to Carpet Tech, water-based paint is relatively easier to get off a fabric compared to oil-based paint.
For wet paint, start by using a damp cloth or paper towel to blot and absorb the bulk of the paint. Don't try rubbing the paint off, you will only get the paint deeper into the fabric. Once no more paint is lifted, splash hot water on the spot. Meanwhile, mix some dish soap with warm water to create a solution. Using a brush, scrub the spot with the solution till all the paint disintegrates. For oil-based paint, on the other hand, once no more paint is lifted from blotting with a damp cloth, use turpentine to blot further till all the paint disintegrates.
For dried paint, removing water-based paint involves scraping the dry paint with a knife, vacuuming the particles, and using the same warm water solution to remove any remaining paint. For dry oil-based paint, you will also need to use a knife to remove the hardened surface before going in with a needle to loosen the remaining paint stain further. Blot using turpentine until all the paint is off.