5 Tips To Help You Finish Your Basement Walls
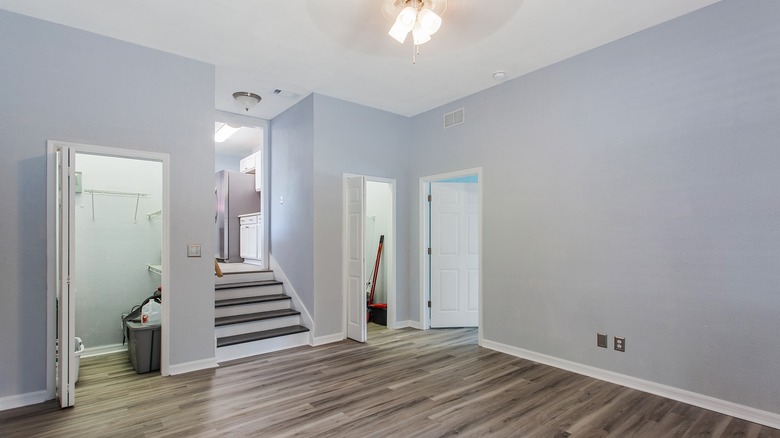
Have you found yourself thinking that if the walls of your basement were finished, the whole space would look a whole lot better? You aren't wrong. A finished basement increases comfortable living space, which can be a big boost if you have children reaching the teenage stage or you're hoping to create a man cave. A finished basement could also be a good investment with a decent return if you were to sell the home. PocketSense did some research and found that experts on Zillow and Homelight both put the return-on-investment figure at around 70%.
The walls are a good place to start, but before you do, PocketSense advises homeowners to look into three important safety measures. First, test for radon, a colorless, odorless gas that is radioactive, naturally-occurring, and poses health risks. Second, ensure you don't have any water problems and that your basement is completely dry. If you do find issues, fix them before proceeding. Finally, check municipal codes and obtain any permits that may be required.
Now that you understand safety precautions and recognize that finishing your basement adds space and value, get the project off the ground by finishing your basement walls. There are many styles in which to do that; here are just a few.
The classic drywall look
Drywall, also known as sheetrock, provides a smooth, flat, classic wall from which to hang framed photos, artwork, or sports memorabilia. The first consideration is choosing the right product for the job. Wallboard Trim & Tool recommends opting for a product that resists or repels humidity, and protects against mold and mildew, such as greenboard or purple board. While nothing can guarantee an absolute absence of the icky substances, moisture-resistant drywalls make it more difficult for them to grow. If you're a novice or just want to save time, DRICORE SMARTWALL eliminates the need to install framing and insulation before putting up drywall. It combines all three steps into one product.
Drywall comes in a variety of thicknesses. Choose the one that best suits your project, and don't vary it; you want it to match all the way around the room. Wallboard Trim & Tool notes that thicker drywall will be a little more soundproof than thinner sheets, which is helpful if your basement includes a guest bedroom next to the game room.
If you're installing the drywall yourself, be sure to cover the floor with a tarp first, says blogger Semigloss Design, and mark where the studs are using painter's tape on top of the tarp. Marking all the electrical boxes is also recommend, as is taking the time to measure twice before cutting into anything. The extra care can save time and money by avoiding mistakes.
Wooden you like to know about shiplap, beadboard, and paneling?
It seems that we hear the words shiplap and beadboard a lot more in the current DIY environment, when a few decades ago, most people called any kind of wood on the walls simply "paneling." They are all different, but any of them can be beautiful finishes for a basement wall.
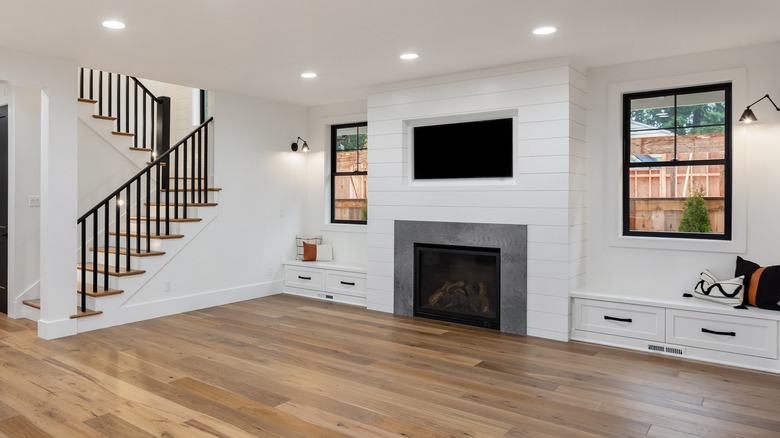
Shiplap gets its name from the weatherproofing it actually did on ships of old, according to the blog by Bynum Residential Design. The boards fit together tightly to keep water out. The classic design, common in seaside communities, looks great painted in ocean blues, salmon pinks, and sandy tans.
For a style that has a New England aesthetic, beadboard might be your choice. The narrow boards nest in a tongue-and-groove pattern, securely locking together. Bynum Residential Design notes that beadboard is relatively inexpensive and gives a charming effect to your walls.
Other wood coverings for walls, per Semi Stories, include board and batten (with strips of wood – the battens – covering the boards) and wainscoting (wood covering on a wall that goes up about a third of the way from the floor). For a slightly different take on traditional paneling, raised, beveled wall panels can also be installed to look a little like cabinet doors. Like wainscoting, the wall panels are generally added only to the lower third of the walls.
Going old school with brick
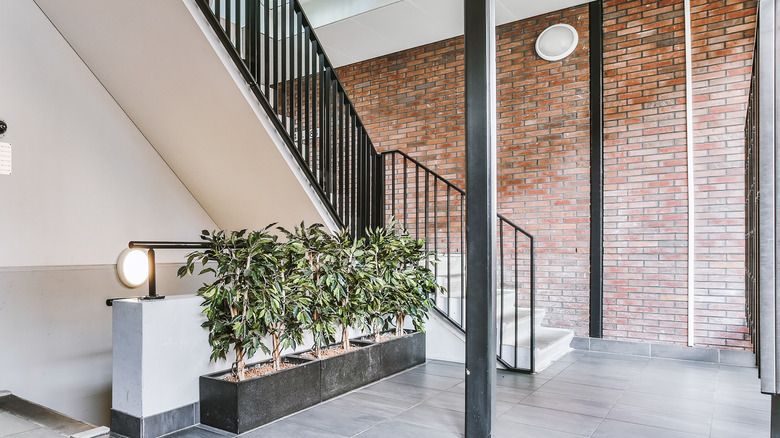
Brick warms up a space, and since many basements have a tendency to feel damp and cool, the warmth of one or more brick walls can be a welcome addition. You may be one of the lucky ones with a home that was built with a brick foundation. If it's in good shape, you might be able to leave it as is. If repointing is necessary, you will need to hire someone who knows how to keep your brick in good condition or do it yourself using the right mortar, as described by Henry Frerk Sons. Another option is to paint the brick, if it simply needs a refresh, but otherwise, let the brick make its own statement.
For those without a real brick foundation wall, adding it can be expensive. Luckily, there are some budget-friendly options available to homeowners. If you're starting with cinder block walls, you can glue faux brick panels to the walls using construction adhesive. Start with clean, dry walls, and work from the bottom up, says HomeSteady.
Stone in love with this wall
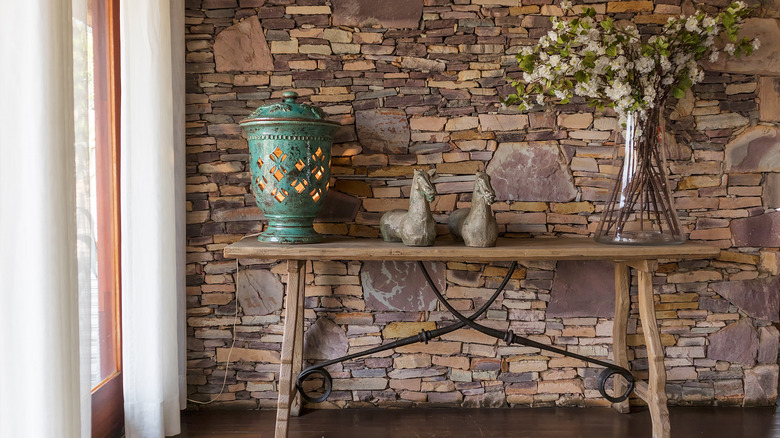
Stone walls can be a great way to create an indoor/outdoor feel and work especially well in walk-out basements. Since lugging heavy quarry stones into your home might not be your idea of a fun weekend project, adding either a stone veneer or stone panels would make the project a breeze, while also providing a three-dimensional look.
If you choose to install stone veneer, prices will vary based on whether or not you choose veneer made from real or manufactured stone, which is the less expensive option, according to Gambrick. Once you have determined the type and style you like and whether you're doing an accent wall or the whole room, begin the project by laying out the stones on the floor to see how they best fit together. This gives you the chance to move things around or cut the stones to size and shape before any of the sticky mortar touches the wall.
Stacked stone panels are the way to go for a faster installation without having to decide where to place every rock, advises Be On Stone. The panels are prefabricated, meaning they install as easily as tile. Be On Stone recommends gathering all the materials you need ahead of time, including a drill, table saw, and concrete hand grinder. They add that staggering the panels will give the wall a more natural look.
Add fabric to the lower level of your castle
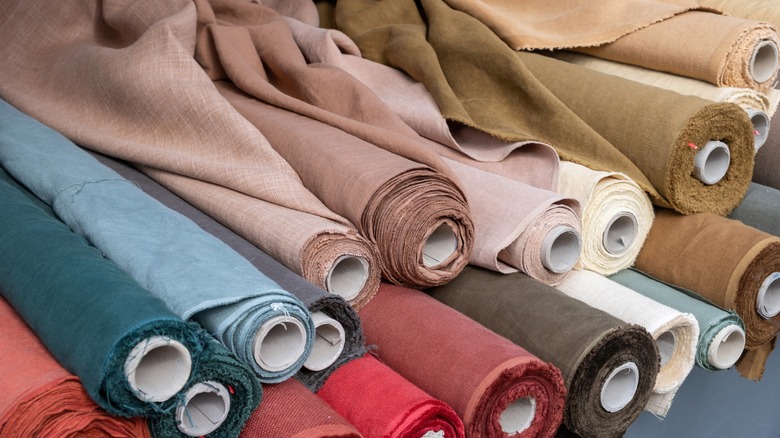
In ancient castles, the lords of the manors hung tapestries on their walls. The heavy, decorative pieces were woven to reflect meaningful scenes, but in reality, says Touch of Tapestry, they were designed to keep the cool, damp castles warmer.
You can do the same thing in your basement by hanging yards of heavy fabric on the walls of your castle. Gambrick says to treat the fabric like you would wallpaper and begin by making glue. Mix a tablespoon of corn starch and ¼ cup of cold water together. Set it aside. Separately, boil 4 cups of water, then add the corn starch mixture to the boiling water, which you'll continue to cook over medium heat for an additional minute. (Add sugar, chocolate, eggs, and a few other yummy things, and you have pudding like this chocolate pastry cream from Mashed. Just kidding!) Back to the glue, cool it for a bit then pour it into a spray bottle to use as wallpaper glue. If that's too much bother, you could staple the fabric to the wall or hang it from the ceiling.
The fabric wall covering, while not likely to be an inexpensive option, will be a creative one that lets you add your own flair. If you hang the fabric from rods, it'll be easy to change as the spirit moves you.