5 Expert Tips For Taping A Room Before Painting
Every home design enthusiast knows just how impactful a fresh coat of paint can be in a space, whether you're switching up a neutral hue or selecting a dark, moody shade that will give the room an entirely different feel. As The Inspired Decorator explains, you don't even have to limit yourself to the walls; if you're looking to incorporate some unexpected pops of color in a room, you might consider painting your ceiling as well.
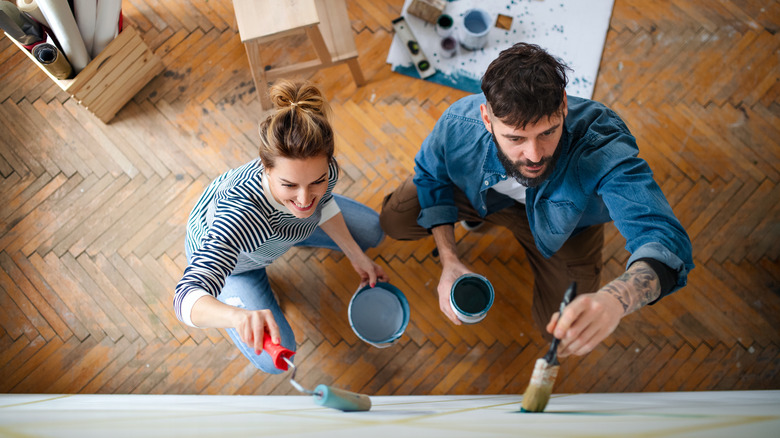
Paint can help you completely transform a space, and unlike many other improvement projects, it's relatively easy to DIY. If you're the one putting in the sweat equity and your only expenses are a few cans of paint and a handful of necessary tools, it's also a very budget-friendly way to liven up your home.
There's just one thing you have to get right when painting — beyond choosing the perfect shade — and that is taping. While it might feel tempting to just roll that paint onto the walls and deal with the consequences later, in order to make your life a whole lot easier, you want to take the time to properly tape a room before you start painting. Trust us on this one; it's a critical step in the painting process.
Here are five expert tips for taping a room to help you get picture perfect results that will have people believing your space was painted by a professional.
Prep the areas you're taping
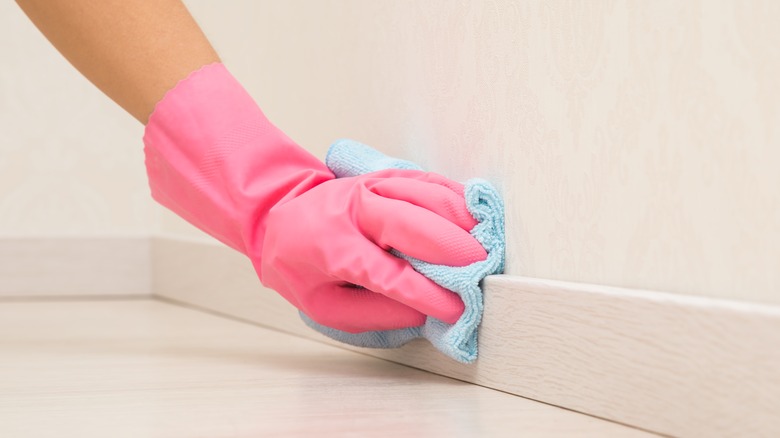
As Sherwin-Williams outlines, before you put a single drop of new paint on a surface, you'll want to ensure that surface has been properly prepped. This means wiping down the walls of the room you're painting even if they don't look dirty. Any unattended debris, from dust to slick grime, could prevent the paint from properly adhering.
When you're washing the walls, make sure to extend your efforts to the areas that you're taping, the baseboards and trim, for example, regardless of the fact that you won't be painting them. This is because, just as paint won't stick to dirty or dusty surfaces, neither will tape. Pro Housekeepers recommends a simple warm water and dish soap solution in order to get the job done. Also, ensure that everything is fully dry before you start taping. As reported by Do it Best, tape will stick best to a surface that's both clean and dry, so don't rush things.
Yes, this will take a little bit of extra time. However, it's worth the effort. Per Scotch Blue, properly taping prior to painting will help reduce the clean-up needed once you're finished painting, as well as the amount of touch-ups you have to do. Proper taping also ensures the end result looks professional.
Buy the right kind of tape
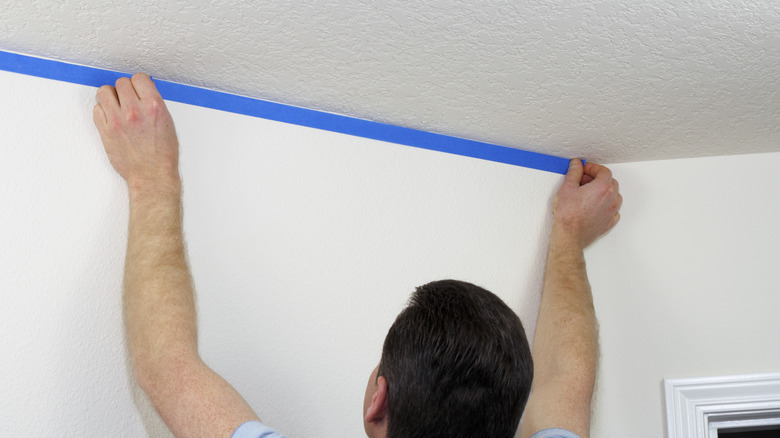
Technically, any type of tape will work for the purposes of protecting the elements of a room you want to remain unpainted. However, there's a reason that painter's tape exists — it offers all the protection without the risk of damaging any surfaces.
Of course, there isn't just the one kind. Painter's tape is available in a variety of widths, as well as for a variety of different surfaces. For the vast majority of interior paint jobs, regular blue painter's tape will work just fine, says TapeManBlue. It's effective on walls, trim, woodwork, windows, glass, and much more. It's designed to be easily removed without pulling off any paint or damaging the surfaces beneath it.
If you're working with a textured surface like brick or concrete, though, you might need an alternative with more adhesion. There are some products that work specifically on textured surfaces, as FindTape reports on their Tackifier blog. Or, if you're taping a more delicate surface like wallpaper or drywall, you might want a product with less adhesion.
Finally, if you're looking to achieve some kind of painted design using tape as a sort of stencil, don't just grab the regular painters' tape. There are products designed specifically for that purpose, and even some with unique textures or patterns that could open the door for your creativity to flourish.
Tape your floor protection down
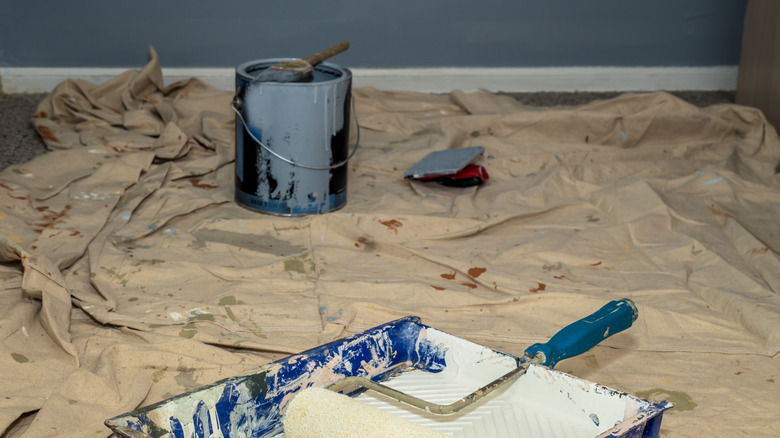
When you're getting ready to tape, you want to protect your ceiling and other elements in the room, such as baseboards or door frames. Another key area that absolutely needs protection is your floor, and it's perhaps the trickiest to cover. You'll want to make sure your floors are fully shielded prior to cracking open that paint can, especially if you have carpet that could become permanently damaged by splatters. There are all kinds of coverings available, from inexpensive thin plastic tarps to fabric drop cloths that have a bit more weight to them, as Angi explains.
While you might assume that whatever you're using to protect your floors will magically stay in place, the fact is you'll be walking all around the room painting and the last thing you want to worry about is accidentally nudging the floor protection. Instead, make things easier for yourself and securely tape whatever you're using to cover the floor directly to the baseboards themselves.
According to Tape University, you'll ideally want to cover the entire surface of the floor, although that might be challenging if there are furniture pieces you're unable to move. Once you've shielded as much floor surface as possible, secure along the edges to the baseboards so no paint will be able to sneak past the covering. This way, you'll spend far less time cleaning up your flooring afterwards, if any at all.
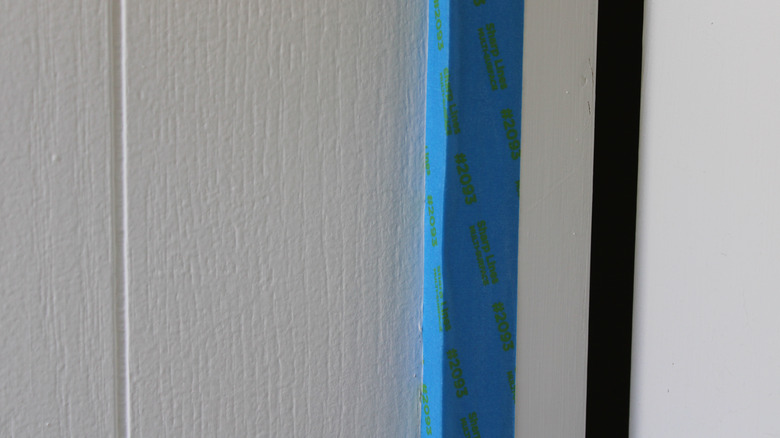
Use small sections of tape

Professionals may be able to smoothly stretch tape along the baseboards across an entire wall and end up with a seamless result, but they've honed those skills through hours upon hours of taping time. The average homeowner doesn't have that level of experience and will likely end up with a sloppy mess if they try that method. In order to end up with as close to a professional paint job as possible, you want to work with small sections as you're applying the tape. As an added bonus, Albertsons Home Center advises keeping the tape in small, manageable sections to ensure it doesn't stretch out as you're applying it, which can impact the final result.
The actual amount recommended varies. Some suggest going very small and applying the tape in 1-foot long sections. Others, such as Williams Professional Painting, recommend sticking to tape strips that are approximately 3 feet long. They also note that, when placing your tape, each strip should slightly overlap the last.
By sticking to small sections and overlapping each time, you'll hopefully end up creating an impenetrable barrier that will ensure your baseboards, architectural features, or whatever you're protecting stays paint-free. Plus, it's much easier to navigate around things like corners or tricky spots this way. This measured approach will pay off by yielding much more high-quality results.
Seal the edges
You've spent considerable time carefully taping all areas you need protected, and you've stuck to small sections of tape and overlapped them. You're all set, right? Well, in order to get the best possible results, there's one final quick and easy step that you may want to consider before rolling on that fresh coat of paint. You need to seal the edges to eliminate any little issues that may have arisen during your taping.
To do this, use something like a putty knife (or even just your fingers if you don't have any applicable tools) and simply run it along all the taped areas so that every inch is properly adhered to the surface it's taped to. This simple step shouldn't take more than a few minutes and it will help you avoid having any paint bleeding underneath the tape. Sealing the edges further ensures that your lines will be crisp and sharp, which is particularly important if you're painting with a bold color that has a lot of contrast with your baseboards (via Q1 Tapes).
If you're worried this still won't be enough, bloggers at Grey House Harbor offer one more tip. They suggest using clear caulk and spreading it in a very thin layer along the top of your tape in order to fully seal the edge to prevent any paint bleeding.