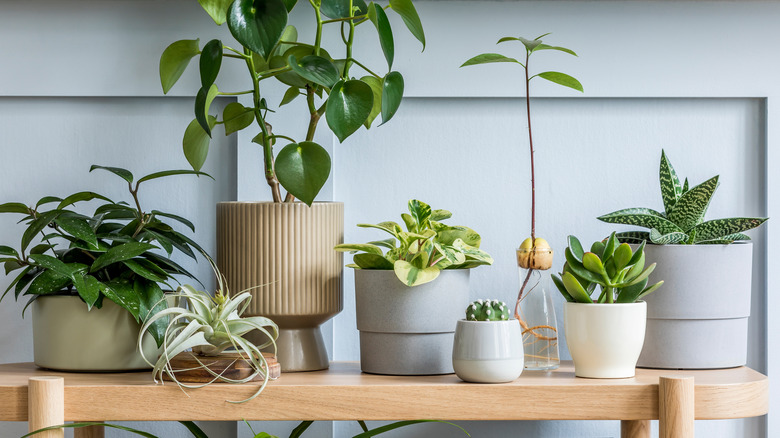
5 Tips For Easily Repotting Your Favorite Plants
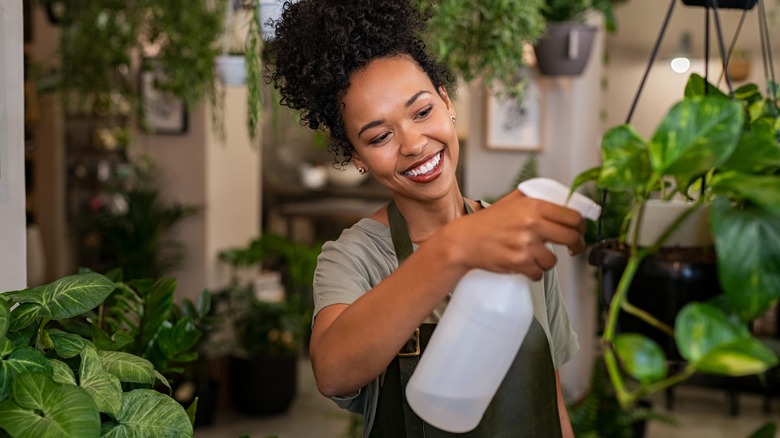
When caring for your houseplants, there are obvious aspects of care that everyone talks about, such as lighting, watering, and feeding. However, what doesn't always get the attention it needs is repotting. Not only is how you repot a plant important, but it's also vital to your plant's health to know when you should be repotting. Repotting too soon or too late can damage or even kill the plant. As with most plant care, paying attention is the best way to ensure you're doing the right thing for your favorite plant. By observing and learning your plant's signals, you'll be able to understand its needs better and react accordingly.
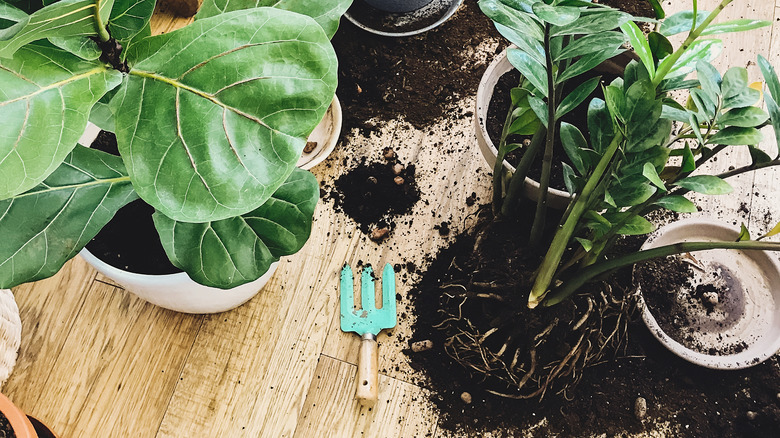
Repotting is simple, but the hard part is knowing what pot to use, which soil is best, and how to pull the plant out of its old pot without breaking it. Unfortunately, there's almost always minor damage to a plant when it's repotted. But that's OK; as long as you're gentle and have minimal damage, your plant should be fine.
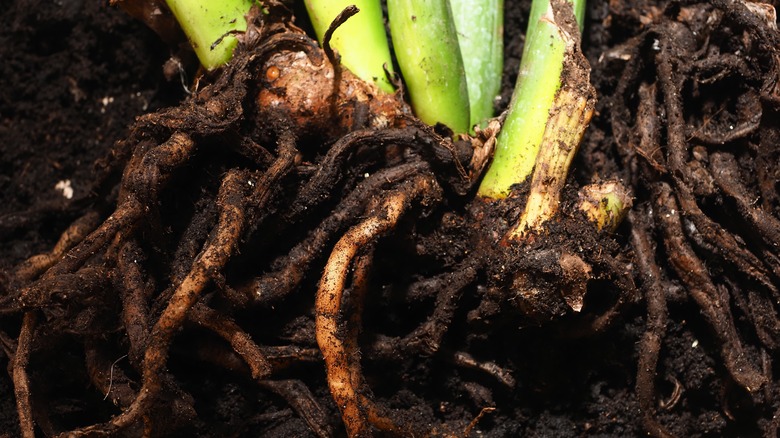
1. Check to see if the plant is rootbound
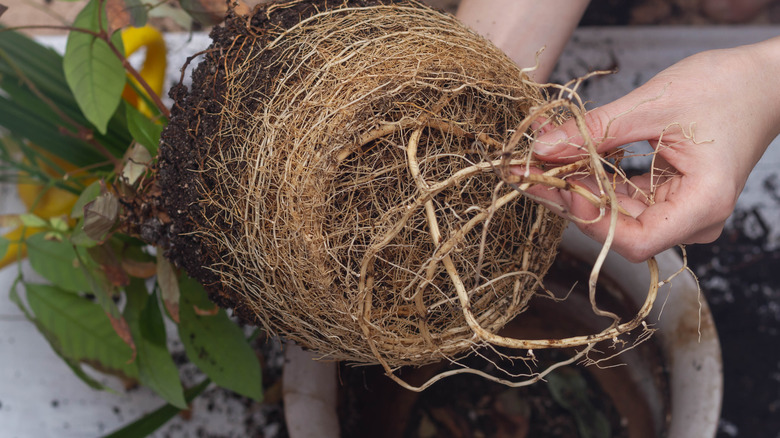
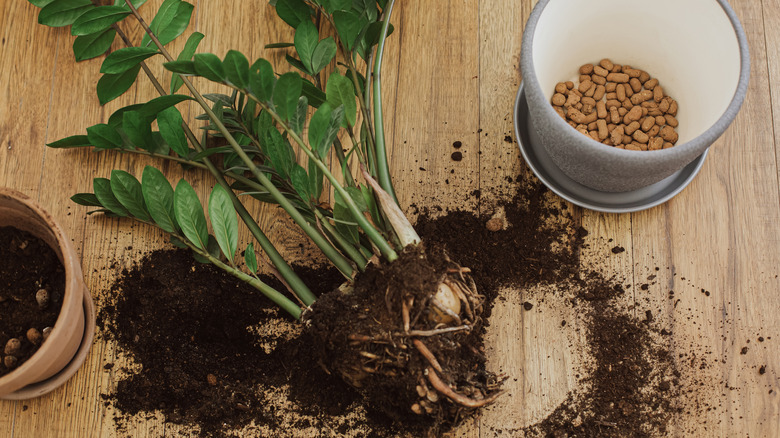
When a plant has been growing like crazy, and you think it might need a bigger pot, check its roots. To do so, gently pull the plant out of its pot and see what the roots look like. If they're circling the sides of the pot and you can see only a little bit of the soil, it's ready for a new pot. Or, if your plant is still in its nursery pot or another pot with a drainage hole, you can check to see if roots are peeking out. If they are, you know it's time for a new pot.
It's worth noting that not all plants mind being root-bound (when a plant's roots are swirling the pot). For example, plants such as ZZs and snake plants can still thrive even with thick root balls. So don't panic if you see a wall of white when you check these plants' roots. While it's important to repot these plants, it's not an emergency.
2. Act if you stop seeing new leaves
When plants are happy and healthy, you'll see them producing lots of new leaves and growth. Even cacti will have growth spurts, and suddenly, they're 3 inches taller! If your star plant that grows a new leaf all the time suddenly stops, it might be time to check the roots. When a plant slows down on its growth, it either means it's too root-bound and doesn't have enough soil and water, or the soil it's in has been sapped of all its nutrients, and it needs new soil. Both of these situations mean it's time to repot the plant.
Each variety of plant has a different growth rate, so learning and spending time to notice how your favorite plant grows is vital to understanding what it will need. In comparison, snake plants produce leaves weekly when healthy, but many alocasia plants don't produce new leaves even when healthy. So you'll have to check other signs to see if those types of plants are ready for a new pot. For example, sudden leaf drops, limp leaves, and no new growth for a whole season probably mean it needs repotting.
3. Add the right soil
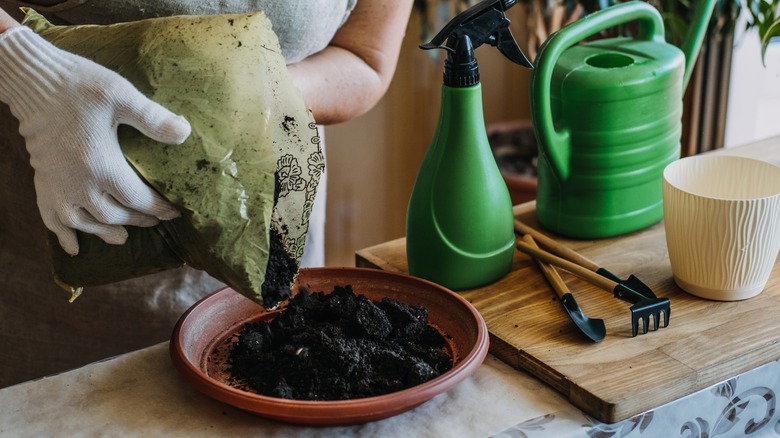
When repotting your plant, it's essential to understand the soil needs of that plant. You won't be doing your plant baby any favors by potting it with a mix of materials it won't like. If this is your first time repotting this plant, research what specific type of soil this plant wants to live in. Many plants don't mind the generic bagged houseplant mix you can find at almost any garden center or grocery store. However, these premade mixes often don't have enough aeration within the mix. Adding perlite or lava rock to your soil mix can help reduce the risk of soil packing and soggy roots that eventually turn into root rot. Plus, roots need air, not just soil and water, so it's vital to their health to ensure they get plenty of oxygen.
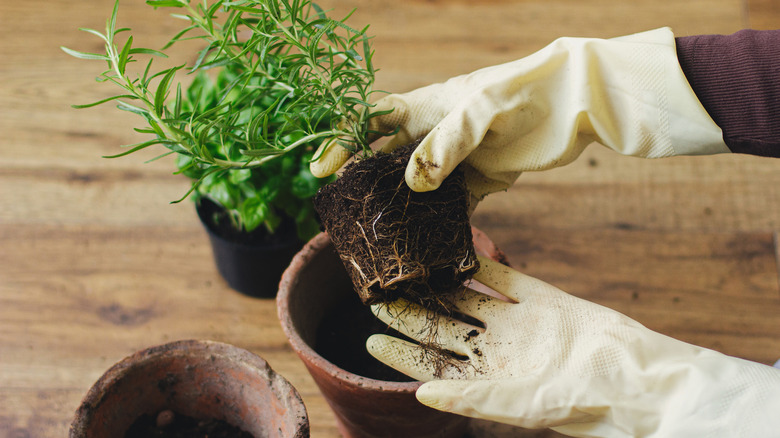
To make your life easier, you might also consider adding slow-release fertilizer to the mix. This will reduce the number of things you must do throughout the year, and your favorite plant will get plenty of nutrients to be its healthiest. Note, when pulling out your plant to put it in its new home, you'll need to massage the roots and try to loosen them up as best as you can without breaking them. Try also to remove as much of the old soil as you can.
4. Use the right pot
Finding the right pot to place your homeless plant can seem intimidating with all the information available. However, it doesn't have to be that complicated, and really, any plant can go in any pot as long as it's the right size and you know how to test the soil's moisture level. It's all about knowing your plant and knowing yourself. For example, if you're a chronic overwaterer, it's probably not a good idea to use pots without drainage holes. But if you use a moisture meter and test the soil before you water it, you'll be fine using a holeless pot, aka a cachepot.
Whether a plant should go in terracotta, ceramic, concrete, or plastic is totally up to you and your personal aesthetic. Terracotta pots are affordable and classic, and they help reduce the risk of root rot because the terracotta wicks away moisture. Ceramic pots are stunning and come in a wide range of styles, but they can be heavy. Concrete pots are trendy, modern, and sleek but are also very heavy. Plastic is light, easy to clean, and less likely to break if dropped, but not always the most aesthetically pleasing option.
5. Properly set up the plant's new home
You've got the pot, the plant is out of its old home, and the soil you've researched and mixed yourself is ready to go. Now what? There are varying opinions on how to set up a new pot. Some claim you must need to rocks to the bottom to reduce the risk of root rot, while others say this is a terrible idea. In reality, if you keep an eye on your plants and use a moisture meter or your finger to test the soil, your plant will be fine with however you set up the pot.
If you're worried about the plant being top-heavy, then rocks on the bottom of the pot might help weigh it down. Additionally, putting an all-natural coffee filter or used-up dryer sheet on the bottom of pots with drainage holes keeps the soil from leaking out over time. Additionally, if you take your plants to the sink or shower to water them, this will keep your sinks and showers much cleaner.
When you're ready to repot, add your soil, put the plant in, and fill in the space around the plant with soil until it's locked in sturdy. This is the perfect time to add a support pole, too, if you think it's needed for plants that like to grow up a pole or for trees that might need extra support until they get their roots sturdy.
6. Use the original container for easy planting
Popular TikTok superstar tannertheplanter is credited for popularizing a viral repotting hack. His gardening advice is simple and straightforward in its brilliance because it uses something you already have handy — the plant's original pot. When replanting, it can be tricky to know how much space to leave in the new pot for your plant. According to Tanner, all you have to do is take a cue from the original container.
He starts by filling about the bottom third of the new, slightly larger container with potting soil. From here, you would typically just keep on filling, digging a little hole for the plant at the end and filling in the soil around it. But instead of this, Tanner places the original pot in the center of the new one to leave a perfectly-sized space for the plant and adds soil around that. After loosening the plant's roots to ensure its health, he places the plant in the indentation and fills in any extra soil needed. So easy, so simple, and so quick, too! You can even use this hack with multiple pots in a large planter if you're creating a container garden.
7. Consider the season to give plants the best chance for recovery
The best time to repot your plants is at the beginning of their active growing cycle, which is typically late winter. The days become longer just before spring, encouraging plants to emerge from their winter dormancy and produce new growth. Providing them with fresh new soil and a larger pot, if needed, allows them to have plenty of room for their roots to expand as they start pushing out new stems and leaves. Rehoming your plants during the right time of the year not only promotes growth, but makes it easier for them to recover in their new environment.
Although late winter or early spring is generally the best time to repot, not all species follow the same seasonal growth patterns. For example, Christmas Cacti (Schlumbergera bridgesii) start blooming in autumn and may prefer a different repotting schedule. Additionally, indoor conditions can affect their growing process. Plant babies living near a heat source or well-lit window may leave dormancy earlier than others. Observe your plants and adjust your repotting plan as needed.
8. Water the plant before transferring it to reduce shock
To ensure a smooth transition for your houseplants, you'll want to give them a drink of water first. There isn't an exact timetable you need to follow as far as when to hydrate before repotting as long as the roots are fully saturated. So, you could water them for 15 minutes to a couple of days before you start the process. However, if the leaves are wilted due to underwatering, you want to avoid changing up the plant's home. Instead, give it a good watering and wait until it's perked up again before moving forward with repotting.
The environment is another factor to consider to reduce shock for your beloved plants. Once your houseplant is in its new pot, it's best to place it in the same spot you had it in. Changing the location and the soil simultaneously can be too much for it to adapt to at once, leading to shock. Do one action at a time, giving your green friend time to get used to the changes before switching up anything else.
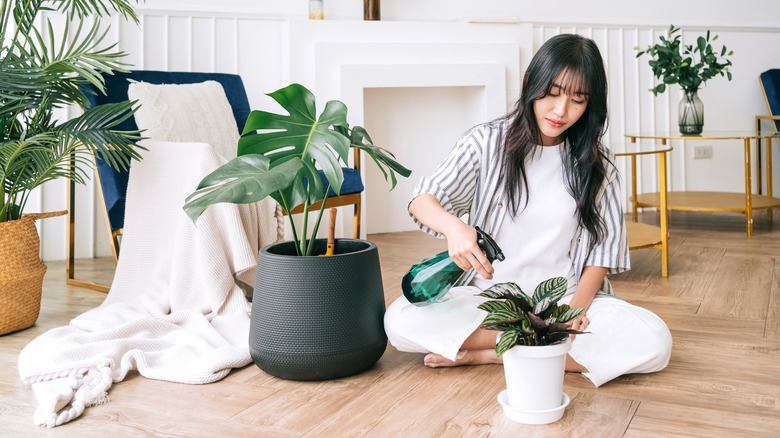
9. Water once replanted and keep an eye on moisture levels
After your plant is in its new home, ensure you have about half an inch of soil from the top of the pot to water correctly. This space prevents overflow and ensures that you can give the plant enough water for the roots to receive proper hydration. You may need to adjust if you notice insufficient room to water without spillage. Once your plant is securely positioned, you'll want to moisten the soil. Wait about a day after repotting, and don't do a complete watering session since it got a good shower before switching planters.
Watering can be a delicate balance, as too much or too little can cause problems for houseplants. Overwatering can lead to root rot, which can be fatal if not treated quickly. Alternatively, underwatering limits the amount of hydration and nutrients the roots can absorb, which stresses the plant out and can stunt its growth. So, it's a good idea to get in the habit of checking the watering needs once per week. A moisture meter is one of the best ways to monitor the soil and know when to give your plant a good watering. You can also stick a finger about a knuckle deep and water if the soil feels dry. If it feels damp, hold off on watering until it dries out. It's better to underwater than overwater, as it's easier to fix dehydration than root rot.
10. Cut back any mushy or sickly roots
Repotting is the perfect time to check in on the roots and ensure they look happy and healthy. Cutting off any mushy, discolored, or overly elongated roots is crucial for promoting a plant's growth and overall health. Some of these unsightly roots may have bacteria, which can quickly take over your plant. Even if they're just dead and useless, removing them encourages plants to grow new, healthy roots that better absorb their vital nutrients.
Using clean supplies to sanitize your tools is as important as the trimming process itself. Clean scissor blades or shears with a disinfectant, like rubbing alcohol, after each cut. Without this step, you risk spreading bacteria to healthy roots, which can spread diseases that may be fatal to your plant. If you're using the same pot, give it a good cleaning as well since bacteria could be lingering behind. Use a soft, dry brush to remove any dirt particles before washing. Follow up with soapy water and rinse thoroughly before adding your dirt and plant.