5 Ways To Silence Your Squeaky Stairs
There's no doubt that wooden staircases are functional and also durable in multistory houses. However, one thing about these staircases that isn't mentioned enough is that they can get quite noisy after a couple of years. Unless you want to be notified every time someone goes in or out of their rooms, staircase squeaks are a nuisance. What's more, there's something creepy about staircase squeaks, especially during the night.
Squeaky staircases are a common phenomenon that occurs because of different reasons. First, the staircase is constructed with several moving parts that are bound to get weak over time. Another reason why your staircase may start squeaking is because of wear and tear on different components after continuous use.
It's also worth mentioning that the seasonal changes in temperature, especially during winter, are another reason for a squeaky staircase (via Interiors Place). The seasonal expansion and contraction eventually take its toll, loosening the stair structure even further. The good news is that silencing your staircase doesn't require professional expertise to pull off. In fact, with a few handy skills and a few tools, you can easily fix this problem right from home. Follow this guide to help you identify and also fix the squeaky steps on your staircase.
1. First, identify the culprits
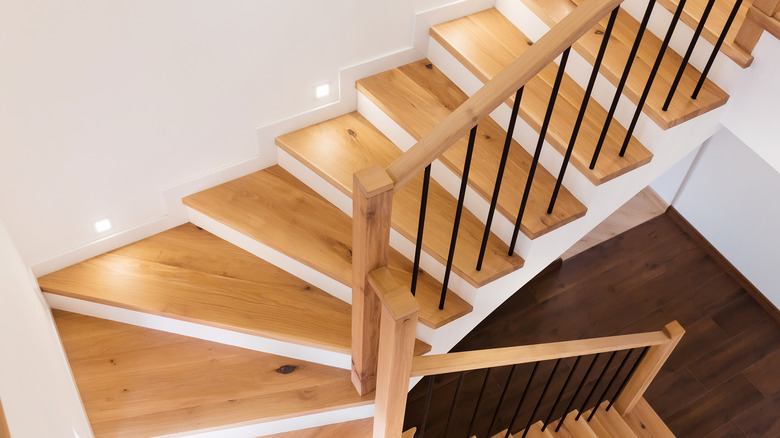
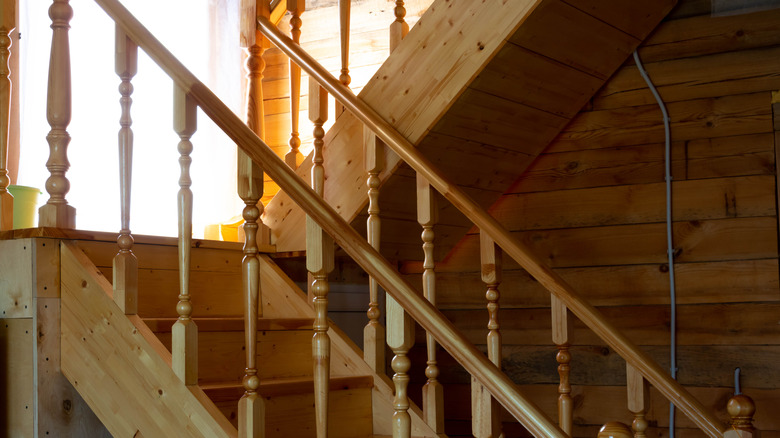
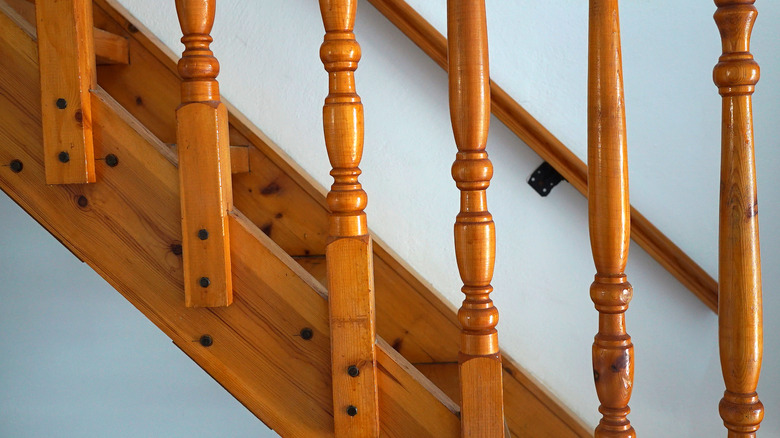
The first order of business before thinking of a solution to your squeaky stairs is to figure out exactly where the squeak is coming from. While stairs come in many styles, Lapeyre Stair mentions that the main components are usually the same. The three components that can directly cause stair squeaks are; treads, risers, and the stinger. The tread is the part you step on, the riser is the vertical surface right in front of the thread, and the stinger is the framework holding the components together. The noise could be coming from anywhere within these components and the only way to isolate the problem is to do a physical inspection.
Begin by walking up and down the problematic staircase marking the noisy culprits. Walk slowly while keeping an ear out for any squeak. Now stand on the treads of the noisy steps and rock back and forth listening carefully to where the squeak is coming from. If you're capable of correctly identifying where the noise originates, consider your problem half-solved. Usually, squeaks coming from the front are a telltale sign of separation with the risers. On the other hand, squeaks coming from the back are usually when the tread is loose from the stinger.
2. Fixing squeaks from the front of the treads
As mentioned earlier, squeaks coming from the front of the tread are often a result of weakness between the risers and the tread. Also with time, and as wood ages, it shrinks, creating spaces on the staircase that were not there before. Fortunately, fixing squeaks coming from the front of the tread is relatively easy to fix even for a regular homeowner. All you need to do in this case is to reattach the tread to the riser. But how do you do this? The simplest way is to use screws to fasten and eliminate the separation between the tread and the riser.
McFeely's recommends using trim head screws to reattach the treads to the risers because they're relatively easier to hide after the repair. They're also easily accessible from your local hardware store. It's ideal to use three screws for this repair. First, you need to make three holes in the tread before inserting the screws and drilling them in even further. To avoid injuries to the barefoot, be sure to drive the screw head inside the tread's surface. Now use wood fillers to hide the holes and make your repair work not visible to the naked eye. The closer the wood color is to the color of the tread, the easier it will blend.
3. Fixing squeaks from the back of the treads
There's only one solution to silencing the squeaks that are coming either from the back or the sides of the tread, and that's to tighten the stingers with nails. Right after identifying the treads that squeak from the back, mark two to three pilot holes on both sides of the tread right above the stingers. Pilot holes are particularly helpful to avoid splitting the wood or if the appearance is important to you (via Popular Woodworking). Now, using a drill, create 45-degree holes angled away from each other.
One pro tip that you should implement is to use a drill bit smaller than the diameter of the nails. You can use a hummer or a nail gun to drive the nails right through the holes deep into the tread surface. The whole purpose of creating a 45-degree angle for the nails is to create a stronger clamping force that won't come apart easily even under heavy use. Again, if you want to hide the indentations, consider using wood fillers with the same color as the tread.
4. Quiet the squeaks from underneath
Not every staircase can be accessed from underneath. However, if your staircase has this access, you can quiet the creaking noises with glue blocks. Glue blocks are pieces of wood cut into triangular wedges. Not all wedges make good glue blocks, you need to make sure the wedge forms a 90-degree angle between the shorter sides of the triangle (via Fine Woodworking). To achieve this, cut a 2-inch wooden cube across the diagonal, this should give you a perfect right-angle cube to use under your staircase. For this quick fix, you'll need at least two wedges.
Apply glue on the shorter horizontal and vertical sides of the block before pressing it right into the joint between the tread and the risers. Press firmly to ensure the glue adheres and also to eliminate any air bubbles formed during application. To make sure the joint is reinforced perfectly, add two screws on the horizontal and vertical faces into the risers and treads respectively. This is a quick fix that should reinforce your stairs and eliminate the squeaking problem for a very long time.
5. Muffle the noise with a lubricant
If you're looking for a quick fix that doesn't involve the use of tools to silence the annoying staircase squeaks, then try lubricating the joint. However, it's worth mentioning that this technique is only applicable to the noise that comes from the back of the tread. Essentially, the lubrication works by reducing the friction on the space between the riser and the tread below it. According to Bisley International, graphite is a good dry lubricant because it doesn't attract dust or accumulate residue like its oiled-based counterparts. During application, pour the powder graphite on a piece of paper and carefully direct it into the space or crack at the back of the tread and the risers.
Try getting the powder lubricant as deep as you can. Remember, this technique is not a solution to the problem, rather, it's just a way of eliminating the noise without getting to the root cause of the problem. You should be aware that the application of a lubricant on the joint is a temporary fix because as soon as the lubricant wears off, the annoying squeaks will return. Nonetheless, it can be a lifesaver for homeowners who don't have the tools or the handy skills to pull off the other repairs mentioned above.