5 Easy Ways To Upgrade Your Frameless Bathroom Mirror
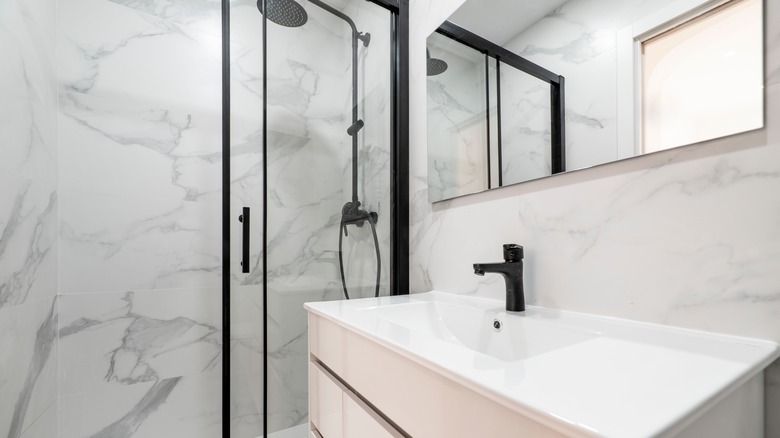
There's something boring at the center of just about every bathroom design. This common feature provides no character or style to the space. Can you guess what it is? Yes, it's the frameless bathroom mirror. Almost every home has at least one of these, and while they're not the worst design piece ever, they also lack personality.
Perhaps you're wanting to replace this feature in your bathroom. However, buying a new one can be quite expensive — prices for framed mirrors at The Home Depot range from a couple of hundred dollars to over $800. Not only that, but having to remove your existing mirror just to install another one could be a hassle.
What if you could upgrade this piece for less, though, without even having to take it off the wall? Luckily, this is possible, as there are some simple ways to transform your bathroom mirror. If you want to greatly improve the look of your space with just a basic DIY, below are five projects you could try.
1. Border it in wooden trim
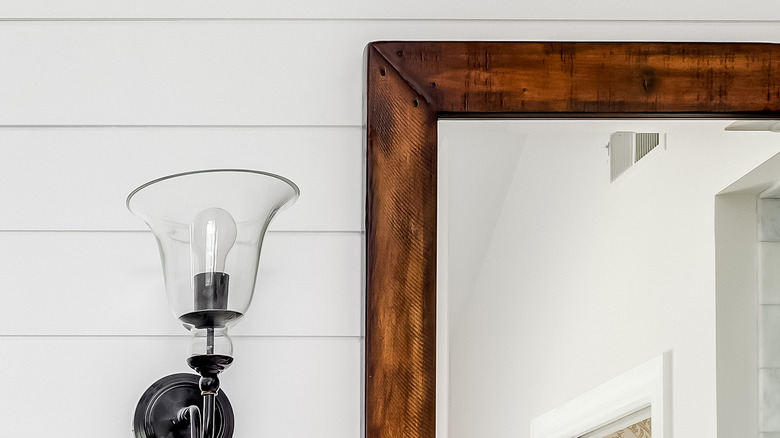
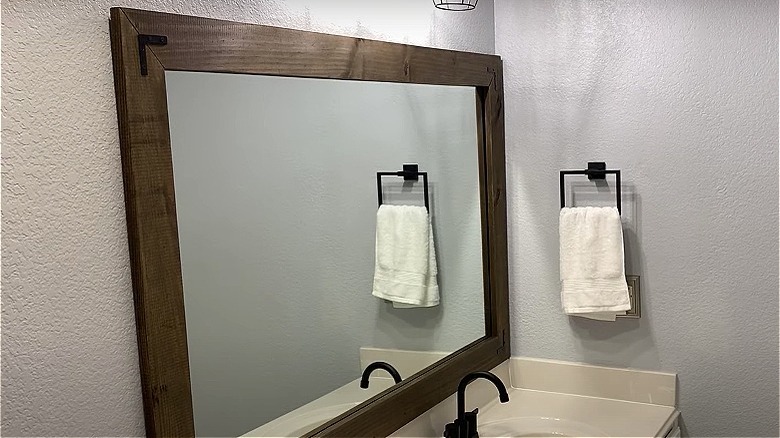
One easy way to upgrade your boring bathroom mirror is by adding wooden trim, which will provide it with a completely customized look. Mirror Chic says that this could be done one of two ways: You could completely DIY the project and cut the wood yourself, or you could submit your mirror's measurements to a custom-framing website.
If you're wanting to go the full DIY route, Joyfully Growing has some tips on how to complete this project. You'll first need to gather your supplies, which include four wooden boards, your wood stain of choice, a clear finish, a foam brush, a saw, a caulk gun, and construction adhesive (like Liquid Nails) or small trim nails. To begin, you'll measure your mirror and cut your boards to size, with each edge having a 45-degree angle.
Once this is done, it's recommended you hold the boards up to the mirror to make sure they're the right size before continuing. Then, you can sand, stain, and seal in the wood color you desire. To permanently attach the frame to the mirror, you can use construction adhesive and hold the pieces for about five minutes to let them dry — or, you could choose to use small trim nails, for a less permanent solution (via Joyfully Growing).
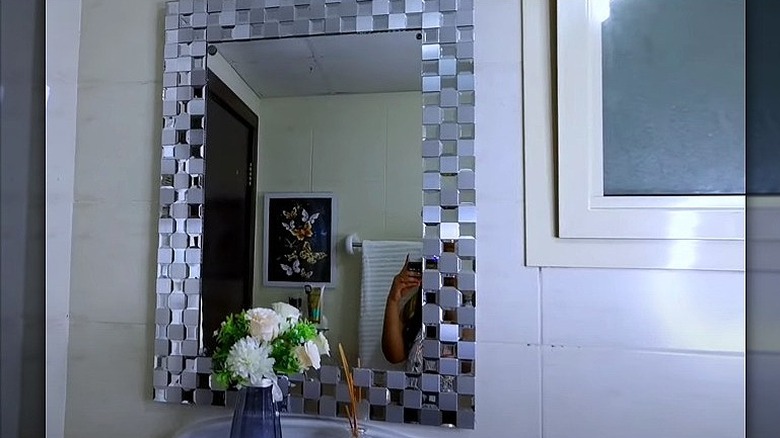
2. Add metal brackets to the corners
For an industrial look, you could add metal brackets to the corners of your frameless mirror. This could either be done to a bare mirror or added to one with a wooden frame (like above). If you're adding the brackets to a wooden frame, furniture retailer Gardner-White sells a mirror with a delicate scalloped edge that could be a source of inspiration for you and your DIY project. Or, Pier 1 also has an example of a more rustic piece that uses natural wood.
If you decide to go the wooden-frame-with-brackets route, you'll need four wooden pieces (similar to the project in the second slide), along with four L brackets, a wood stain, 1-inch screws, a staple gun, and mirror adhesive, per Joyfully Treasured. To begin, cut your wooden pieces to size. Next, apply the stain and then staple the wood together. Joyfully Treasured uses screws to attach the (spray-painted black) metal brackets to the corners. To install the frame, apply mirror adhesive to the back of the wooden boards and hold it onto the mirror for a few minutes.
3. Hang a floating shelf
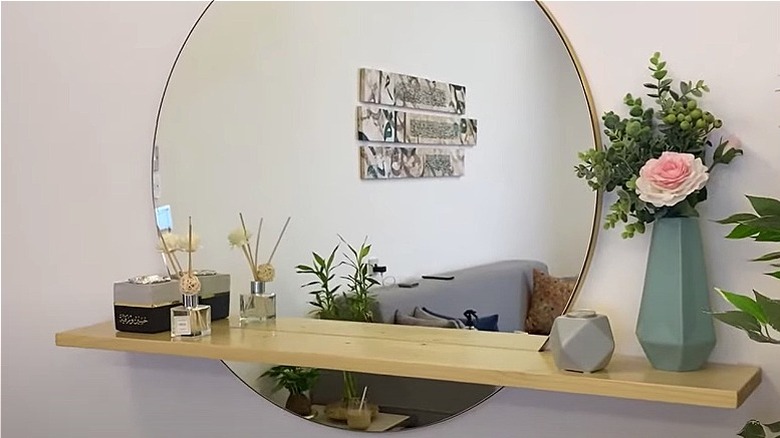
A great way to both improve the look and functionality of your mirror is by adding a floating shelf. If you have a rectangular mirror, Better Bathrooms provides some designs that could inspire you. Most of these pieces have a skinny shelf along the bottom that would be great for holding small toiletries, plants, or other items.
If you have a round piece, you could also create a "sunrise" look, where a long piece of wood separates two sections of the mirror. To do this, Remodelaholic cuts a slit in a wooden shelf for the mirror to sit inside and then attaches it to the wall with pocket-hole screws on studs. However, if your mirror is already attached to the wall, you could still complete this DIY project; you'll just need to attach the screws on either side of the mirror or attach the shelf with construction adhesive.
4. Tile around the mirror
Installing tile around the mirror will also provide it with a frame-like appearance. There are two ways to do this: You could tile the wall behind the mirror, or you could create a tiled frame. If you're going the wall route, Kitchen Bed & Bath says this will give your entire bathroom a more customized and complete appearance. Carla Aston Designed, meanwhile, points out that bathrooms used frequently by messy children may benefit from a completely tiled wall above the vanity, as it will protect the drywall from water damage from the sink.
You could also DIY a frame for your mirror with tiles, and Centsational Style shows how — using mosaic tiles from another project to complete the look. The blog recommends attaching sheets of the tile to the wall first with push pins to get an idea of how it will look once finished. If it's to your liking, use a thin mortar to secure the sheets to the wall. Next, apply the grout with a putty knife and wipe away the excess with a large sponge.
5. Surround it with florals
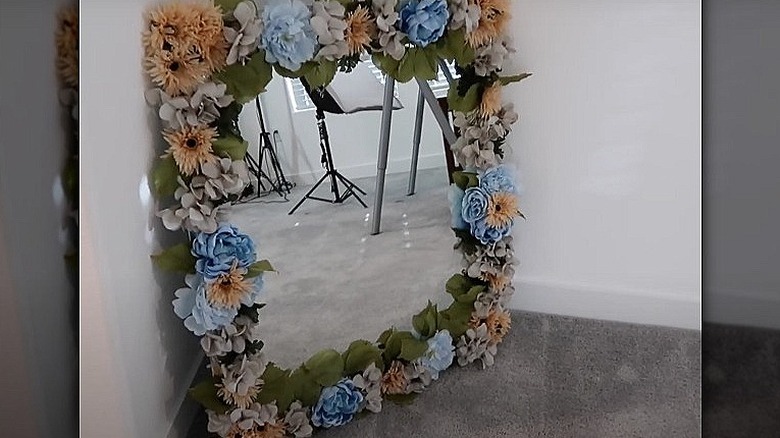
Finally, you could surround your mirror in faux flowers. To complete this project, you could either glue the florals directly onto the mirror or create a frame with the help of strong floral wire. If you're gluing your flowers directly onto the mirror, Sweet Teal says to begin by removing the stems and leaves. Next, you should consider how you want the flowers arranged (and leaves, if desired). It may help to lay them out on a flat surface. If you have multiple colors, alternating the shades may look best. Then, you'll glue your flowers to the mirror. You could also illuminate the piece with string lights around the border.
In its mirror project, Paper & Stitch creates a border first with heavy-duty floral wire, then wraps the flower stems around it. The DIY blog attaches the flowers with floral tape and uses binder clips to secure the entire thing to the mirror. Note that this project uses real flowers; if you're using artificial florals, you may want to secure the border with a construction adhesive or nails instead.