Everything You Need To Create A Custom Mosaic Mirror
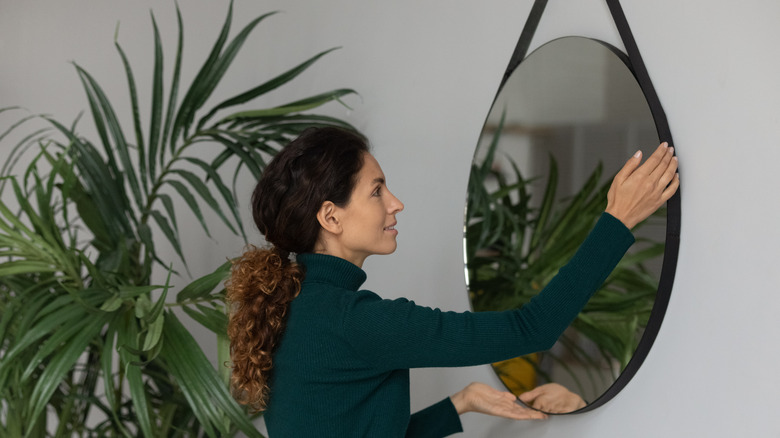
Mirrors are both useful and beautiful pieces of décor for any room of your home. They can make small spaces appear larger and reflect the natural light coming from a window to make a room feel brighter. They're also useful to have when getting ready and for checking yourself before heading out the door. They can be an accent among other decorations or the focal piece of an entire design.
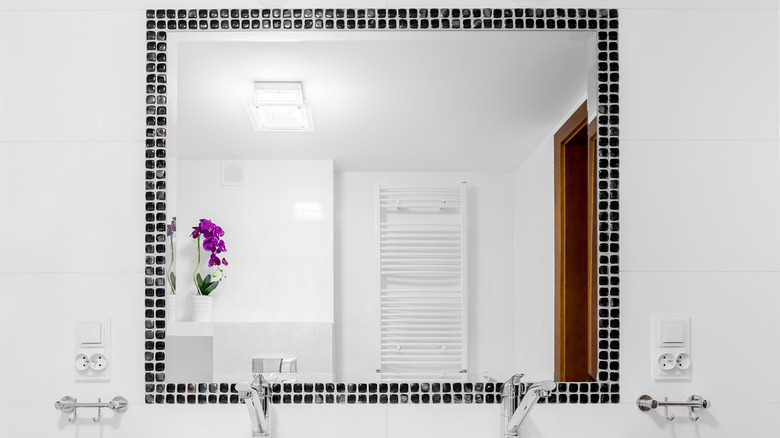
If you're going to use a mirror as a décor piece, you should find one that really stands out. And what better way to do so than by creating a mosaic mirror that's completely one of a kind? Social media has been abuzz with DIY mirror ideas, including using industrial foam to devise a cloud mirror and recreating a grid mirror that originally retails for $899, according to Diply. While mosaic mirrors are not a new trend, they certainly fulfill the DIY itch that everyone on social media has. So if you're looking to get your hands dirty and create a custom mosaic mirror, we've got everything you need to know.
Cut a plywood base
To start, you're going to need plywood, which will serve as the base of the mirror. The plywood needs to be sturdy so that it will hold the weight of both the mirror and tiles without cracking or breaking in half. Plywood has different grades, which reflect the quality of the piece. Plywood ranges from A-grade plywood, the highest quality, to D-grade, the lowest quality, according to Curtis Lumber & Plywood. Plywood is also made of different types of materials, including sanded pine and baltic birch. For a mosaic mirror, you'll want a thick piece of plywood without a veneer.
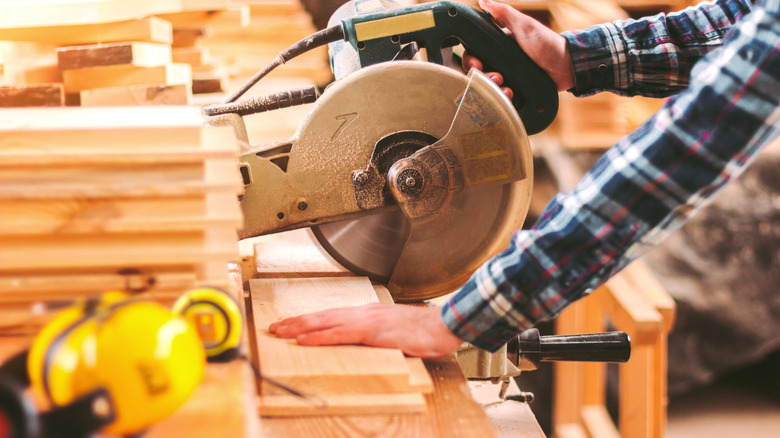
For a wall mirror, a smaller size is best so that it doesn't become too heavy to hang. However, a floor mirror can be much larger. When deciding on the size of the plywood base, you should also consider how large the actual mirror will be and how much tile you want to surround it with. With all that in mind, you can cut your plywood to size using a circular saw or have the board cut to size when your purchase it at your local hardware store.
Secure the mirror to the base
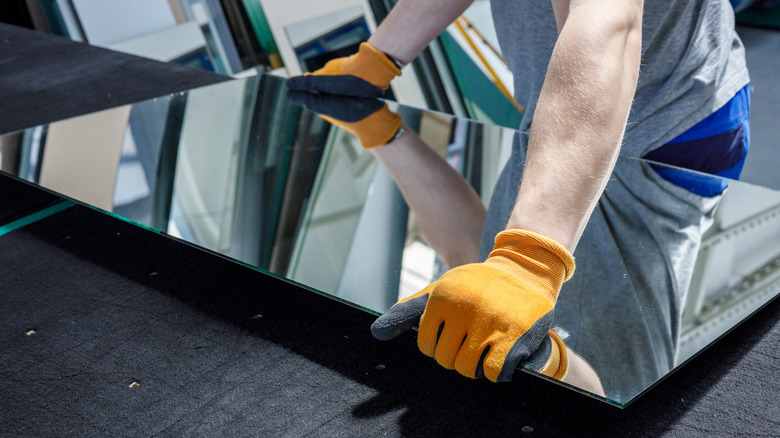
Next, you'll want to secure the mirror to the base. You can buy frameless mirror pieces at hardware stores, many home stores, and even craft stores. These often come in a variety of standard sizes and basic shapes like squares and rectangles. You can even find pre-cut mirrors in more decorative shapes like circles, ovals, diamonds, arches, and moons. A big box hardware store like Lowes will cut mirror pieces that you purchase in their store, says Upgraded Home. However, they aren't able to cut circles, ovals, and complicated shapes. Depending on your skill level, you can also use a glass cutting tool to cut a customized shape. If you choose something wavy or irregular for your mirror, keep in mind that it will take more work to cut the plywood base to match.
Line up the mirror with the base and trace the outline so you know where to apply adhesive. Use wood glue or epoxy to secure the mirror to the backing. According to Glue Care, wood glue is best for mirrors that won't be exposed to a lot of moisture or humidity. So if you're planning to place the mirror in the bathroom, epoxy may be a better choice since it hardens and is more water-resistant.
Apply the tile
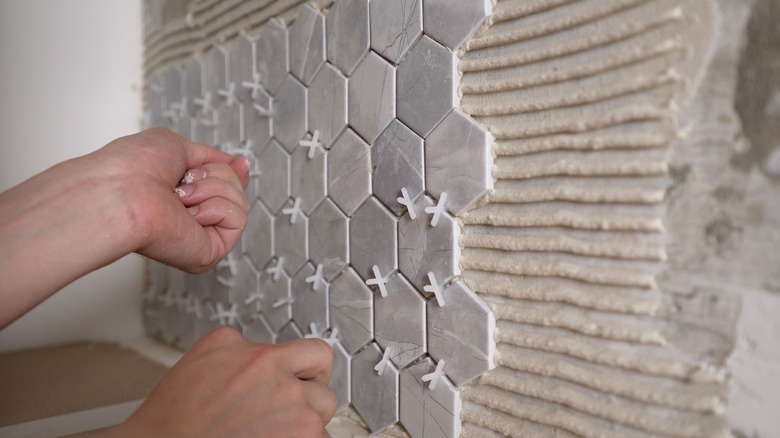
The tile is what will give your mirror the unique and customized look that made you want to try this project in the first place. This is where you can get creative and create a mirror that fits perfectly with your aesthetic. Try a simple black and white pattern or opt for more color. Why not create a pattern like a herringbone or a basket weave? The next consideration you'll want to make is the size of the tile. Smaller tiles are best for building patterns and they enhance texture, but for many people, the end result can be too busy. Larger tiles may provide a cleaner look, however you're more likely to have to cut them to size.
After the mirror has been secured to the base and the glue has dried, you can start laying the tile. Position all of the tile before grouting to ensure that it's in the placement you want. For this project, mesh-mounted or paper-mounted tiles might be a better option than individual tiles. According to Mosaic Art Supply, the mesh that comes adhered to the back of the tile should be glued to the surface of the plywood. With the paper version, tile backing is applied directly to the plywood and then the paper is removed from the top.
Grout the tiles
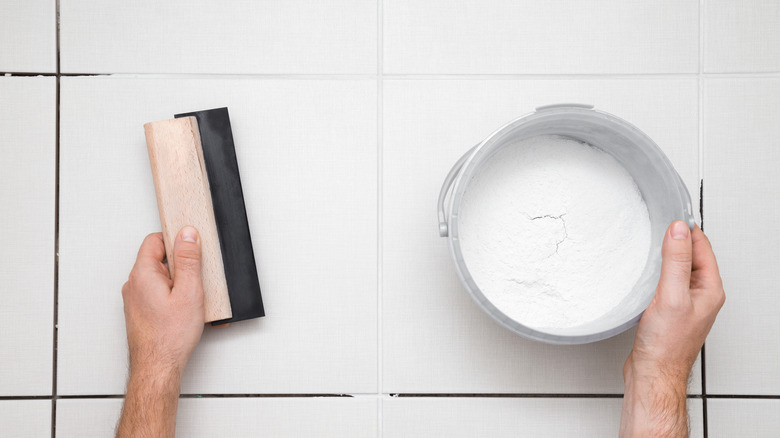
When the tiles are exactly where you want them to be, it'll be time to grout. With floors or backsplashes you may be cautious with neutral grout colors. But with this project, you can add colored or glitter grout to add a special detail to your mirror. Before you get started, tape off the mirror to avoid getting grout on the surface.
You'll follow the same steps as you would grouting a floor or a backsplash. Follow the manufacturer's instructions for mixing the grout to ensure that it's ready to use. Load up your trowel and apply it generously over the tiles. Spread it evenly across in a diagonal motion and push it between the joints, says Euro Tiles and Bathrooms. It's best to work in smaller sections rather than the whole project. Once all the tiles have grout between them, remove any excess. Then clean the tiles with a moist sponge before allowing the grout to dry.
Finish with a frame
To complete the project, you can add a frame border. This will provide a clean finishing touch. Create the border with pieces of plywood. The thickness will depend on what style of finish you prefer your mirror to have. Thicker frames are more traditional while thinner frames are more contemporary. The length of the framing should be the length of the base sides. These can also be cut at a home improvement store or you can DIY with a circular saw using a miter cut. A miter cut is a 45-degree cut that comes together to create the corners of a picture frame, says Dream Design DIY. When the frame is complete you'll want to secure it to the board with nails.
If you wish to customize the wood to better fit your interior style, try staining it to match other wood finishes in your home. Or you may want to add a pop of color and paint the frame. If you're confident enough to take the DIY up a notch, you can attach the frame before tiling and line it up flush with the plywood base. Then apply the tile to the frame and even waterfall the tile over the sides. The possibilities are endless when you create a completely customized mirror.