5 Savvy Tips For Repainting Your Furniture Like A Pro
According to PaintCore Finishes, breathing life into your old furniture is not only friendly to your pocket but also good for the environment. Painting is one method that has consistently proven to give old furniture a fresh lease on life. The beauty of painting is that you can easily DIY over a weekend, and the finish will be more rewarding, especially when you do all the work yourself. While this is true, it is also worth mentioning that painting furniture is quite different from painting walls, and the big difference is that the former are functional pieces and the latter aren't. So the few coats that would be enough for a wall might not hold up for long on a table.
Furniture comes in different materials, but the most frequently painted is wood. Sticking with wooden furniture, there are several things that you need to know for you to pull off a professional-grade makeover. Take a look at these tips that should help you restore your old furniture to its former glory.
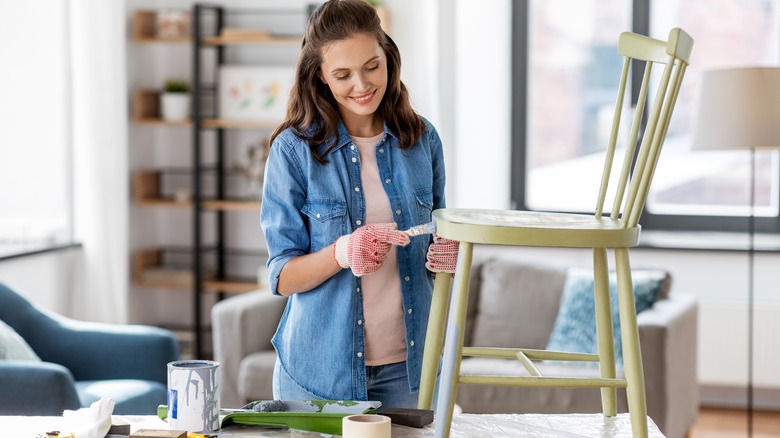
1. Prep the furniture
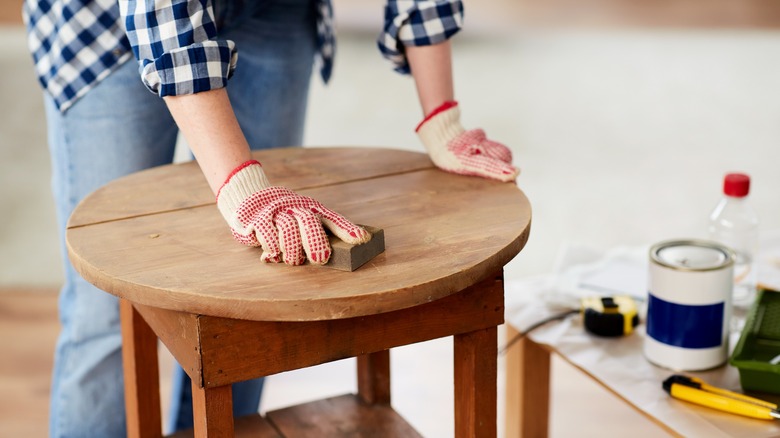
How well you prep the surface to be painted will determine how long the coat will last. Old pieces of furniture have gone through significant wear and tear, so preparing the exterior will help create a better surface for the new paint to hold on to. The first order of business is to clean the said furniture using regular soap and water to remove grime and dirt that will prevent the paint from adhering. The next step is to sand down the surface to remove the old color and any existing finish. Sanding can take time and require plenty of elbow grease, depending on how large the furniture is.
However, if you are using an electric sander, preparing the surface shouldn't take more than 5 minutes. Renovated Faith recommends going in with a 100-grit sander before finishing the surface with a 240-grit to achieve a nice smooth finish. It is good practice to wear a dust mask and take the furniture outdoors for sanding. Be sure to wipe down the smooth surface with a damp cloth to eliminate debris.
2. Pick the right paint
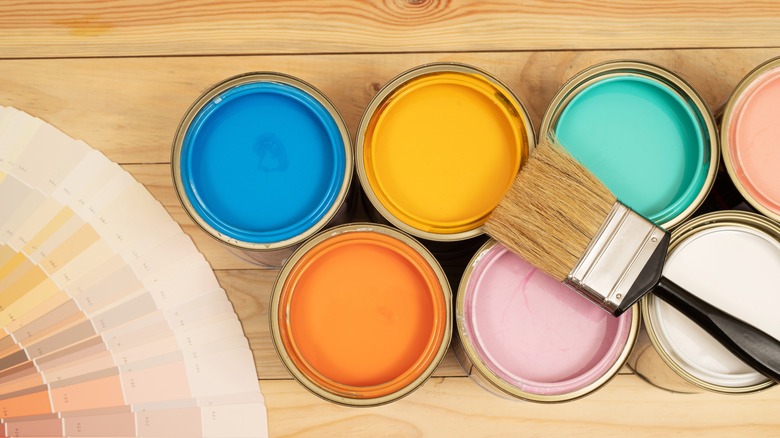
One of the most critical choices you will make during this makeover is the choice of paint, which will play a crucial role in how the final finish will appear. Your choice of color should be informed by the type of finish you are trying to achieve. The main types of paint available for furniture include oil-based, acrylic, and latex, not to mention specialty options for various finishes. Oil-based paint is among the most durable options available. However, Sunny Side Designs says it takes relatively longer to dry and is also quite expensive.
Acrylic paint, also called water-based lacquer, is one of the easiest to work with, and it dries a lot faster, and clean-up is also a breeze. However, they are sold in small containers, making them ideal for smaller projects. Latex, on the other hand, is one of the most popular types of paint, and they are available in small and large quantities and dry up fairly quickly. The only shortcoming of latex paint is that it is susceptible to chipping because of its soft finish. Finally, specialty paints are ideal for achieving a specific type of finish, for instance, a distressed look. The two common types of specialty paints are milk and chalky.
3. Prime the surface
Professional painters use one hack to make their paint jobs durable for longer: priming the surface beforehand. However, it is also worth pointing out that some paint comes with inbuilt primer. But some options, like milk and chalky, are often referred to as no prep — you should keep in mind that primers do more than provide a surface for the paint to adhere. According to Jenna Burger Design, a coat of primer also helps prevent the natural tannins and previous color from bleeding through and staining the new coat of paint.
There are no set rules regarding how many coats of primer you should use on your furniture. For the most part, one coat should be enough. However, much of the first coat will be absorbed if the wood is bare; therefore, you will need to give it another. Essentially, priming old furniture is unnecessary; however, if you want to increase the longevity of your paint job, then it is the way to go.
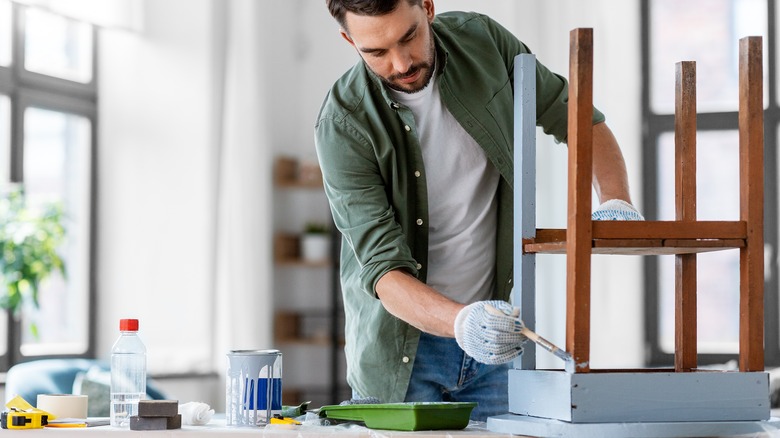
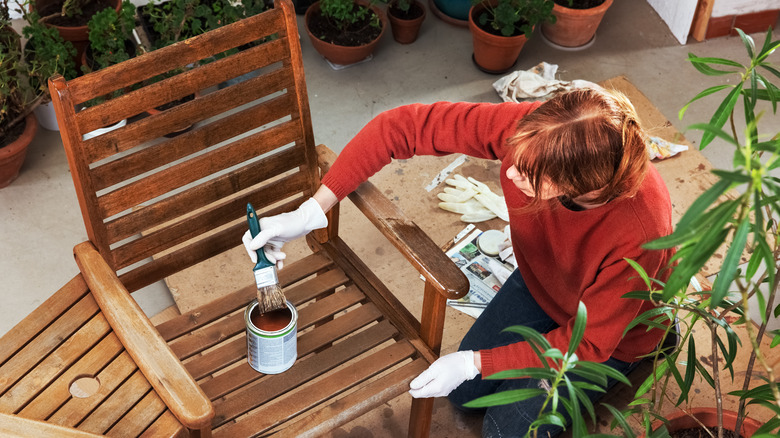
4. Employ the right painting techniques
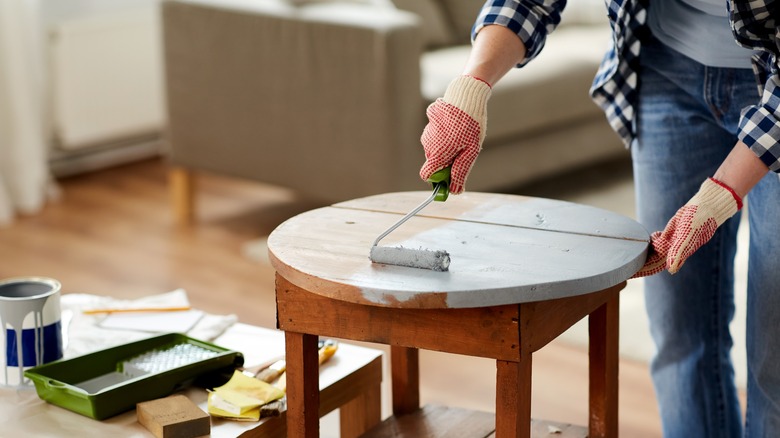
While painting might come across as a simple task to untrained hands, it is easy to make some rookie mistakes that will compromise the quality of your finish. The good news is that if you employ the proper painting techniques, you will be able to achieve a far better job. First, ensure that the paint has been mixed well before walking out of your local paint store. Before painting, you need to be aware that every piece of furniture is built differently, so Glidden recommends having a brush and a small roller just in case you need either of them. Using a roller to paint the flat surfaces and a brush to get into those hard-to-reach corners on the furniture is ideal.
As a standard rule of thumb, give your furniture at least two coats for a better outcome. Usually, you will need to wait until the first coat of paint completely dries off before giving it another go. Paints have different drying durations; therefore, you will need to follow the particular brand's recommendations. Also, sand lightly between the first and second coats to achieve a smoother finish. Do not be afraid to add more coats of paint, especially when using lighter colors like white.
5. Protect with a sealer
Giving your freshly painted furniture a protective top coat is important. This is particularly true for furniture pieces that are frequently used or positioned in high-traffic areas. According to Lovelyetc, sealers dry to a harder finish than most paints, therefore, can take more wear and tear. This allows your newly painted furniture to remain fresher for longer. Sealers also keep moisture from the furniture's surface, allowing you to easily wipe them dry whenever necessary.
With plenty of options on the market, it can get confusing to pick the right one for you. A good sealer will not yellow the paint over time, and oil-based sealers are notorious for bringing the yellow effect to brighter paint colors. Another thing you should consider when choosing a sealer is the type of sheen to go for. To achieve a more modern look, consider semi-gloss; however, a matte finish will be ideal if you fancy a traditional rustic design. Regardless of your choice of a sealer, remember to follow the direction on the can.