How To DIY Your Own Duvet Cover
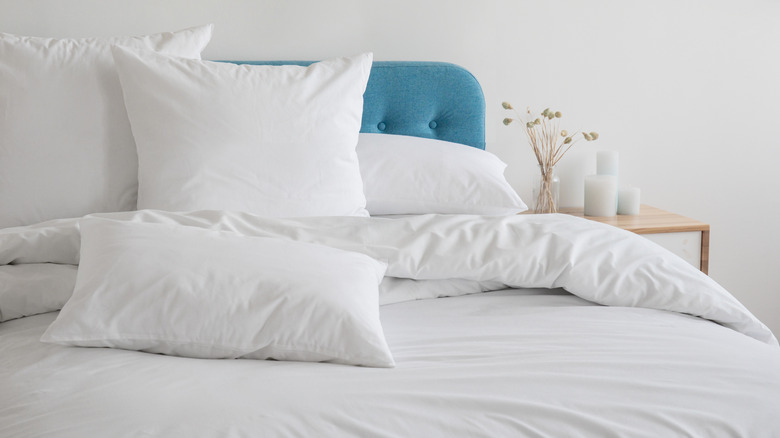
A duvet cover is a great way to get the most out of your bedding. With one, you can easily change your bedding's colors and swap materials with the seasons. Despite this, the sometimes-hefty price tag can seem unnecessary. When coupled with an insert, a duvet can easily run you more than a traditional comforter. Luckily, their design is incredibly simple, so with a little handiwork, you can DIY a new layer to complete your luxurious bed styling.
Sewing your own duvet cover is as simple as a few stitches, and it can leave you with bedding custom-fit to your own personal style. DIY projects can even have the added bonus of a positive psychological boost (via American Family Insurance) so your quest to improve your bedding can actually help your mood in more ways than one. Keep reading to learn how to take on this easy project and what steps it takes to create your very own duvet cover.
Finding the fabric
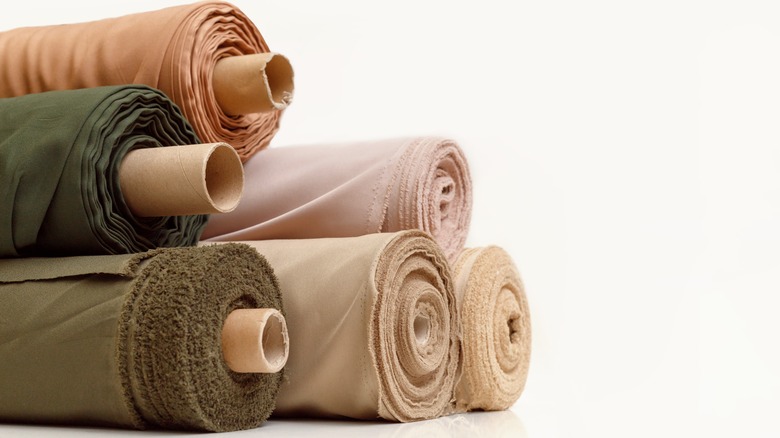
There are two methods you can take when sourcing fabric for your DIY duvet cover — either head to the craft store and pick up something that catches your eye, or transform two sheets. Pre-finished sheets make this project a little simpler because you don't have to worry about raw edges or combining pieces together, but buying something new provides more options. It's easiest to stick with something cotton-based if you're a beginner and you decide to go that route.
If you have an existing duvet cover that you like the fit of, take measurements, or simply calculate based on the size of your bed. According to Amerisleep, a twin is 75 by 38 inches, a queen is 80 by 60 inches, and a king is 80 by 76 inches. Add about 30 inches to each measurement to account for overhang, and cut your fabric to size. A typical roll of fabric likely won't be wide enough to fit your measurements, but this can be easily solved by cutting a few panels and sewing them together.
Finishing the duvet
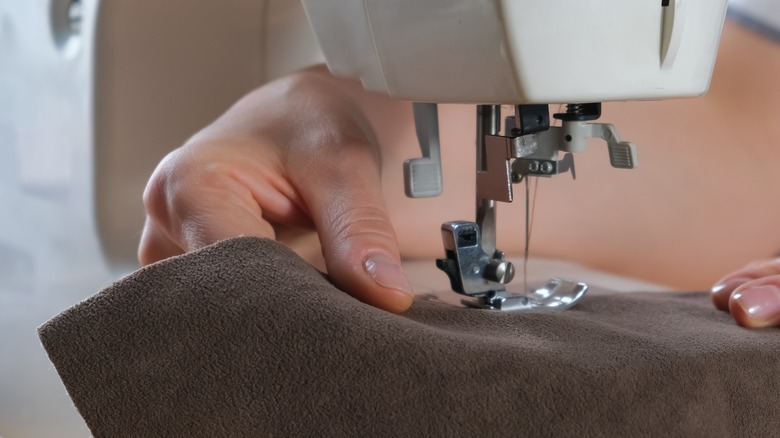
Finding the right fabric is half the battle. From there, just a few simple stitches, and you're done with your new DIY duvet cover. Place the fabric's right sides together and sew along the two long sides and one short side. For the remaining side, hem the edges if they're unfinished. Next, grab some string and sew a short piece to each corner along the edge — this will help keep your duvet insert in place. Finally, just flip it right side out. You can add buttons and button holes, velcro, or a zipper to complete the cover at the open side and keep it closed while in use.
A duvet cover is essentially a large pillowcase, so if you're confident enough to make that, you can easily complete this project, too. The cost of this DIY is just whatever you spend on fabric (if you don't use sheets you already own) and your preferred fastener. Much cheaper than purchasing new, and a lot more beneficial for your mental health, too (via American Family Insurance).