5 Simple Tips For Using Magnetic Paint Primer Like A Pro
There are a plethora of videos and blogs online talking about magnetic paint. There are those who talk about its downsides, while others can't be happier with their results. While there's no denying that magnetic paint does work, there are tips and tricks that need to be utilized to ensure its usefulness makes the work worth it. This is not a DIY project that should be tackled without doing proper research first — skipping or ignoring these tips could result in magnetic failure.
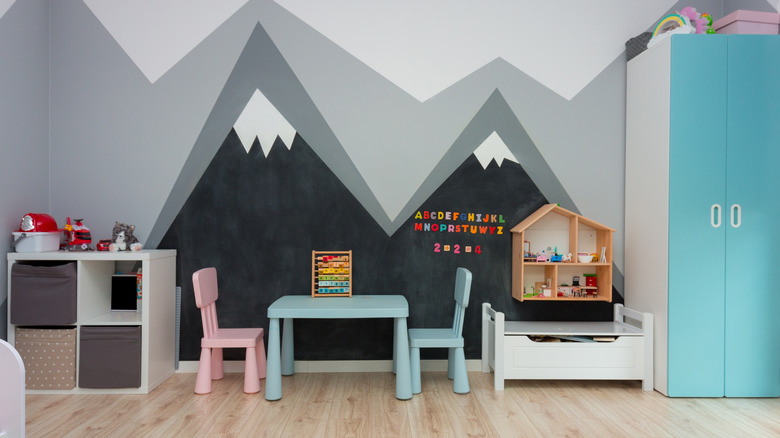
Using magnetic primer in combination with chalkboard paint creates a wall that you can draw on and stick items to, explains Smarter Surfaces, and is a great idea for kids' bedrooms. A YouTube video by SuperHolly shows her printing magnetic photos and using the wall to show off her favorite family pictures. You can do the same and there are a variety of magnetic products available on Shutterfly. Now that your creative brain is rolling, here are the tips you need to ensure you properly apply magnetic paint so you and your family can enjoy its novelty.
Choose your tools wisely
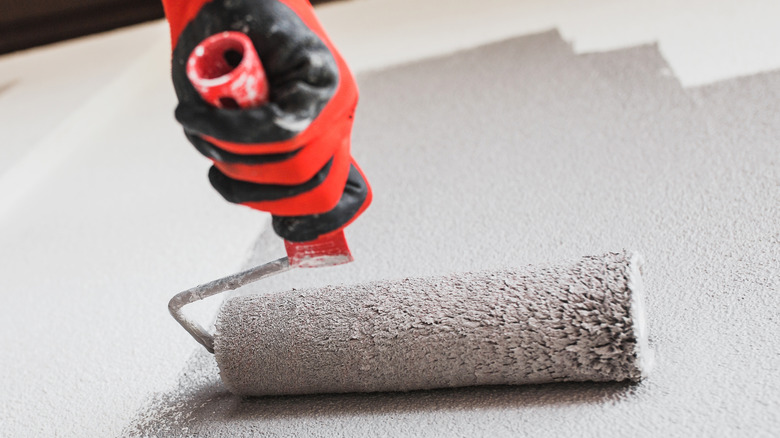
There is more than one magnetic paint product on the market, but numerous reviews and tutorials, such as Smarter Surfaces, suggest using Super Magnetic Paint to ensure the best results. Other brands have yet to prove to be as strong. Additionally, you'll want to use a brush and rollers that you don't mind throwing away once you're finished with this project. The paint is hard to clean off, and you'll likely never get all of it out.
This project is an exciting one, so you'll want to be sure that you have the right kind of magnet so you can test it out as soon as it's ready. While you can try any magnet you have within your home, Smarter Surfaces recommends that you use neodymium magnets. Regular refrigerator magnets are often not strong enough and will fall off the wall or be unable to hold anything up. You can also see in SuperHolly's video that the weaker magnets didn't work, but the smaller and more concentrated magnets did.
Prepare the area first
Just like with any other project, taking the time to prepare the area and set up your tools will make the project go much smoother than if you wing it. First, measure out the space you want to use to magnet paint on (via Smarter Surfaces). For example, if there is a spot in the kitchen where you'd like to put up grocery lists, or you'd like to make space for the kids to get creative. Either way, plan out where and how big the area will be.
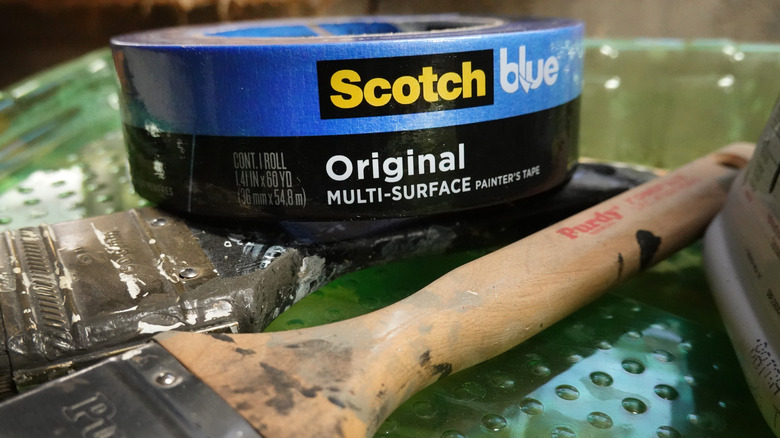
Once you've chosen the area and you've measured it out, Magically Magnetic says to use masking tape, or painter's tape, to mark it off. This will give you clean lines and peace of mind as you paint. The paint is much thicker than regular paint, making it difficult to freehand straight lines. You might be surprised how much your arm shakes after an hour of painting!
Mix the paint thoroughly
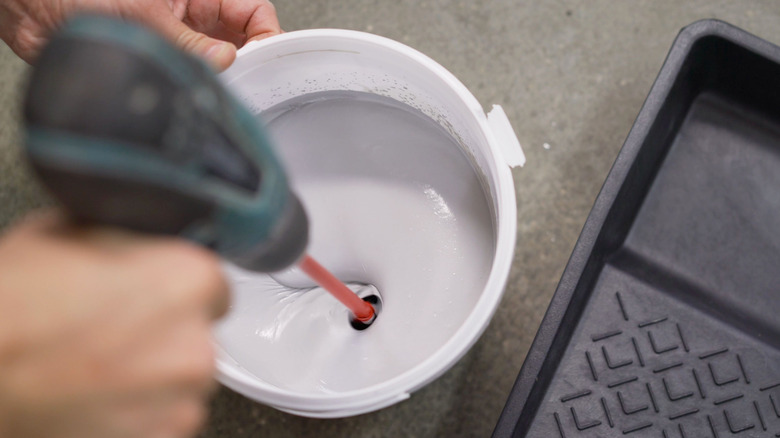
Magnetic paint works because it has tiny particles of iron mixed into it. Other than that, it's just like standard paint. The magnets are then attracted to the iron particles and stick to them. According to K&J Magnetic Inc, it's because of these microscopic iron pieces in the paint that it's imperative to mix the paint thoroughly before you begin. If you don't, you risk the iron not being evenly distributed, resulting in an uneven application. With more iron in some areas than others, you'll have spots on the wall where magnets won't stick, and it will be very frustrating to figure that out.
According to Today's Homeowner, you can use a regular paint mixing stick to manually mix the paint until it's combined, or you can use a paint mixing bit on a power drill. The power drill makes this task fast and easy — just be sure not to mix it too quickly and add bubbles to the paint.
Apply more than one layer
You won't want to do all this work to then have a weak magnetic wall. To ensure that you achieve the strongest magnetic pull possible, applying more than one layer of magnetic paint to the area is important. K&J Magnetic Inc did a thorough experiment where they tested how many layers were best. When they used three coats of paint, the paint would hold .25 pounds. However, when they applied six coats of paint, it more than doubled to .52 pounds. Smarter Surfaces also says six coats of paint works well, but they state four coats will work great too.
Of course, adding this many layers of paint means you'll need more paint, which will increase the cost depending on the size of the space you're painting, but the research shows that it's necessary. This is especially true if you plan to paint over the magnetic paint with a different color. While this won't make the magnetic features disappear, it will weaken them, so it's best to start with the strongest magnetic pull possible.
Avoid textures
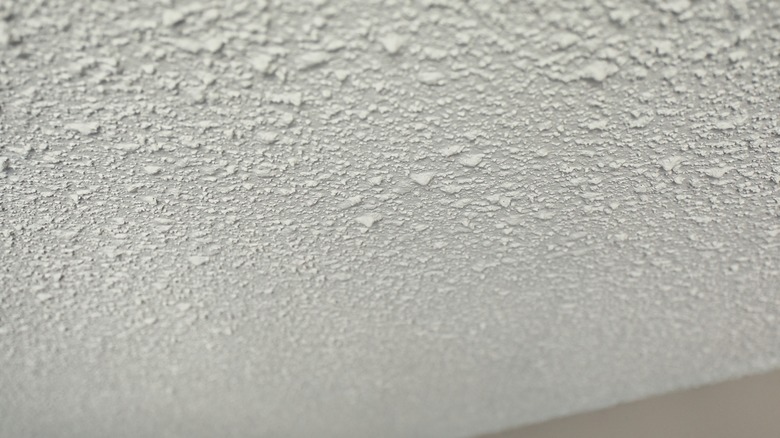
The magnetic paint's success is tied to a magnet's ability to stick to the iron particles within the paint. If a surface is smooth and flat, the magnet can reach more iron and, therefore, will have a stronger hold on the wall. However, if the wall is textured, the magnet will not have as sturdy of a hold. Because of this, it's essential to use this paint on walls with less texture, states Magically Magnetic.
Additionally, when applying the magnetic paint, avoid getting any drips or runs within the layers. These will create bumps within the wall and weaken the connection between the magnets and the iron, just like with textured walls. When painting multiple layers onto a wall, it can be tempting to apply thicker layers of paint to avoid having to apply more. Unfortunately, applying thick layers risks runs and drips more than even thin layers, says Marks Painting. Allowing for drying times between coats will also help ensure a smooth and functional surface.