Refurbishing Your Wooden Furniture? Here's What You Will Need
Homeowners collect a wide variety of furniture pieces throughout their time in any place they call home. A typical household might include several tables, chairs, vanity storage facilities, and many other modern or antique wooden pieces. As time wears on, wooden furniture begins to show signs of its age, and refurbishment techniques become a necessary part of good care and maintenance.
Amish Outlet Store suggests that DIY refurbishment is a fairly straightforward process and breaks down the task into roughly two parts: cleaning and stripping away old material or finishes and applying new finishing products. The tools and mindset you'll need to complete these types of projects are often simple, but they demand precision and patience. A diligent eye for detail is essential as you work through the cleaning and culling process. Similarly, when repainting, staining, or installing new hardware, detail-oriented processes will help you select the perfect combination of color, sheen, and aesthetic to bring life and vibrancy back into the furniture item that you and your family rely on at home.
With this in mind, getting started on furniture refurbishment is easy and can be lots of fun, too!
Sanding equipment
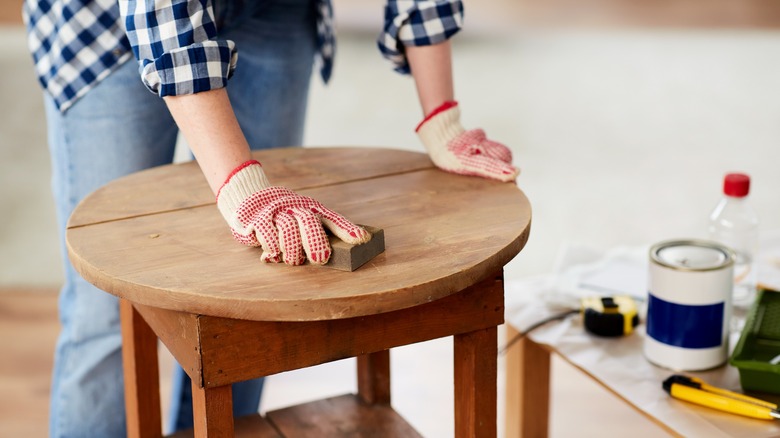
The first step in any refurbishment project involves culling old material that has outlived its usefulness. On wooden furniture, this is found in the form of paint or varnish. On a well-maintained end table or cabinet, you'll simply need to sand off the existing surface material to get down to the base of your unit. Stripping away old finishing products is not very difficult, but it is an essential step in returning the wooden piece to a new level of glory and utility (via Rocky River Woodworks). Over time, paint and varnish will chip and dull. Fading, breakages, and other issues that plague older furnishings take away from the visual appeal of the unit and can even make a table or chair less useful if the problem has become exceedingly severe.
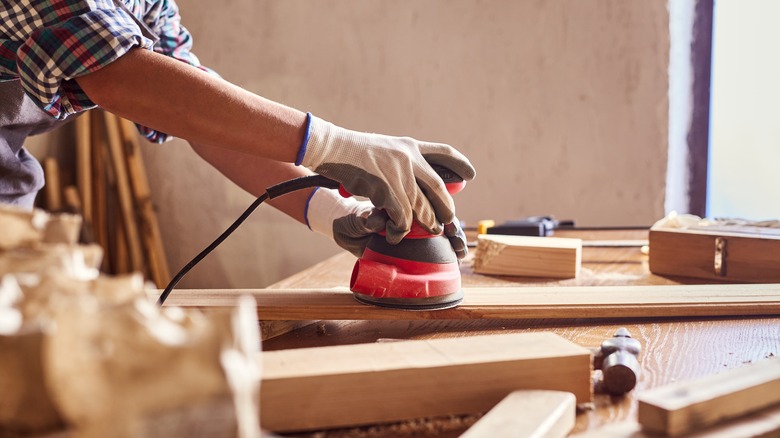
Sending is the easiest way to remove old material from a wooden surface, but it's important to understand how it is done successfully before you can begin any refurbishment project. Grainger reports that any homeowner engaging in sanding a wooden item will want to start with a coarse grit sandpaper and work their way through multiple passes to a much finer grit. Coarse sandpaper strips away large segments of the finishing product and will do much of the work for you. But once your paint or varnish has been removed, you'll need to work down to a finer grit to effectively polish the item, smoothing out any rough patches and preparing it for a new finish.
Scraping tools and filler products
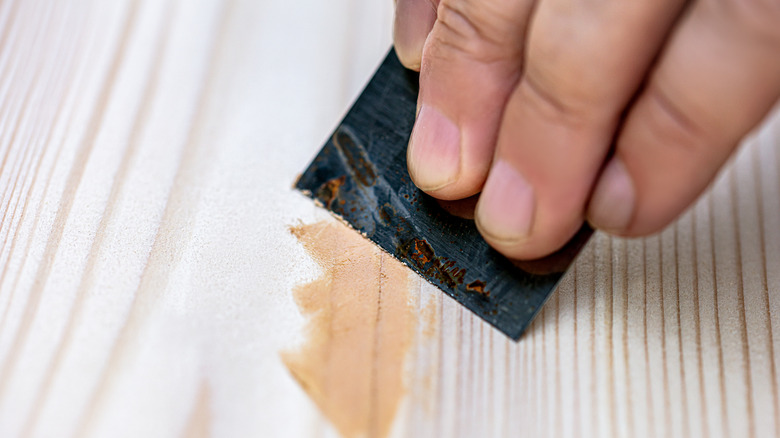
Besides sandpaper, it's important to source some scraping tools that you can use to dig under particularly tricky segments of outer coating without damaging the wood. You can find scraping tools in various layouts and design options, but the type you employ will be based on your preference and needs as it relates to the particular piece of furniture you're working on.
For example, some homeowners may opt to use a small pen knife for precise scraping around rounded edges or corners, while others prefer the flat and sharp (but noncutting) push edge of a putty knife. A putty knife is important to keep on hand when working on furniture refurbishments, whether you use it as your primary scraping tool or not. Hyde Tools notes a few different kinds of putty knives and scrapers, so you may consider incorporating a few in your toolbox.
Wooden furniture pieces often pick up dings and dents along the way as items are placed down on them, children bump into them, and routine life adds battle scars to their exterior surfaces. Using a putty knife to fix chips and dents in these surfaces is a simple process but one that can make all the difference between a high-quality refurbishment and one that needs more completeness. Moreover, wood filler and putty products will elevate the final outcome of your refurbishment project and set your pieces apart from the pack by eliminating the telltale signs of wear and tear.
Appropriate fastening and cutting tools
Homeowners who engage in DIY projects often maintain an ever-growing toolbox of power and hand tools. From an electric sander that will speed up your paint or varnish stripping process to a putty knife that will help you repair any chips or damage to the item, you can use many different tools in your efforts. Fastening and cutting tools are two categories that aren't involved in any particular refurbishment but play a critical role in general maintenance and DIY efforts.
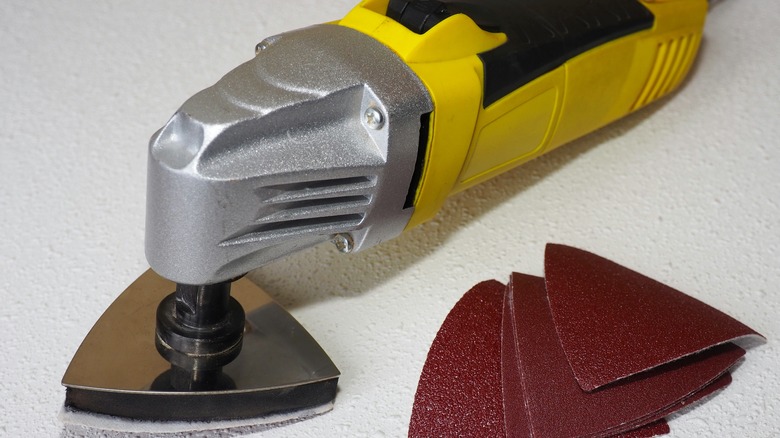
A multi-tool provides a unique cutting blade that won't require drop cutting or bizarre contortions and hand angles that make your work far more difficult when trying to separate material (via The Honest Carpenter). You may not require a cutting tool for every refurbishment project, but having one on hand can save you in a pinch. For instance, if you are positioning a bookshelf in a new part of the home, you may need to cut away a part of the baseboard that runs along your wall or notch out part of the shelf itself to sit flush against this part of the home.
Similarly, fastening tools allow you to take apart sections of your furniture easily. This may be essential to gain access to certain corners of a table or bed frame when stripping away old coatings and repainting the unit. These additions will round out your toolbox and give you confidence during furniture refurbishment.
Primer and paint
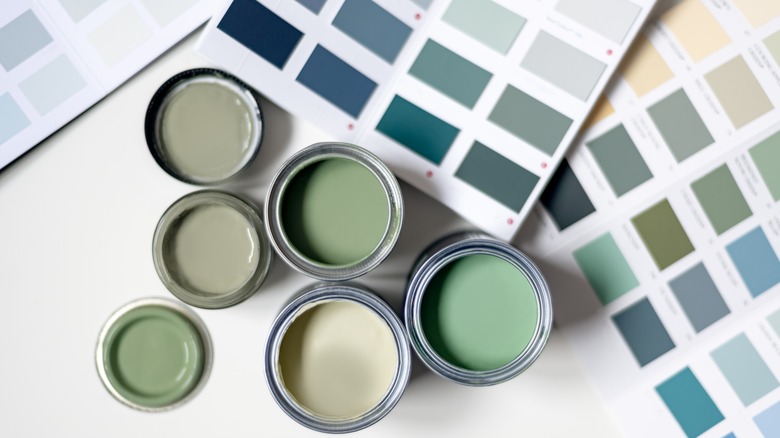
After completing the stripping process, you'll need to think about how you will put the furniture back together. A homeowner who engages in furniture refurbishment is likely one that has experience in this realm or intends to continue working on the routine maintenance of their home's furnishings. As such, it's often a good idea to have various paint options and primers to go with them.
Even if you choose to varnish your furniture this time, that won't preclude your future use of stylish paint during the next change of scenery. One fantastic upshot with the furniture refurbishment process is that you can scrape away an existing layer of outer finishing at any time you want to change the aesthetic of your home interior to match a new color scheme, stylistic direction, or simple whims. Paint plays a critical role in this capacity for transformation.
For one thing, a variety of paint options will unlock the potential for you to use the color wheel in your decorative processes. The color wheel allows you to select complementary color choices for furniture, rugs, wall paint, and much more (via Dulux). Building a complex and vibrant color scheme in any room of your home is a great way to amplify the environment and create a happy and productive space for you and your loved ones. Situating furniture refurbishment projects squarely within your wheelhouse allow you to magnify your color-coordinating potential in any part of the home.
Stain and varnish
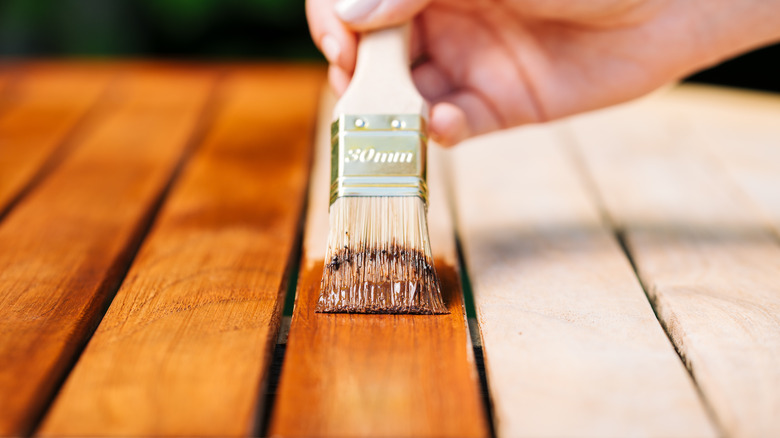
In addition to paint and primer, it's a good idea to bring in a variety of varnish and stain options to your arsenal of finishing products. You can use varnish and stain to great effect across various wooden furniture pieces. These finishing layers bring out the wood grade and enhance the feeling of luxury in your home.
Many homeowners prefer the look of natural wood pieces on their property rather than the use of paint on top of a wooden surface. To be sure, a painted wooden table or chair can also provide an immense sense of beauty and luxury in your home. However, everyone's preferences will be unique. For some, using stains or varnishes is the only choice when it comes to finishing a furniture refurbishment project and breathing new life into a coffee table, bed frame, or bookcase.
Using varnishes and stains to complete your project is fairly simple as well. Woodworking Clarity reports that the proper way to stain or varnish a wooden surface begins with the removal process. Then, it's just a matter of applying one or two coats to the furniture item with the appropriate drying period between each application. Woodworking Clarity notes that varnish is essentially a colorless paint that creates a hardened topcoat, while stain penetrates the wood and draws out the grain while altering the color. Knowing the difference can help you choose the right product for the job every time.