How To Easily Clean Wallpaper
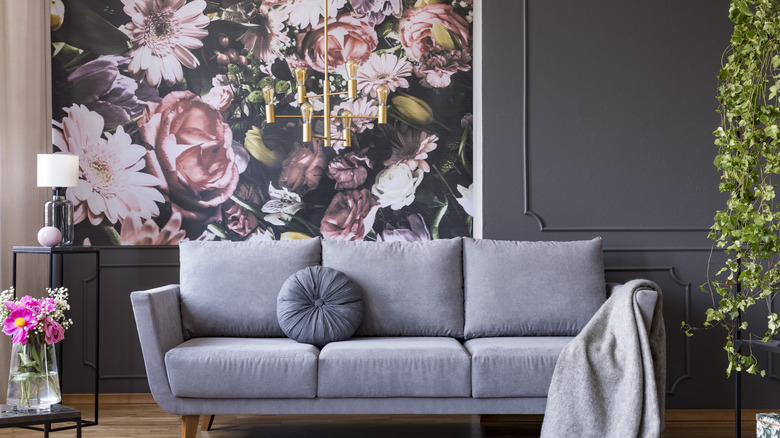
Hanging wallpaper is a time-consuming, labor-intensive job, and no one wants to see their hard work blighted by dirt and stains. Even if you did not handle the installation, marks on wallpaper take away from its appearance. Like other imperfections, the eye is naturally drawn to them. Putting a piece of furniture or a plant in front of the dirty spots can work in a pinch, but you don't have to take this shortcut, since cleaning wallpaper isn't all that difficult. Wallpaper Boulevard posts that properly installed wallpaper can last 15 years or more if you remember to maintain and clean it now and then.
House Cleaning Central explains that wallpaper is made from vinyl or fabrics bonded onto paper. The most common wallpaper materials are vinyl, paper/cellulose, and fabric. And since the majority used today are coated with vinyl, they are washable and easier to clean. The vinyl coatings are either acrylic or polyvinyl chloride, which makes the wallpaper resistant to moisture and grease. These washable wallpapers hold up better to splashes and stains that splatter in kitchens and bathrooms.
The Wallcoverings Association explains that many kinds of wallpaper are coated with vinyl, which makes them resistant to moisture. Non-washable wallpapers can be damaged if the wrong cleaning methods are used. For this reason, it's important to know what kind you have before cleaning. If you aren't sure what is up on your walls, find a hidden area, dampen a sponge, and add a drop of dishwashing liquid. Rub gently, and if the area shows any damage, it is not washable.
Speaking of damage, check for this first
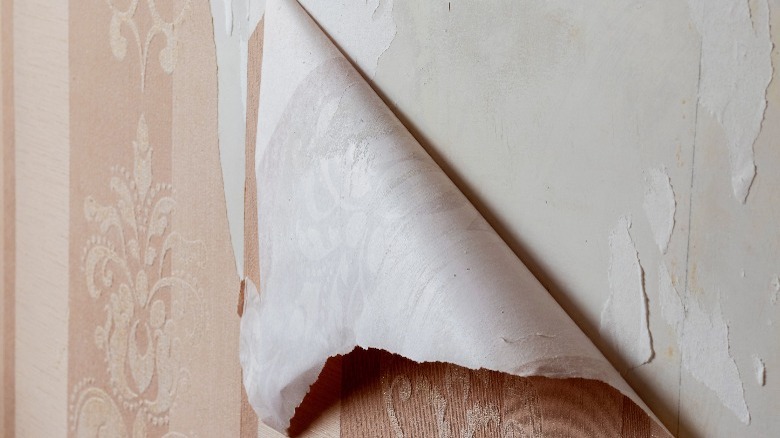
It doesn't make sense to clean damaged wallpaper since your efforts could end up making it worse. Check for loose seams, curling edges, and tears, and make any needed repairs. These will be easier fixes when they are attended to sooner, so if you see any, do not ignore them for too long. Natural Handyman recommends using a wallpaper seam sealer adhesive for repairs, but with a light hand. Using too much can lead to drips or shiny areas. Just use enough to make the wallpaper adhere back to the wall.
To repair a seam, Apex Wallpaper & Painting first removes dirt and dust from the area and then takes a damp sponge to remove any traces of the old adhesive. Use a razor blade or utility knife to gently lift the seam, and carefully peel it to the spot where it connects with the wall. You may have to clean off more dust on the exposed wall. Apply the adhesive as directed on the package and reposition the wallpaper in place. Then, smooth it down with a clean, damp sponge and flatten it with a wallpaper seam roller.
Torn wallpaper is harder to repair, but it can be done if you have leftover pieces to patch with. Rosie on the House advises cutting out an area around the damage with a razor-blade knife, wetting it with a damp sponge, and lifting it off. Cut out a patch from the extra wallpaper to fit this slightly larger hole, lining up the pattern. Use the adhesive in the same way as for repairing loose seams.
What, there's mold behind your wallpaper?
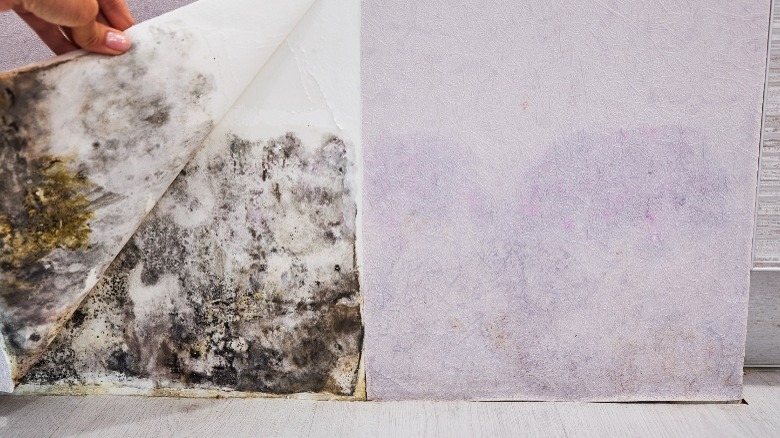
According to The Mold Hound, mold is more commonly found behind bathroom wallpaper because of the dampness, but it can appear in other rooms. Finding it can be discouraging, but it can be fixed and patched with extra pieces. And even if you don't see the mold, that strong, unmistakable smell is cause for further investigation. Other telltale signs are slimy-looking patches and wallpaper discoloration. This problem should be addressed as soon as possible — don't clean the wallpaper before the removal, as mold thrives on moisture and organic matter.
Exposure to mold presents health risks, so it must be immediately removed. You will want to wear protective gear if you plan to remove it yourself. CDC guidelines show that an N-95 respirator, protective gloves, goggles, long-sleeved shirts, and long pants should be worn. It's also a good idea to open windows and turn fans on. Use a utility knife or razor to cut off the wallpaper covering the mold — you might need to remove entire sheets if the mold growth is extensive. This can be done in small sections using a wallpaper-stripping solution.
Postcards from the Ridge shares directions for cleaning mold on walls and wallpaper. Mix up bleach and water, and use a cleaning brush or roller to scrub away the mold. Once it is gone, dry the walls with old, clean towels. You can apply a wallpaper primer to the wall according to the manufacturer's label instructions. As that dries, cut out a piece of wallpaper to fit and add adhesive to the wall. The new piece can slightly overlap existing seams, and you can remove the excess for smoother edges.
Eliminate stains with a Magic Eraser

Just like pretreating clothes stains before laundering, you'll want to attack any noticeable spots on your wallpaper instead of just using soap and water. A Magic Eraser is a good option for washable wallpaper because it has a gentle abrasive. Maid Sailors uses these for all kinds of cleaning chores, writing that the little sponges remove dirt, grime, and stains from different surfaces. They're made from melamine foam, an abrasive material that can be compared to extremely fine sandpaper. Not only does the foam remove stains, but it also absorbs them — that's why they get discolored when used. You needn't spend more on the Magic Eraser brand name, either — CNET claims that the generic ones are just as effective.
To remove a washable wallpaper stain, dampen the Magic Eraser but don't get it soaking wet. Then, gently scrub away in small, circular motions. You can rinse it out, squeeze out the moisture, and keep using it. Rinse it when finished, and let it air dry. Once the sponge starts to get crumbly and/or break apart, toss it.
Magic Erasers are not the same thing as other kinds of sponges, according to Maid Sailors. They add that it is best to use these cleaning tools on inconspicuous areas first to avoid damage. Never use them on wood, as 21Oak points out that magic erasers can strip the finish or make scratches. Also, keep them away from your car's exterior, non-stick pots and pans, shiny painted and varnished surfaces, stainless steel, and natural stone surfaces.
Vacuum or dust the surfaces
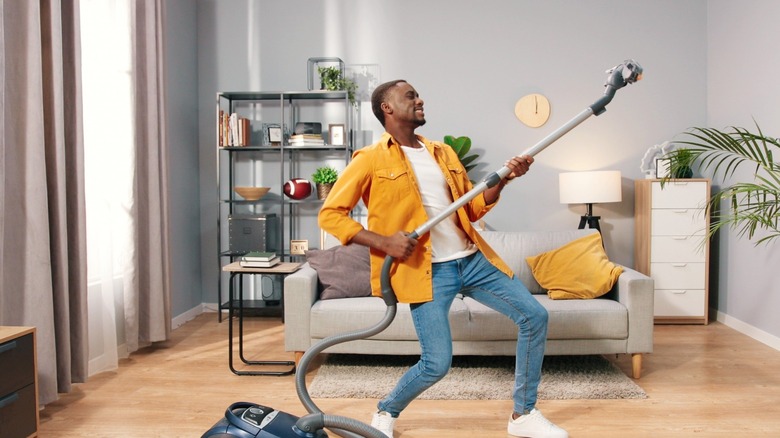
While most people think about dusting furniture and floors, doing the same for wallpaper might not be on most cleaning chore lists. This important step should be completed before washing the walls and can also be done in between cleanings to cut down on the amount of dust in your home. Embassy Cleaners uses a vacuum to dust wallpaper, adding that the method works well on fabric surfaces. Attach a wall brush to a vacuum cleaner hose attachment and start at the top of the wall (you may need to use a ladder). Another option is to attach a microfiber cloth onto the end of a broom or over the end of the brush.
If you prefer not to use the vacuum attachment, a microfiber or cotton cloth can be used to wipe the walls by hand. Pro Housekeepers opts for a feather duster for this task but either way, cover up any nearby furniture before starting and sweep or vacuum the floors after you finish dusting.
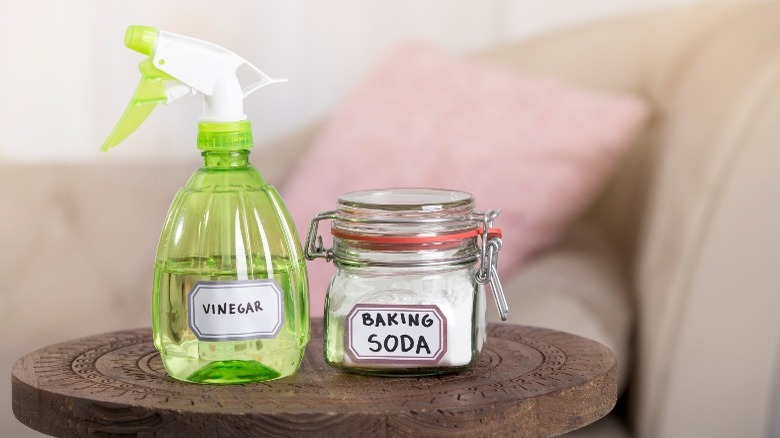
Cleaning wallpaper with soap, water, and vinegar
Once the repairs have been made and the dust removed, you can gather your wallpaper washing supplies. Avoid using harsh chemicals that can damage the surfaces, and protect the floor or carpeting by covering it up with a tarp or old towels and blankets. Be sure to cover up your floor to protect it from drips. If you don't, clean that afterward with a mop.
There's no need to use store-bought cleaners to clean wallpaper since good old household soap, water, and vinegar does the job beautifully. Slay at Home Mother's recipe for a homemade wall cleaner combines 4 cups of hot water, a few squirts of dishwashing liquid, and 2 tablespoons of white distilled vinegar into a bucket. She then washes the walls with a squeegee microfiber mop, wringing it out as she works. Bane-Clene likes starting from the bottom when cleaning walls — it claims it prevents streaking. And to get into tight spots, just unscrew the mop handle and use the bottom part. Dry the wall with clean, soft towels when finished.
Vinegar can be used to clean and sanitize many other things in your home besides walls, as explained by Farmers' Almanac. Mixed with baking soda, it will wash and shine stovetops and the insides of ovens. Vinegar can also be used to clean out microwaves, tubs, showers, and tile grout, and can remove refrigerator odors. Dish soap is also a cleaning workhorse – Clean My Space likes it for cleaning granite, marble, kitchen cabinets, floors, and inside blenders. You can also combine these miracle cleaners for windows and for killing weeds.
What about those greasy spots?
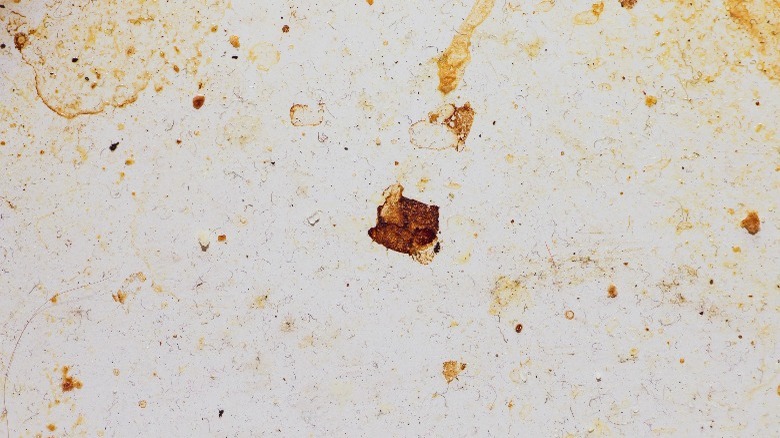
Removing grease spots from wallpaper can be tricky. For washable wallpaper, ThriftyFun first holds up white paper towels over the greasy spot. Next, it recommends running a lukewarm iron on top, gently pressing down. The paper towels should absorb the grease, so keep checking and repeating until the stain is gone. Then you can use homemade vinegar and dish soap cleaner to finish the wall. Do not use this trick on non-washable wallpaper, though. Instead, use a paste spot remover and brush it off gently once it has dried into a powder.
Another way to remove grease spots from wallpaper is to add ¼ teaspoon of gentle dish soap to 1 cup of warm water. HouseLogic tries this cleaner first and then rinses the area with clean water. Should this not prove successful, take it to the next level with a stronger vinegar-cleaning solution. Combine 1/3 cup of white vinegar and 2/3 cup of water, shake well, and apply it to the grease stain with a sponge. Rinse and blot dry — the stain should be gone.
Waxy, greasy crayon stains can be treated differently since dish soap might not remove them. A Magic Eraser might work, or you can try putting a bit of baking soda onto a damp sponge and scrubbing gently with that. Other options for removing stubborn crayon marks include non-gel toothpaste and baby wipes. Work slowly and carefully — a little patience can go a long way when removing grease and crayon marks from wallpaper.
Sugar soap cleans walls and wallpaper
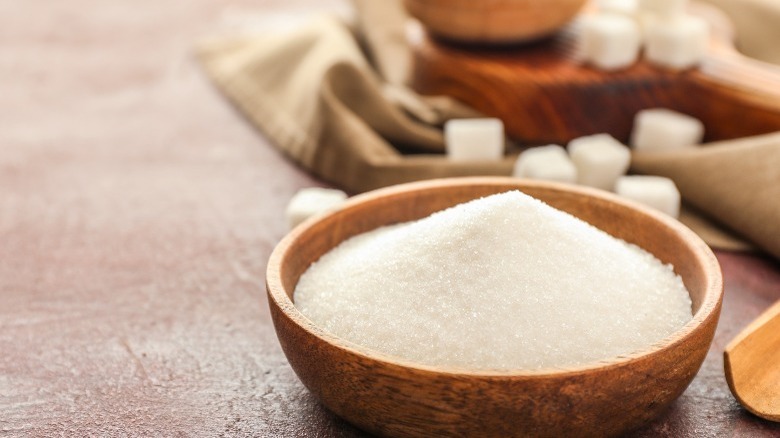
Powdered and liquid sugar soap might look edible, but you wouldn't want to bake with it or add it to your tea or coffee. It is a popular and strong cleaner from the U.K. but can be found on Amazon and other retailers. You might also be able to find it in wipes and bar form.
Sugar soap is an inexpensive and effective way to prep woodwork and walls for painting, so you can understand why it made the leap over to wallpaper cleaning. Homebuilding & Renovating posts that sugar soap is nothing more than a mild detergent made from water-soluble sodium hydroxide or sodium carbonate. Its powdered form sure does look like sugar, and you can also buy it in a concentrated liquid form. Both can be better for larger areas, as you only need to add a bit into a container of water. The wipes and bars can be convenient for smaller areas.
To clean with sugar soap, follow the package directions for the mixing ratio and add water as directed. Use a kitchen sponge or a sponge mop to clean the wallpaper, and wipe down the surfaces with clean water. When finished, dry the wallpaper with a clean, soft cloth. Sugar soap is best for general wallpaper cleaning, so you might need to use a stain-removal method for any unsightly marks.
Be careful when cleaning textured wallpaper
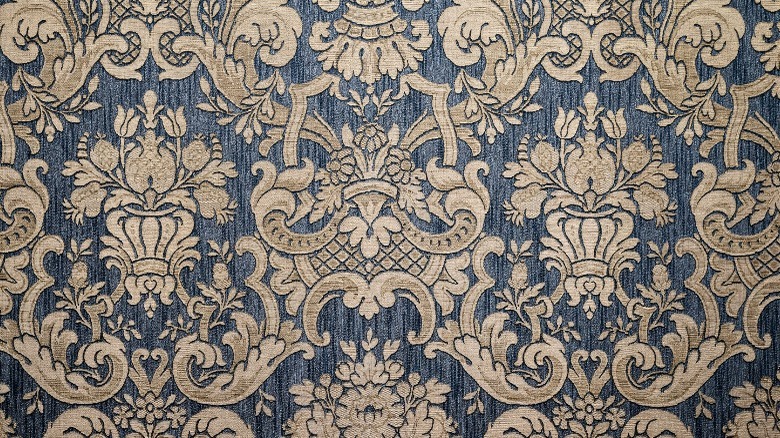
Textured wallpaper adds dimension and can be made from vinyl or other materials. Before cleaning it, you'll need to know what yours is made from since moisture will damage wallpaper made from natural fibers. Prime Walls lists different kinds of textured wall coverings, starting with visual textured wallpaper. These are smooth wallpapers with faux 3D effects that resemble concrete, wood, or brick. If they are made from vinyl, you can use washable wallpaper cleaning methods to spruce them up.
Lightly textured wallpapers have raised surfaces that you can feel. These generally incorporate natural materials, like cork, grasscloth, or other textiles. Thicker textures have even more raised surfaces and can include other materials. Flocked wallpaper is one example, and Silk Interiors Wallpaper explains that these have velvet-like appearances.
It is best to read the manufacturer's instructions before cleaning textured wallpaper, as it may or may not be washable. If this information is unavailable, it might be best to stick with the dry cleaning methods described below.
Cleaning non-washable wallpaper with a dry cleaning sponge
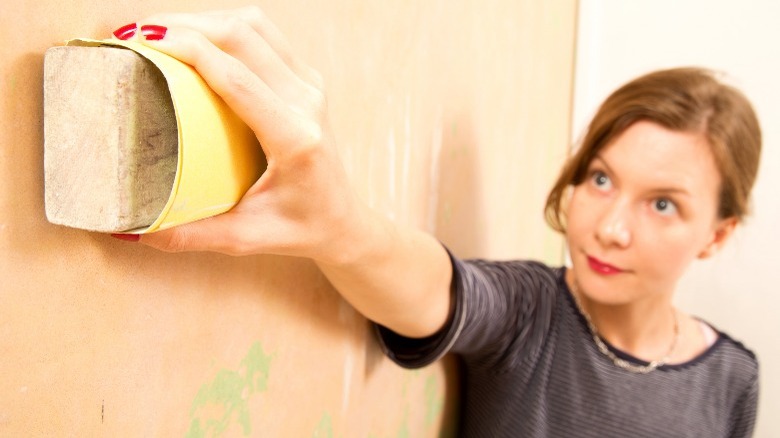
Arch20 explains that vinyl wallpaper is popular since it is durable and can be washed, but many people have non-washable versions. Natural wall coverings must be handled with care, so avoid using water, liquid cleaning products, and abrasive tools. Never use Magic Erasers either — as mentioned earlier, they are abrasive. A dry cleaning sponge (also called a soot sponge) designed for fire restoration cleaning is effective on soot, but Mammoth Restoration claims that it is a good all-around tool to have, especially for flat, porous surfaces.
Natural Pigments posts that dry cleaning sponges will clean surfaces but are not designed to be used with water. They are made from vulcanized natural rubber, so they are flexible and will not damage delicate surfaces. You can use one to remove stubborn dirt, dust, pet hair, and even mold from wallpaper without leaving scratches or damaging the material. And besides wallpaper, soot sponges clean painted surfaces, drywall, and unfinished wood.
After vacuuming or dusting the wall, you can use the sponge. Bane-Clene points out that the dry cleaning sponges must remain dry, so don't get them wet. Start at the top of the wall and work your way down with straight, parallel strokes. Do not scrub, as that could damage the wallpaper. When the outside of the sponge gets dirty, slice off that layer with a razor blade to expose the clean surface beneath. You can also clean your soot sponge with a neutral pH detergent when finished. Rinse well, air dry, and save it for next time.
Clean with it, don't eat it: wallpaper dough

Believe it or not, Play-Doh was initially designed to be a wallpaper cleaner that could clean up sooty walls in homes heated by coal. Smithsonian Magazine writes that the original name was Kutol, and it was made from flour, salt, and water. Modern versions of wallpaper dough and putty are sold in home improvement stores and online, and can also be used to remove soot and clean painted surfaces, paintings, ceiling tiles, and blinds.
Reader's Digest explains how to clean delicate surfaces like non-washable wallpaper with these dough and putty products. Just open up the container, grab a handful, and then roll it into a ball. This gets rolled over the wallpaper and picks up dirt and dust along the way. It will get dirty, and when that happens, open up the container again. Knead the used dough ball down into the jar, and a fresh surface will be exposed for you to make another ball to use.
Last resort: Hang new wallpaper
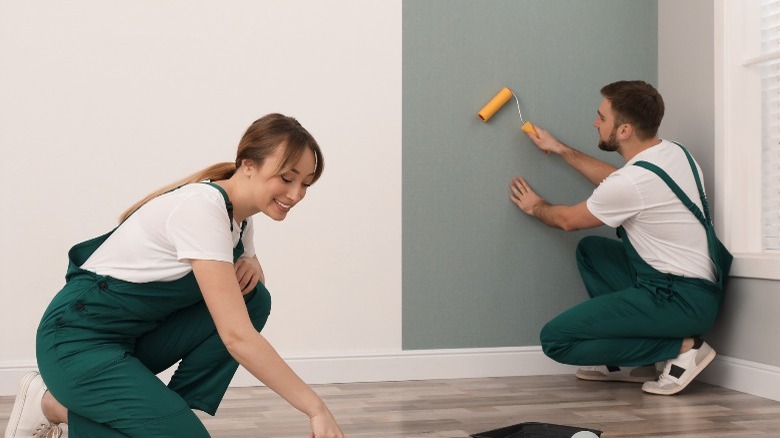
While many wallpaper stains can be easily removed, the marks might be too old, too deep, or simply too stubborn for effective removal. When that happens, you might want to hang up new wallpaper over what is already there — it does not have to be removed in many cases. If the damage is only on one wall, you can even choose a different wallpaper and make it an accent wall.
Hanging new on top of old is not an option in some cases, though. Get Home Savvy discourages it if the wallpaper has borders, rips, or is textured. It is also not recommended for uneven walls or when the wall has several layers on there already. Only do it when the old wallpaper is nice and smooth and in decent enough shape. Indoor Wallpaper adds that it is also important for the existing wallpaper to be securely installed and never to align old seams with new ones to avoid noticeable ridges. For the best results, test-hang a strip and let it sit overnight. See how it looks the next day and if all is well, complete the job.