The Easiest Way To Replace A Light Fixture
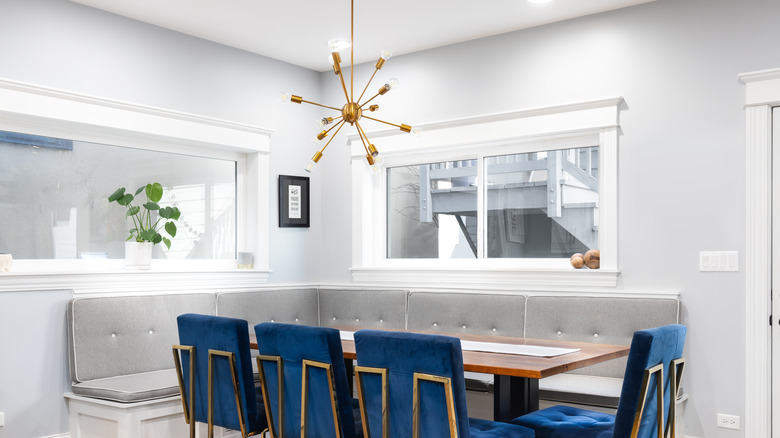
Lighting is a crucial design element in any room, whether you accomplish it by using a series of carefully placed ambient lamps or a stunning fixture in the center of the room. It's also a practical need, with the Canadian Center for Occupational Health and Safety noting that proper lighting can prevent headaches and eye fatigue.
Even if your home has plenty of light fixtures, be they wall sconces, ceiling lights, or something else, they may not be the most effective option for your space. According to A Beautiful Mess, some common reasons you should swap out fixtures include aesthetically driven reasons, such as making a space seem more cohesive or distinguishing areas in an open-concept floor plan. While switching out an old light fixture for a new one may seem like a daunting task, you can easily do it on your own as long as you're aware of the necessary steps and safety precautions.
Choosing the right fixture
Before installing a new light fixture, you must ensure you're getting the right one for your home. This is important both in terms of the size of your pre-existing fixture — don't get one larger than you can install — and in terms of aesthetically fitting into the room.
According to Lumens, an excellent way to figure out how wide of a fixture to get is by first measuring the size of the room. Add the length and width of the room together and translate that from feet into inches — that's the ideal diameter of your new light fixture.
The same can be said for the height of your new lighting installation. Instead of measuring the room's perimeter, you will measure its height. Then, multiply that height by 2.5 and 3 before swapping out the resulting calculations from feet to inches. This will give you a range of suitable heights. Above all, make sure the new light fixture will allow at least 7 feet of clearance underneath it.
Replacing the light fixture
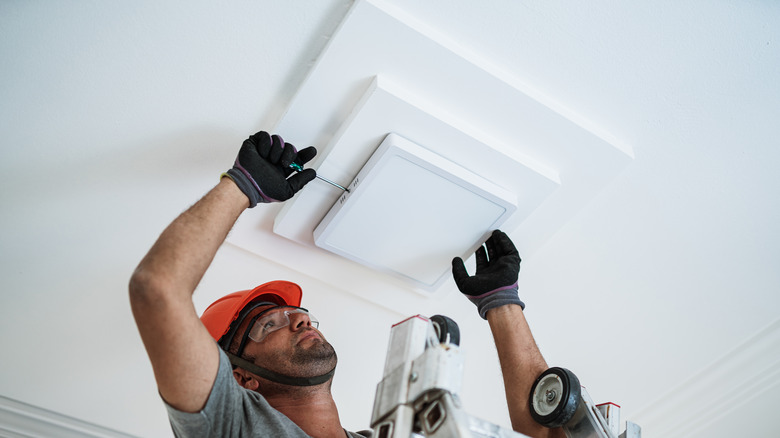
Now that you have the right fixture, it's time to get it installed. Before beginning, be aware that you're working with electrical wiring and exercise lots of caution. Lowe's says to start by turning off all power to the light in question, including both the switch and the circuit on your breaker box. Once you're positive there's no power running to the light, you may remove the old fixture.
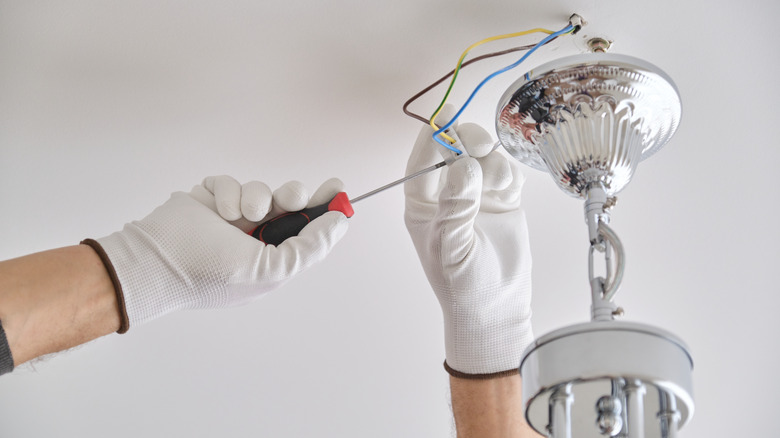
Removing the cover should be as simple as unscrewing it. However, you'll likely be climbing up a ladder to access it, so be careful not to fall or drop anything. Then, remove the wire connectors, which will be brightly colored, thimble-shaped pieces of plastic. Make sure the electrical box is securely screwed in, and then move on to installing the new fixture.
The fixture should come with instructions for connecting the wiring, letting you know which one connects to which. In a pinch, though, a good rule of thumb is that you should match corresponding colors — white to white, black to black, etc. Next, you'll need to strip the new wire's protective coating to expose the wire underneath, then twist the matching old and new wires together. Replace the connectors and resecure the grounding wire. Finally, install the lightbulbs and cover.