The Best Way To Clean Your Gas Stovetop
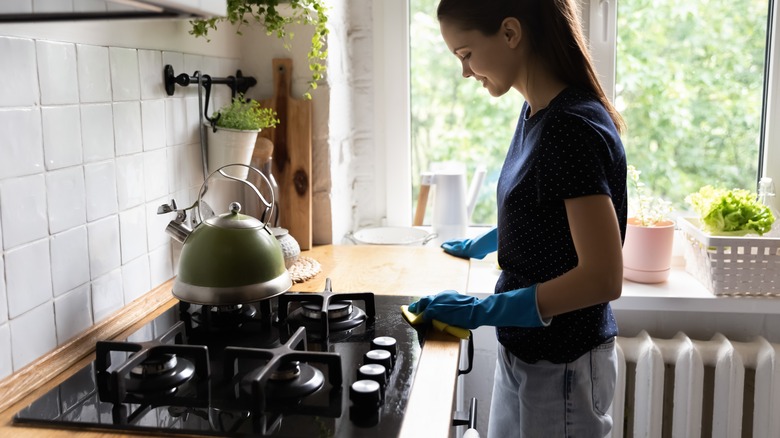
Did you know stove grates come in contact with the bottom of your pots quite frequently? In fact, they are some of the greasiest parts of a gas stove and require a bit of time to clean. However, before getting started, soak your sponge with warm soapy water and squeeze it over your stovetop. The aim is to allow the warm water to drain onto the stove and give you a head start on breaking down stuck food particles.
After this is completed, you can proceed to the grates. Oh So Spotless suggests placing them in the sink and pouring hot water over them to help loosen up any dirt and grease. Let them sit for a moment until they're no longer hot to touch and then apply your non-abrasive sponge and degreaser. At this point, you'll need to figure out the balance between scrubbing effectively and gently. Be sure to clean the grate's corners and edges, taking time on any spots that seem discolored. Now, you're ready to rinse under warm water until they are clean to sight and touch.
We know your grates look lovely now, but don't set them aside just yet. Instead, wipe them dry with a microfiber towel. This is imperative because they are usually made of cast iron, which can easily rust if left in moisture (per The Grilling Dad).
Get rid of all the stuck-on food
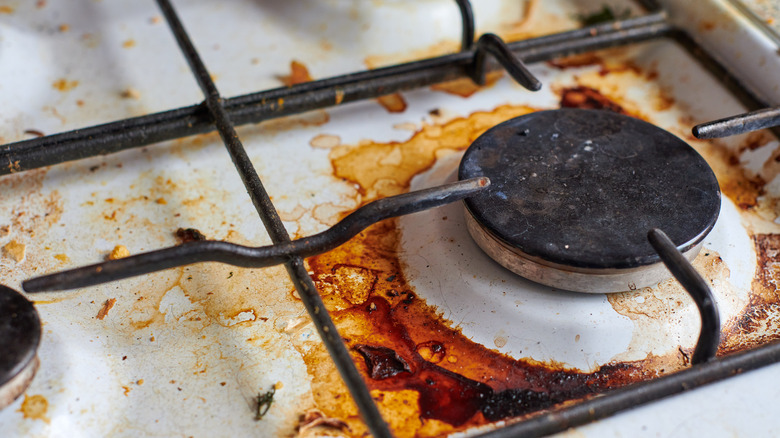
If you took our handy tip and got a head start on breaking down your stovetop's grease, this stage will be a breeze. Stuck-on food, which is the result of dried spills, is one of the toughest aspects of cleaning gas stovetops. These spills become difficult to clean because the heat continues to cook them until they turn black and harden, causing them to attach to the stove's surface. What's more? Apart from how unappealing black stains look on a stovetop, the dirt can actually cause your pots to blacken when you cook, according to Every Appliance Part. If your stovetop has any spills baked on, you'll need to dislodge each of them individually and carefully, which should be easy — thanks to our suggestion.
The next step is to scrub any stuck-on grease that the pre-soak didn't take care of. Tips Bulletin recommends using a mixture of baking soda and white vinegar to work it out. Say the majority of your stovetop has grease stains. Then consider using this mixture instead of warm water just before you wash the grates. You might need a scrub brush, but if you don't have one, a toothbrush should work fine. Before going any further, we suggest testing out your brush on a small part of the stovetop to ensure it won't scratch the surface.
Degrease and clean the stovetop
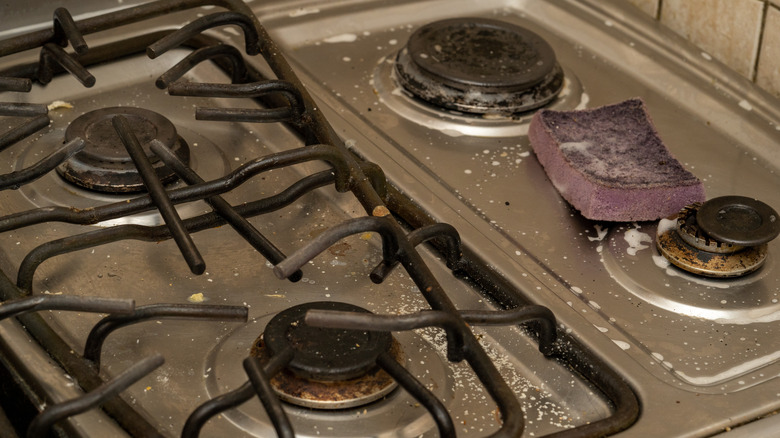
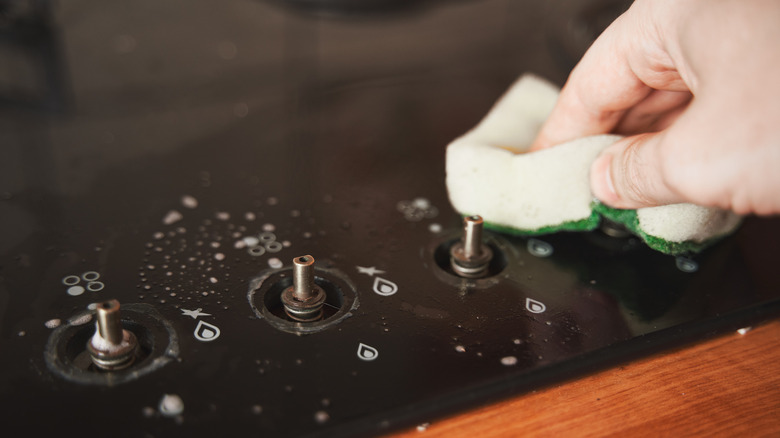
Now, your stovetop should be a mess of greasy water, but we promise it gets better. To begin, use a towel to lift the dirty water from it. Make another mixture of warm soapy water and use a non-abrasive sponge to ensure every inch is cleaned. Some areas to focus on are where the grates sit, as well as the spots around the burners. Clean this surface area until there are no visible stains or baked-on dirt.
With this done, move on to the next stage, which is completely drying your gas stovetop. Soak the microfiber towel in water, then squeeze it out before using it to wipe the stovetop. Microfiber towels are the best option because they are more absorbent and can get into cracks that ordinary towels might miss (per Dempsey). Even better? A study by the University of California, Davis Medical Center, showed that microfiber towels eliminate 99% of bacteria, while cotton only gets rid of about 30% (via Towel Super Center). Note: Remember to rinse and squeeze your microfiber towel, so you can run it over the surface again to dry it completely.
Clean the gas burner holes, caps, and heads
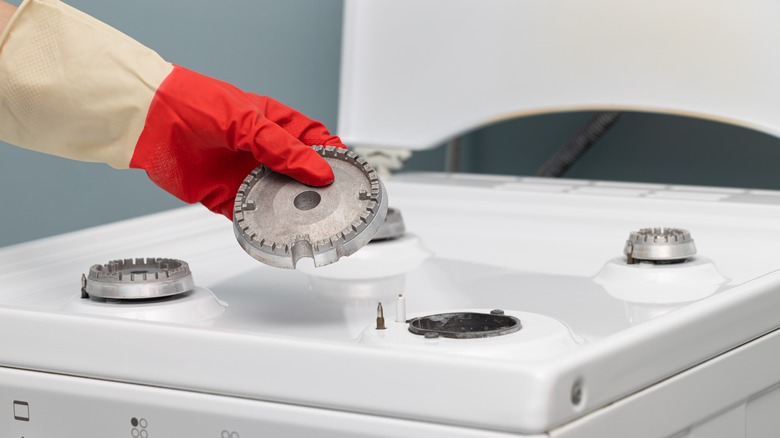
Despite how clean and shiny your gas stovetop should look at this point, you're not done yet. Having a dirty gas burner cap or head can cause uneven yellow flames and improper ignition, according to LG. What's more? If your gas burner head is clogged, it could even stop your stove from igniting completely. To be clear, the gas burner head sits above the gas burner hole and the gas burner cap sits atop the gas burner head.
To start off, you need to carefully clean the gas burners and caps. If they aren't particularly dirty, a warm water soak and a sponge will be all you need. However, if they have burnt food or grease stuck on them, you will have to do a little more work. In The Wash recommends making a mixture of baking soda, vinegar, and water to soak your burner caps and heads in for about 30 minutes. You then need to scrub them with a scrub brush or toothbrush.
When finished, dry them completely with a microfiber towel before setting them in a dry place and moving on to the gas burner hole. Take out the stuffing in the hole and check to ensure nothing got into it. If you spot any dirt or water, use a clean, dry microfiber towel to get it out.
Wipe down the control panel, then assemble
Your gas stovetop's control panel consists of knobs and buttons, and while it might not be visibly greasy, it does come in contact with your hands and picks up more than its fair share of dirt. For thorough cleaning, detach the knobs first.
Most knobs can easily be pulled out of the control panel, but if yours are stuck, Appliance Repair Specialists recommend that you wrap some flexible wire on the prong behind it and carefully pull. Pop all the knobs into a large enough bowl and fill it with equal parts vinegar and warm water, allowing everything to soak. A Clean Bee suggests pairing your microfiber towel with a mix of vinegar and water to clean the parts of the oven where the knobs usually sit.
After a 30-minute soak, your knobs are ready to be cleaned. The vinegar and warm water cleanse should have done most of the work, but you could give it one last wash with warm soapy water and a sponge. Rinse the knobs under warm water and dry them with your microfiber towel before leaving them in a dry spot. Finally, all that stands between you and a clean, shiny, and functional stove is a quick assembling of the grates, burner parts, and, of course, the knobs.