The Best Way To Wallpaper A Corner In Just 5 Simple Steps
Installing new wallpaper in your home can give your space much-needed revitalization. Wallpaper was once all the rage in interior decorating and design, and in recent years it has faded as a primary choice for many homeowners. However, this design approach is back with a vengeance, according to Homes & Gardens. Installing it in your home can be a fantastic way to replenish the style and change the overall atmosphere of any room in your property. Peel-and-stick wallpaper is also a great option for renters who can't make substantial alterations to their living space but want a unique and personalized environment that really speaks to their own style.
However, during any wallpapering operation, you are likely to run into the dreaded corner. Covering the corner is a tricky proposition, to be sure. Getting this section wrong will leave you with noticeable bubbles or a break in continuity throughout the design that your selected wallpaper provides to the room. Either way, the result can range from a minor annoyance to disastrous style faux pas. Fortunately, the technique used to coat the corners is quite simple. With a little bit of practice and patience, you can start wallpapering like a pro in no time. With these five simple steps, you can turn these dreaded corners into a point of pride in any room you are trying to alter.
1. Measure the distance to the corner from your last strip and add 1 inch
The first thing you need to do is understand that wallpapering directly up to the corner is a bad idea. This is the perfect way to create a visible scene and wreck the continuity of your hard work. Instead, you'll want to run right up to the corner without touching it. Leaving 1 inch or more will give you the space you need to place a strip directly on the corner and eliminate the messy seam lines that can shine through with other approaches to this section of your wall. Regardless of how much space is left over after your last strip before the corner, measuring this area and then adding 1 inch to your number will give you the perfect cut for the next section to go up on the wall.
With this technique, you'll end up with a decidedly small strip of wallpaper; however, it will give you the maximum capacity for seamlessly installing this section around these pesky corners. The name of the game here is seamless installation (via About Murals), and with a larger strip, or one that runs into the corner and then starts with a new coat on the adjacent wall, you're leaving yourself open to cracking and bubbling. Simply thinking about this installation area in a new light will set you off on the right foot when it comes to perfectly adding a corner segment.
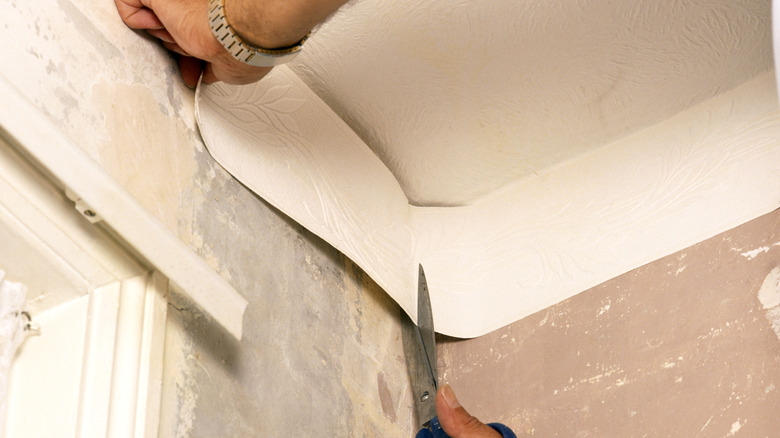
2. Cut the wallpaper segment and attach it in the corner
Once you've measured out this small corner strip, the next step is to cut the wallpaper and begin the installation process. As with any other chunk of wall that you're covering, adding your glue (or simply peeling off the backing layer on a peel-and-stick wallpaper addition) and preparing to apply the wallpaper is the next step in the process. World of Wallpaper notes that a little goes a long way when it comes to paste or glue, and scraping away any excess is critical to success.
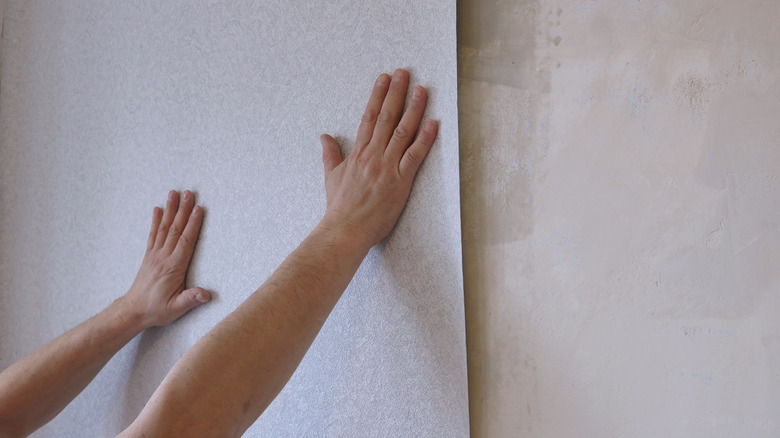
Carefully lay the covering against the end of the previous section. Pressing down firmly, attach this new segment from top to bottom, and then press it directly into the corner. Once you've reached the corner, continue along the horizontal axis and smooth out the remaining section. The end result will be a segment of wallpaper that spans the gap in this difficult-to-reach component.
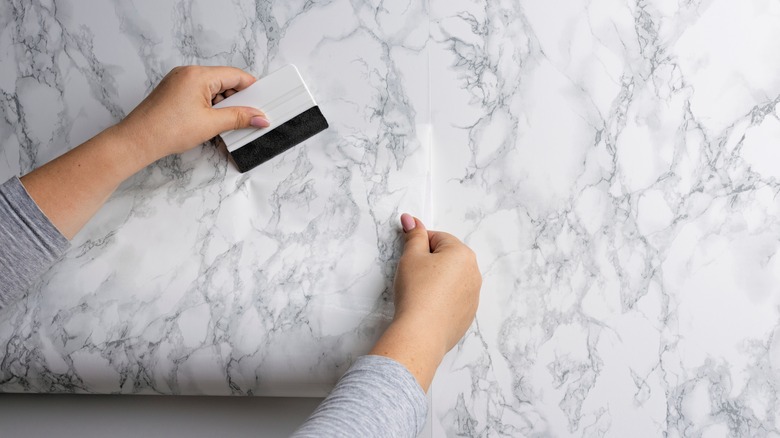
Next, run the edge directly into the corner on both sides with your smoothing tool to release any wrinkles or air gaps. Continue running your device across the surface and smooth out any issues, just like you would with any other wallpaper section. By placing a full section that spans the gap here across the corner rather than papering up to the corner and then away from it, you eliminate the possibility of an ugly breakaway in the future.
3. Measure a new segment on the adjacent wall and draw a plumb line
The next thing you'll need to do is measure from the end of this newest section out on the adjacent wall. Finding a good measurement and then drawing a plumb line vertically along this wall will help you to start the new papering procedure all over again. Plumb lines are critical for homeowners looking to install the paper like a professional (via Wallcoverings Association). Even though you might be tempted to think that your walls are completely square with one another, the truth is that this isn't always the case. You must continuously measure them and add markings as you go to ensure that each new edition is square with the previous segment.
Los Angeles Times reports that a piece of string can be a good guide when creating plumb lines on your walls. Using a small weight, you can hang the string from a high point on the wall and use it as a guide to draw your plum line from top to bottom. This ensures that you'll place the next segment at a 90-degree angle to the floor at all times. After going around the corner, it's critical to square up your installation once again. Your next piece can be however long the remaining cut measures from the previous segment. Remember, it's important to line up the pattern as cleanly as you can.
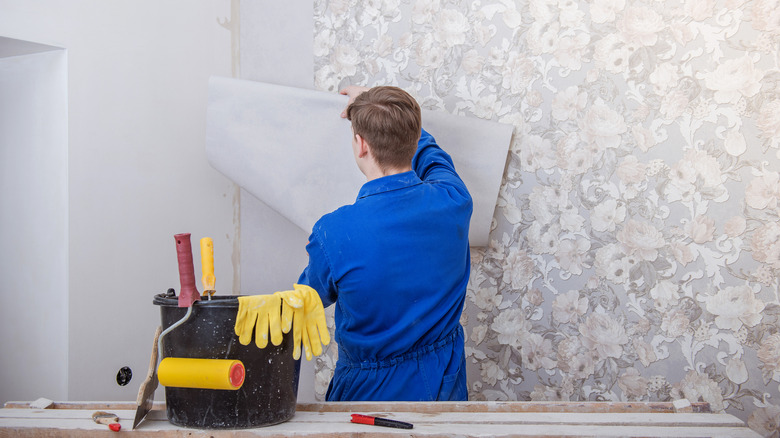
4. Cut the next piece and line it up close to the corner
The fourth step is cutting the next piece and positioning it on the wall. Once you've cut it, place it against this space where your corner section finishes on the new wall. Then begin dragging the paper into the corner to create a seamless transition from one wall to the next. This space isn't going to be obvious because of the dimensions that corners bring to bear; therefore, you'll probably want to install this section with a little bit of overlap. Lining up the piece as closely as you can with the corner will give you a perfect transition from one space to the next while maximizing the visual appeal of your wallpaper more generally.
Once again, peel off the backing or use glue to prepare the surface for the wallpaper, then finalize your alignment and stick the cover into its new home. Using your smoothing tool once again (these options noted by Ask the Builder are all winners), secure the paper to the surface and flatten any air gaps or wrinkles that may have found their way into the wallpaper segment as you pressed it in.
5. Continue wallpapering until you hit the next corner
At this point, all that's left to do is continue along the straight edge of the new wall (via Wickes). Continue wallpapering as you would normally until you reach the next corner. Then, all you have to do is start this process over again to finalize the installation. Using the same sequence of events that starts with a minimized strip, the coverage that spans across the corner rather than into it and away again, and then a plumb line to ensure that your new pieces will continue to line up perfectly with the old segments will give you perfectly installed wallpaper every time.
Furthermore, one of the great things about wallpaper is that you can remove it and start over whenever you want. Changing a room's aesthetic is as simple as reapplying a new style throughout the space. However, you don't want to have to re-wallpaper a room as a result of an error. Using this technique will give you an excellent visual appeal in every space that you wallpaper, ensuring that anytime you tear away existing paper for a refit, it will be because you want to change this room rather than engaging in the process to fix a less-than-stellar installation.